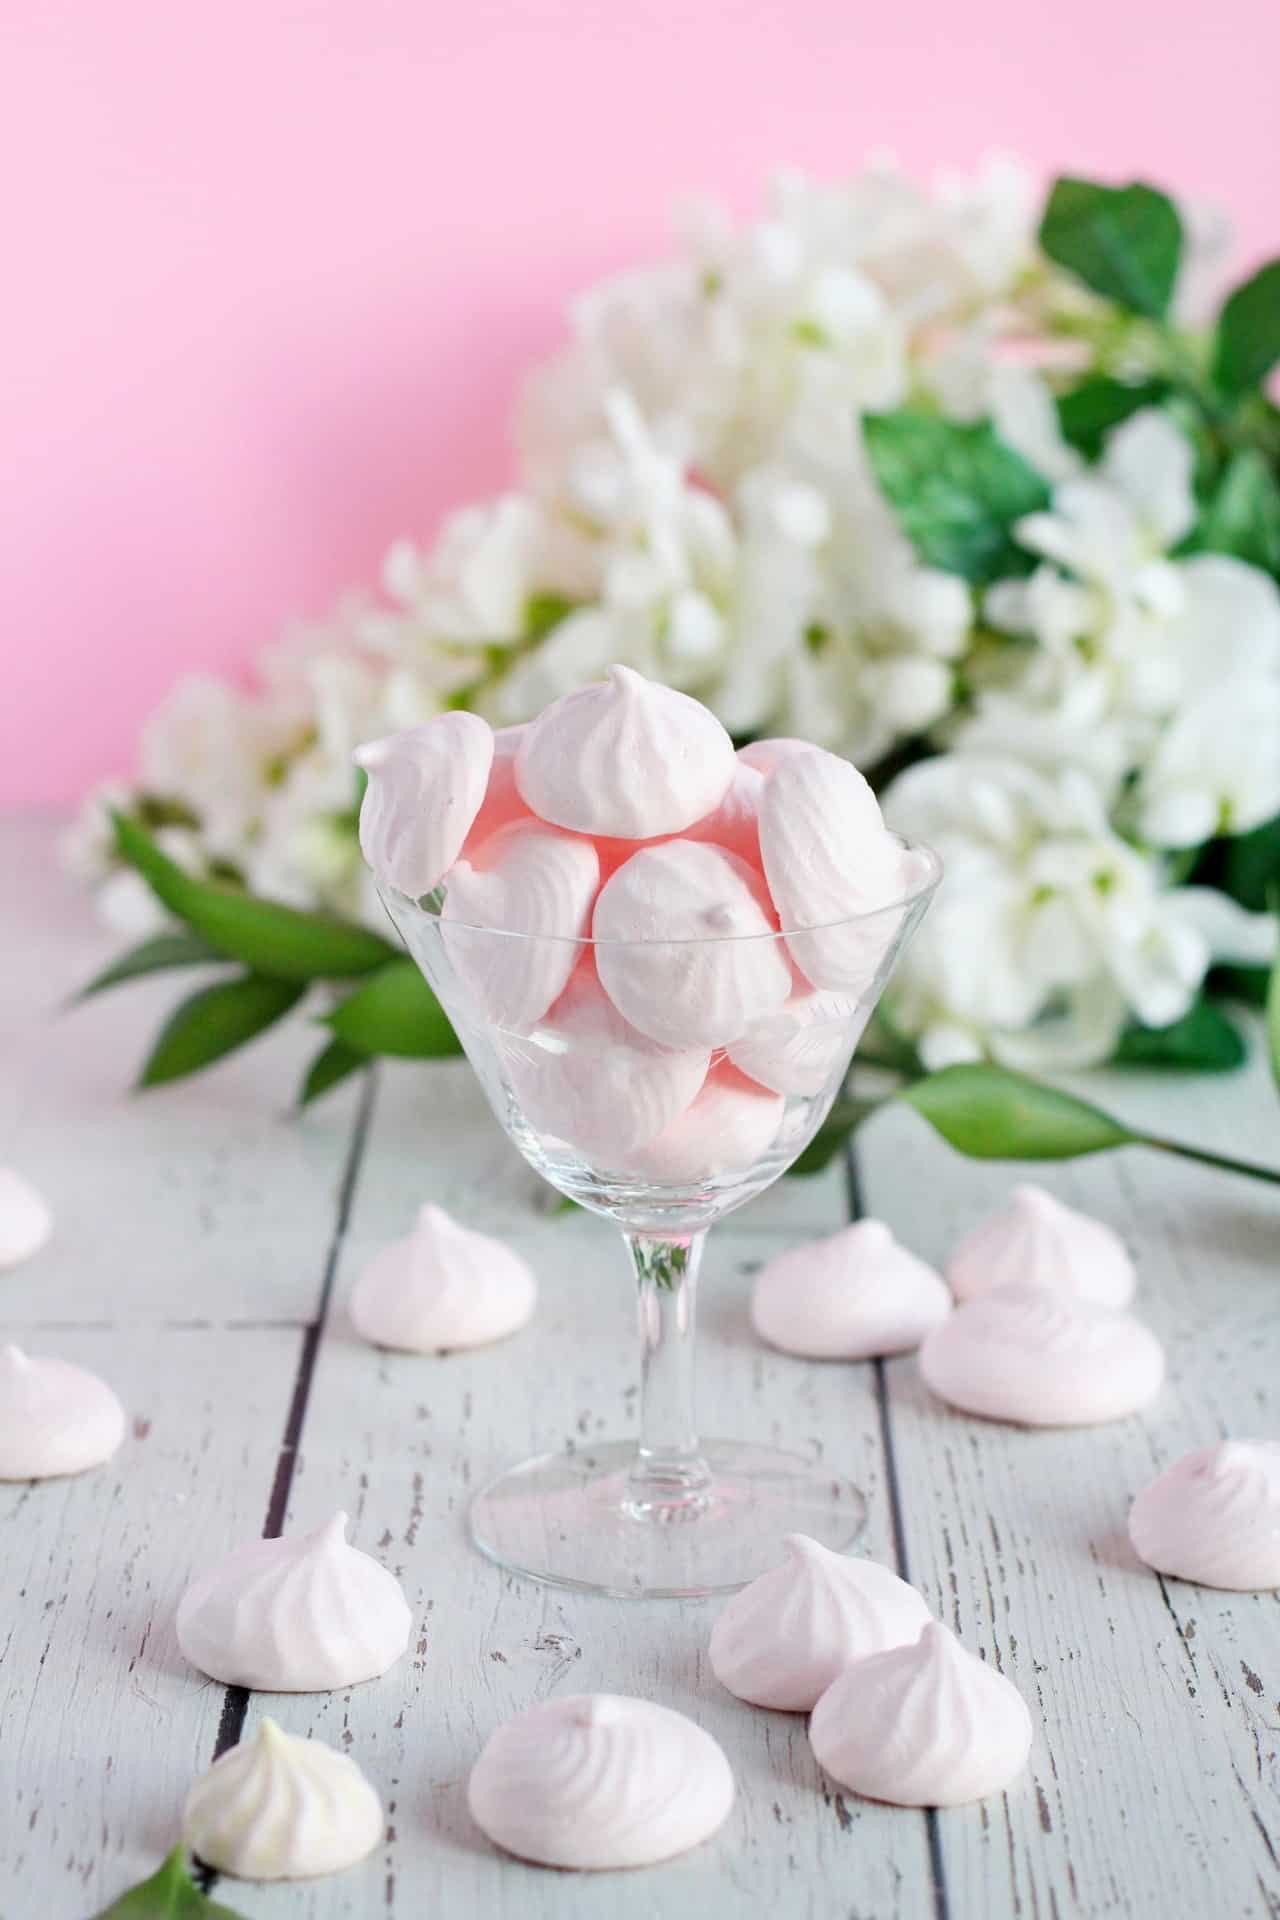
Mini meringues are a delightful bite-sized treat that are perfect for any occasion. With their light and airy texture and delicate sweetness, they are a crowd-pleaser that can be enjoyed by all ages. Adding a touch of pastel colours to these meringues makes them even more charming and pleasing, and they can be a beautiful addition to any dessert table.
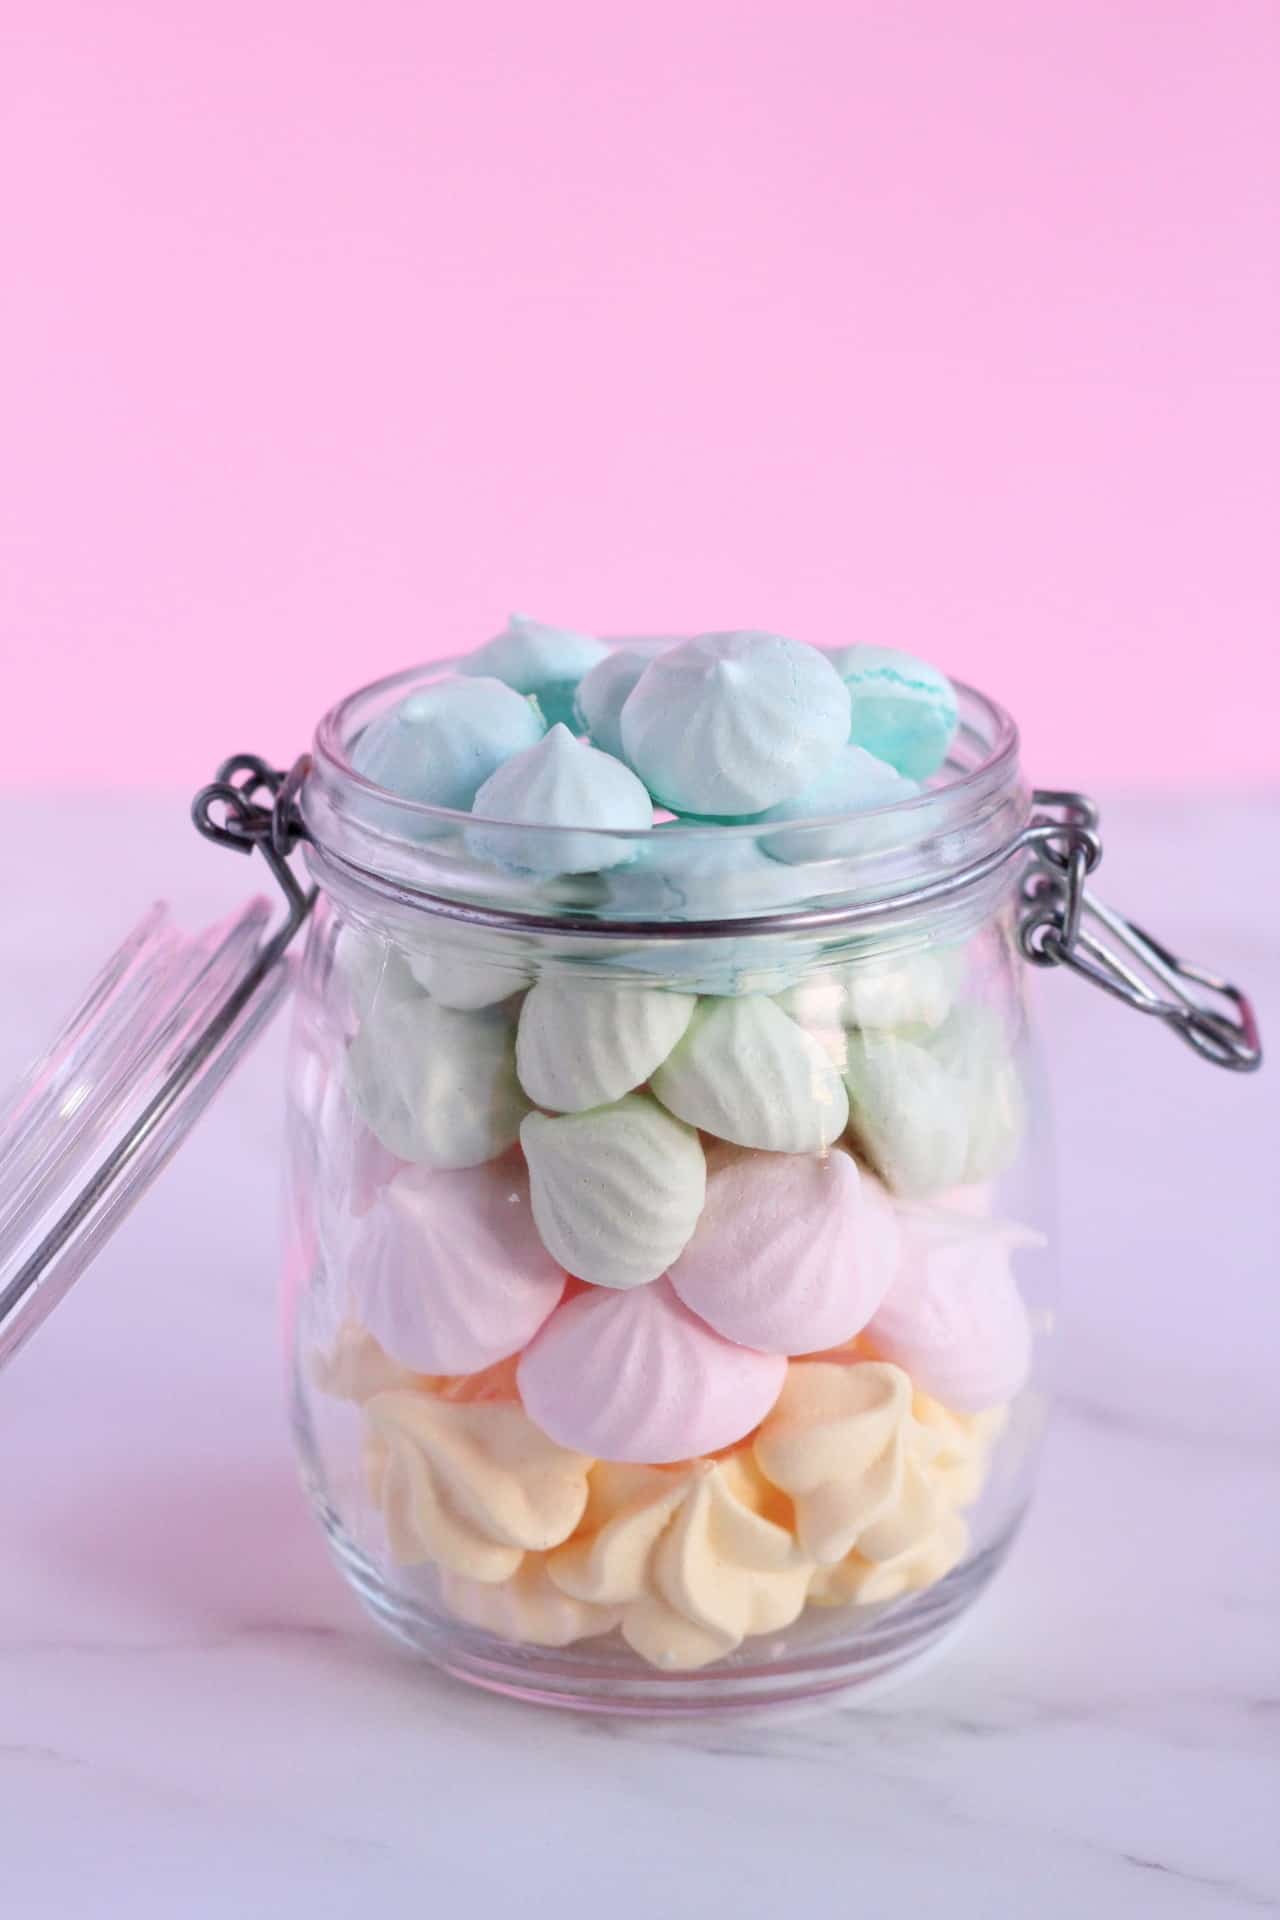
Making mini meringues in pastel colours is so much only a fun, and it’s an easy project. It also allows for endless creative possibilities. With just a few simple ingredients, you can make meringues in a range of colours. From soft pinks and blues to gentle greens and yellows. They are perfect for springtime and for Easter-themed desserts, baby showers, or any occasion that calls for a little touch of sweetness.
This recipe for mini meringues is easy to follow and produces a batch of small, delicate treats. So why not try making these colourful mini meringues at home and add a touch of whimsy to your next gathering or dessert table!
WHAT ARE MINI MERINGUES
Meringue is a type of dessert made from whipped egg whites and sugar. It is often used as a topping or ingredient in other desserts. The whipped egg whites create a light and fluffy texture, which is then stabilized by the addition of sugar.
These little desserts can be baked, such as in the case of a pie topping. Or it can be piped into various shapes and then baked or dried to create crispy meringue cookies or shells. It can also be flavoured with various extracts, such as vanilla or almond. It can be coloured with food colouring for decorative purposes. Meringue is a versatile dessert ingredient that is commonly used in various desserts. Such as pavlovas, Baked Alaska, and Lemon Meringue Pie.
WHY WILL YOU LOVE EASTER MINI MERINGUES
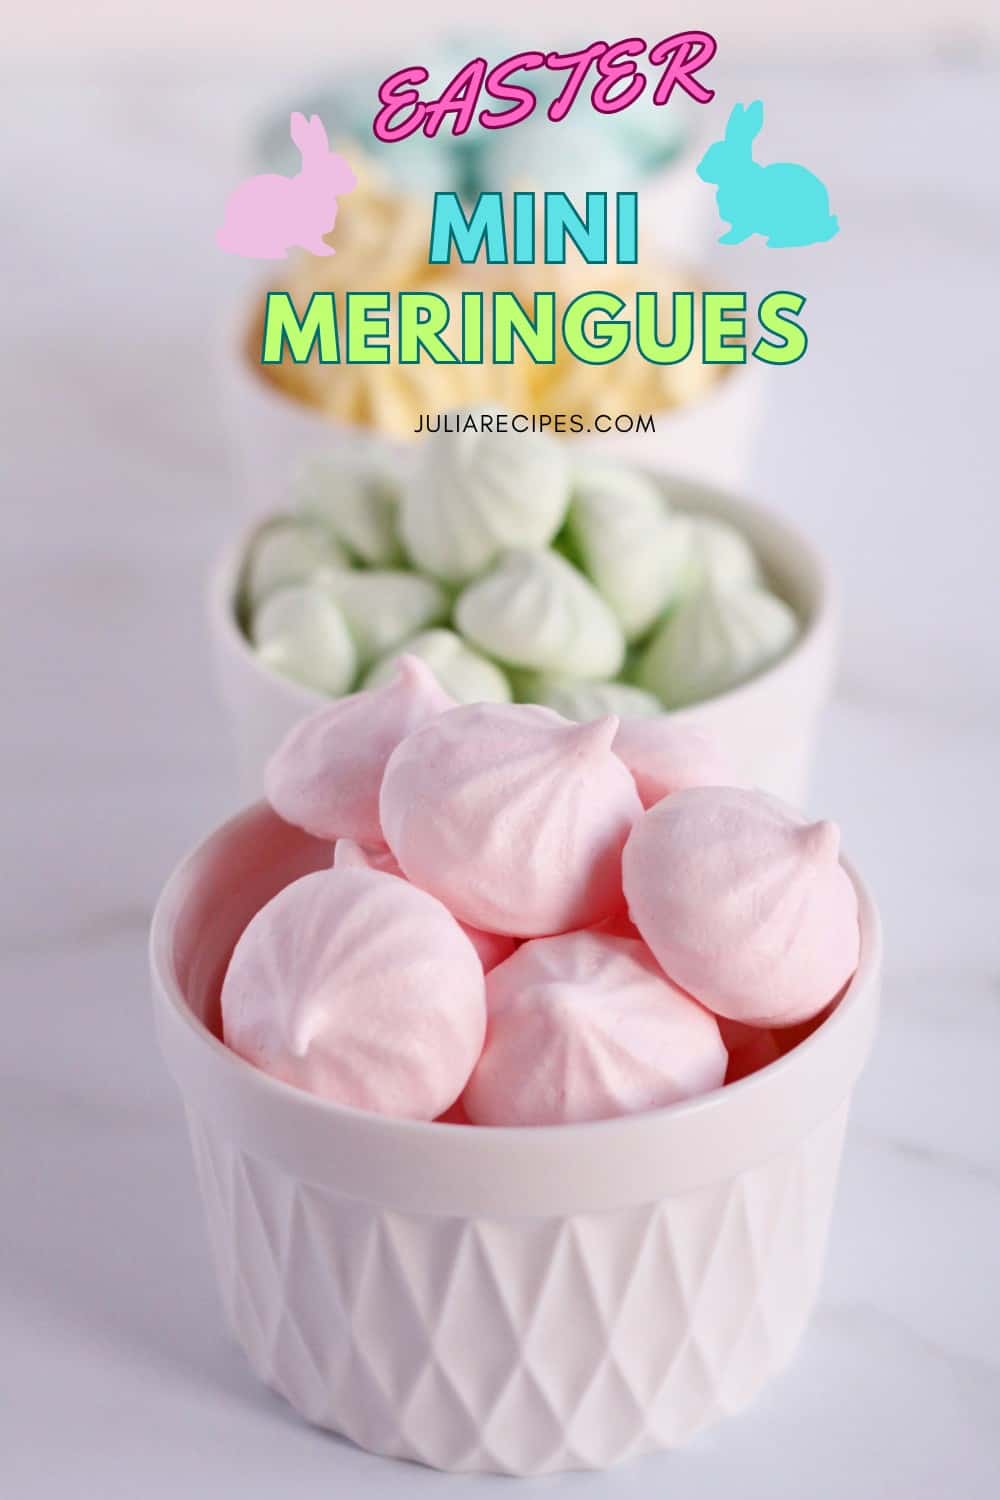
Beautiful Presentation: Mini meringues in pastel colours are beautiful and make for a lovely addition to any Easter celebration. The pastel colours are similar of spring and the Easter holiday, making them perfect for the occasion.
Light and Airy: Mini meringues have a light and airy texture. It’s making them a delicious treat that won’t weigh you down. They are a great option for those who want to indulge in something sweet but don’t want something heavy or overly rich.
Versatility: They can be used in many varieties of ways. Whether as a standalone treat, a decoration for cakes and cupcakes, or as part of a dessert platter. The pastel colours allow for a range of creative options when it comes to decorating and presenting them.
Gluten-Free: Mini meringues are naturally gluten-free, making them a great option for those who have dietary restrictions or are looking for gluten-free treats.
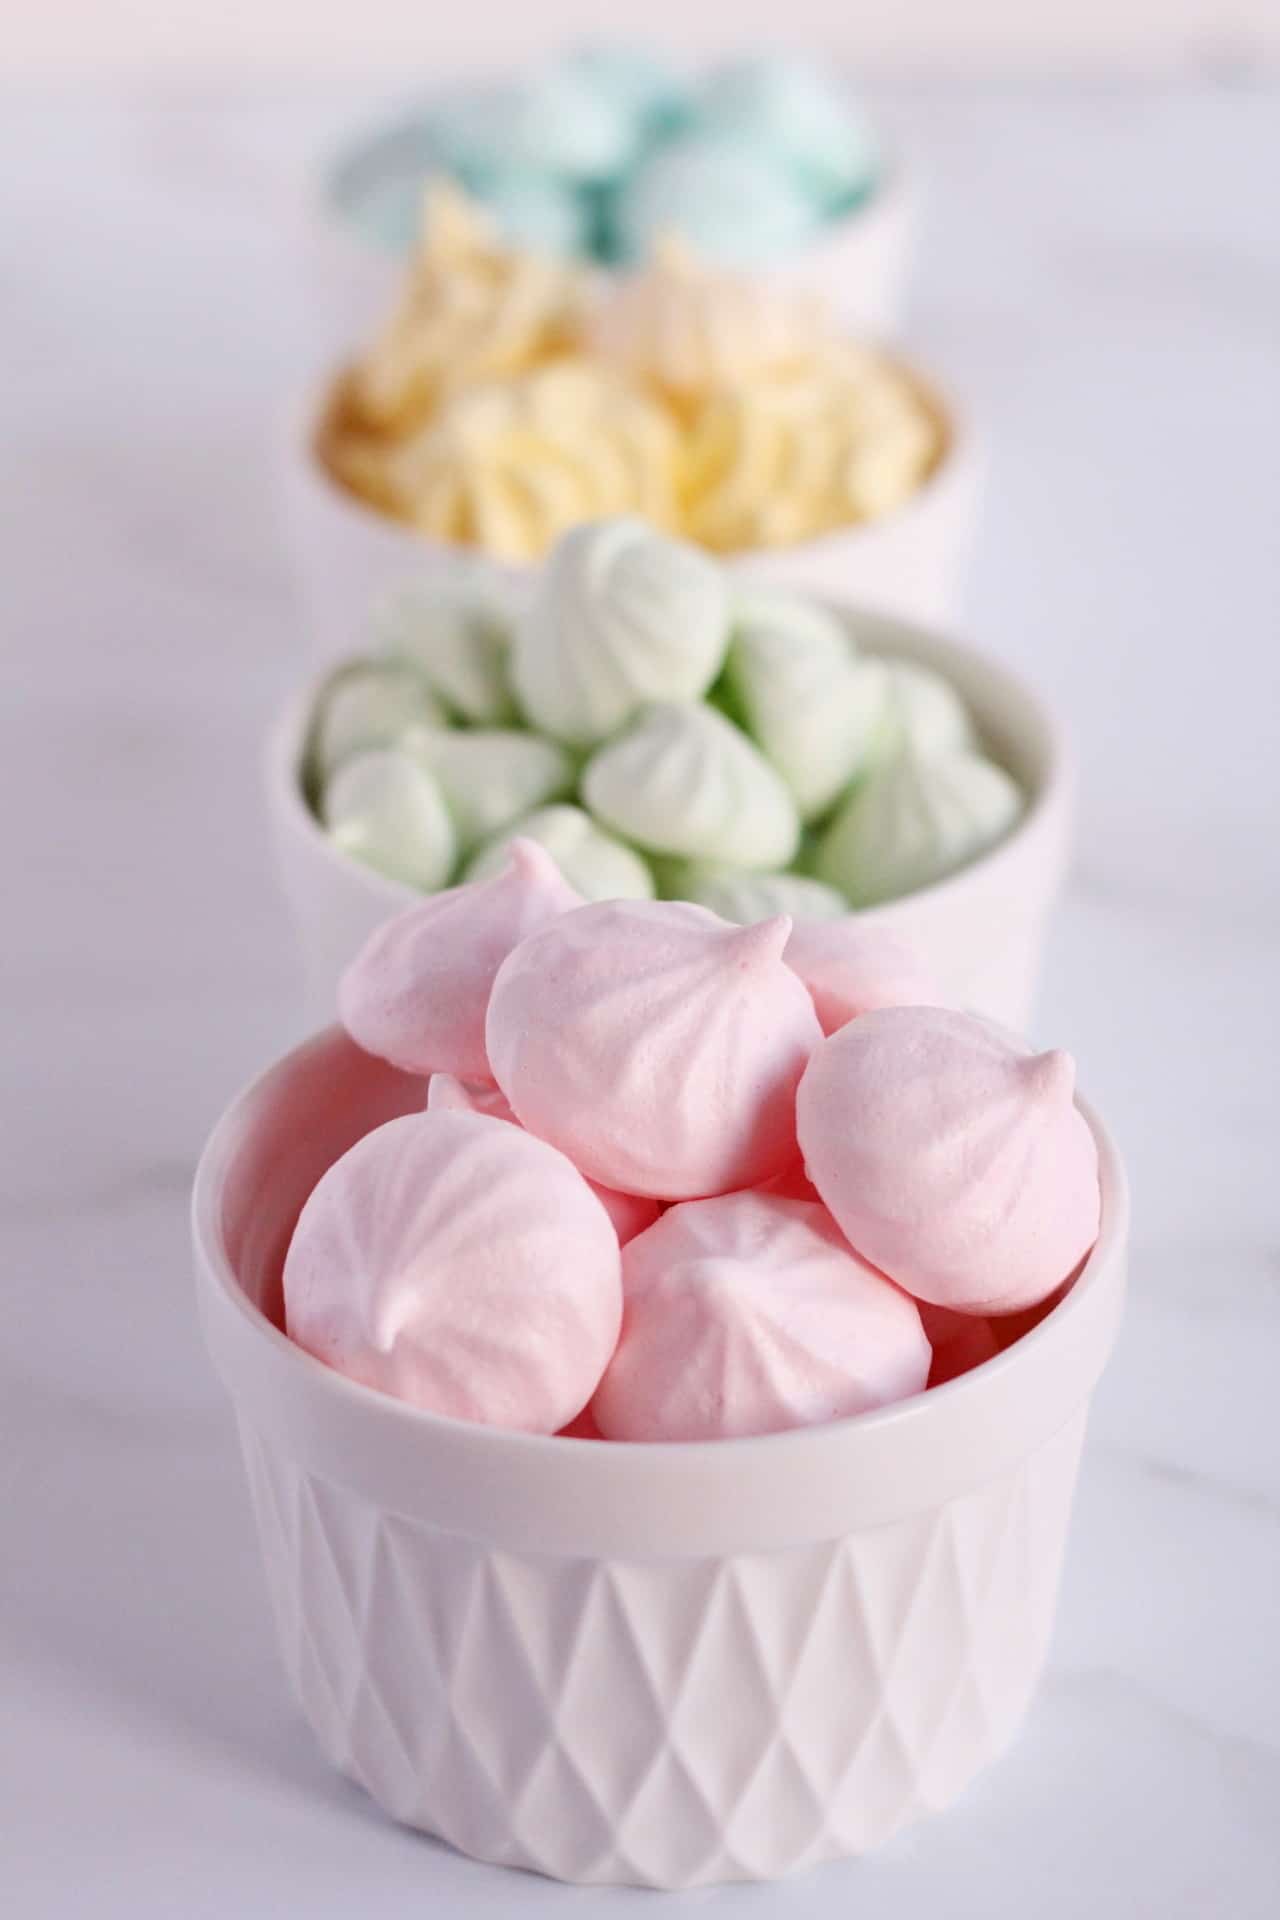
How mini meringues differ from regular-sized meringues
Firstly, mini meringues are smaller in size, usually no bigger than a bite-size piece. This smaller size allows for a more delicate and elegant presentation, making them a popular choice for serving at parties or events.
Secondly, mini meringues have a shorter baking time compared to regular-sized meringues. This is because the smaller size allows for quicker drying and baking of the meringue, resulting in a crispy and light texture.
Lastly, mini meringues often have a higher surface area-to-volume ratio than regular-sized meringues. This means that they can absorb more moisture from the environment, which can cause them to soften and lose their crispness more quickly than larger meringues. Therefore, it is important to store mini meringues in an airtight container at room temperature to preserve their texture and freshness.
INGREDIENTS
Egg whites: Meringue is made primarily from egg whites. When beaten, egg whites create a foam that traps air, resulting in a light and fluffy texture. Use fresh and room temperature egg whites.
Granulated sugar: Sugar is added to the egg whites to stabilize the foam and create the sweetness in the meringue. Granulated sugar dissolves easily and evenly in the egg whites, creating a smooth and glossy texture.
Cream of tartar: Is an acid that is added to the meringue to help stabilize the egg whites and create a more structured foam. It also helps to prevent the meringue from collapsing.
Gel food colouring: Gel food colouring is used to add colour to the meringues. Gel food colouring is recommended over liquid food colouring. As it does not affect the consistency of the meringue and produces vibrant colours.
HOW TO MAKE MINI MERINGUES
Preheat the oven to 200 °F (93 °C) and line a baking sheet with parchment paper. In a large mixing bowl of a standing mixer, beat the egg whites on medium-high speed until frothy.
Add the cream of tartar and continue to beat until soft peaks form. Gradually add the sugar, one tablespoon at a time, while continuing to beat on medium-high speed.
Beat the mixture until stiff peaks form and the sugar is completely dissolved. The mixture should be thick and glossy. Divide the meringue mixture into four smaller bowls. Add a small drop of gel food colouring to each bowl and mix until the desired pastel colour is achieved.
Transfer each coloured meringue mixture to a piping bag fitted with a small star tip. Pipe small dollops of the meringue mixture onto the prepared baking sheet, spacing them about 1 inch apart.
Bake the mini meringues in the preheated oven for 1 to 1.5 hours, or until they are dry and crisp on the outside. The baking time may vary depending on the size of the meringues.
Remove the meringues from the oven and let them cool completely on the baking sheet. Once the meringues are cool, transfer them to an airtight container and store at room temperature for up to 1 week.
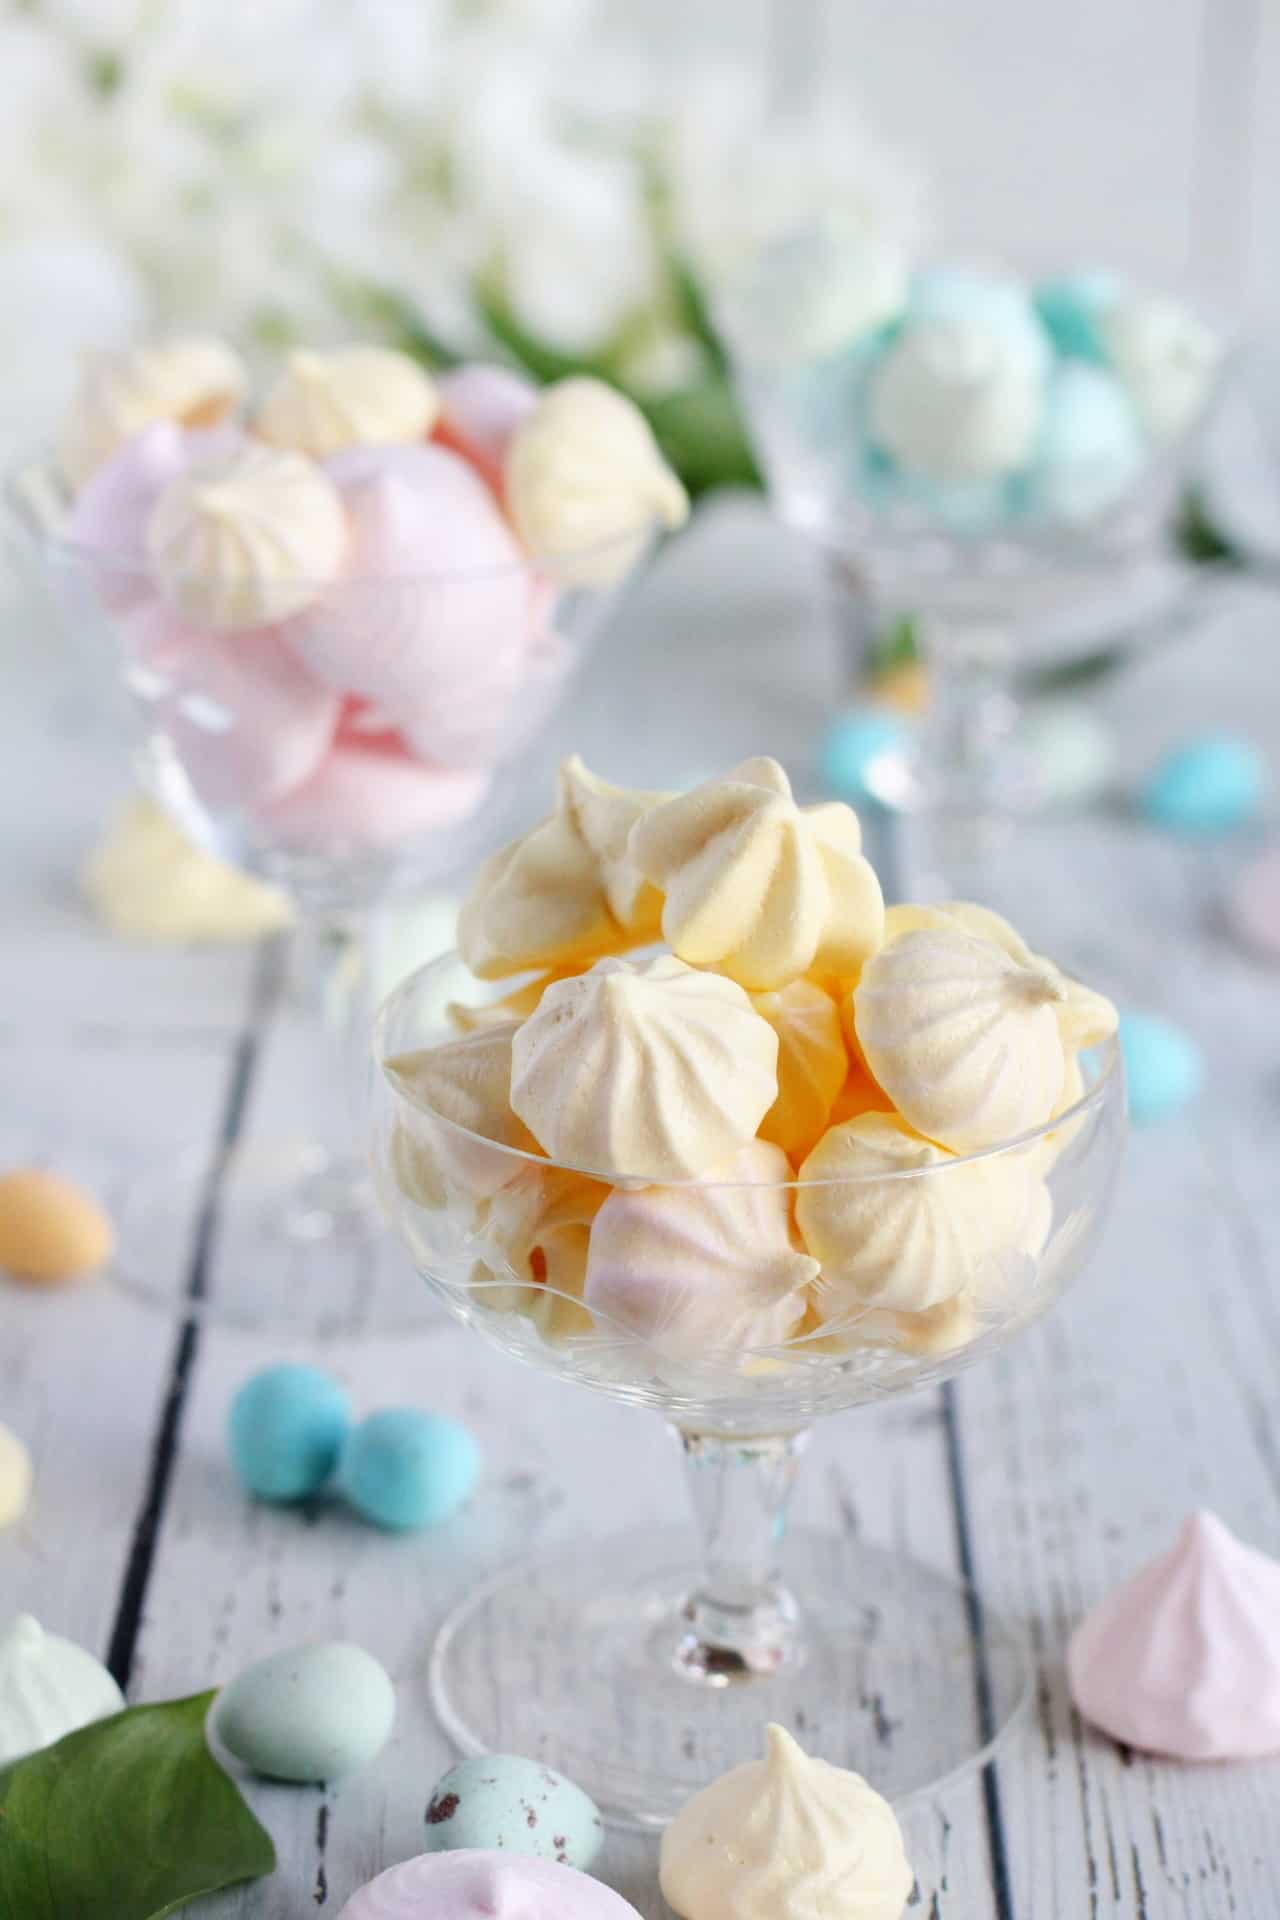
DIFFERENT PIPING METHODS TO USE FOR MERINGUES
Basic round meringues: To make basic round meringues, use a piping bag fitted with a round tip. Hold the piping bag perpendicular to the baking sheet and pipe small dollops of meringue onto the sheet.
Rosettes: To make rosettes, use a piping bag fitted with a star tip. Hold the piping bag perpendicular to the baking sheet and pipe a small amount of meringue in a circular motion to create a rosette shape.
Kisses: To make mini meringues kisses, use a piping bag fitted with a star tip. Hold the piping bag perpendicular to the baking sheet and pipe a small amount of meringue in a circular motion, then pull the piping bag up to create a peak.
Swirls: To make swirled meringues, use a piping bag fitted with a large round tip. Hold the piping bag perpendicular to the baking sheet and pipe a large dollop of meringue, then swirl the tip around to create a spiral.
Hearts: To make heart-shaped meringues, use a piping bag fitted with a small round tip. Hold the piping bag perpendicular to the baking sheet and pipe two small dollops of meringue next to each other, then pull the piping bag down to create a point at the bottom of the dollops.
Remember to keep the piping bag straight and steady while piping, and to pipe the meringues close together but not touching to ensure even baking.
CHEF’S TIPS
Use clean and dry equipment: Any moisture, grease or residue on the mixing bowl, beaters, or utensils can interfere with the egg whites foaming properly. Make sure all equipment is clean and dry before starting.
Use room temperature egg whites: Room temperature egg whites whip up more easily and create a more stable foam. Take the egg whites out of the fridge and let them come to room temperature before starting.
Add sugar gradually: Adding the sugar gradually helps to create a smooth and glossy texture. Add the sugar a tablespoon at a time while the mixer is running, until all the sugar has been added.
Use cream of tartar: Cream of tartar is an acid that helps to stabilize the egg whites and create a more structured foam. Adding a small amount of cream of tartar can help to prevent the meringue from collapsing.
Be patient: Beating the egg whites to the proper consistency can take several minutes, and it’s important not to rush the process. Keep the mixer running until the egg whites are glossy, thick and hold stiff peaks.
Be gentle when folding in food colouring: Once the meringue is whipped to the desired consistency, be gentle when folding in the food colouring to avoid deflating the foam.
Use parchment paper or silicone mats: To prevent the meringues from sticking to the baking sheet, line it with parchment paper or silicone mats. It will help to make it easier to remove the meringues once they are baked.
Keep the oven temperature low: Mini meringues cook more quickly than larger meringues. To prevent the meringues from browning or cracking, bake them at a low temperature (around 200 °F) for a longer period of time.
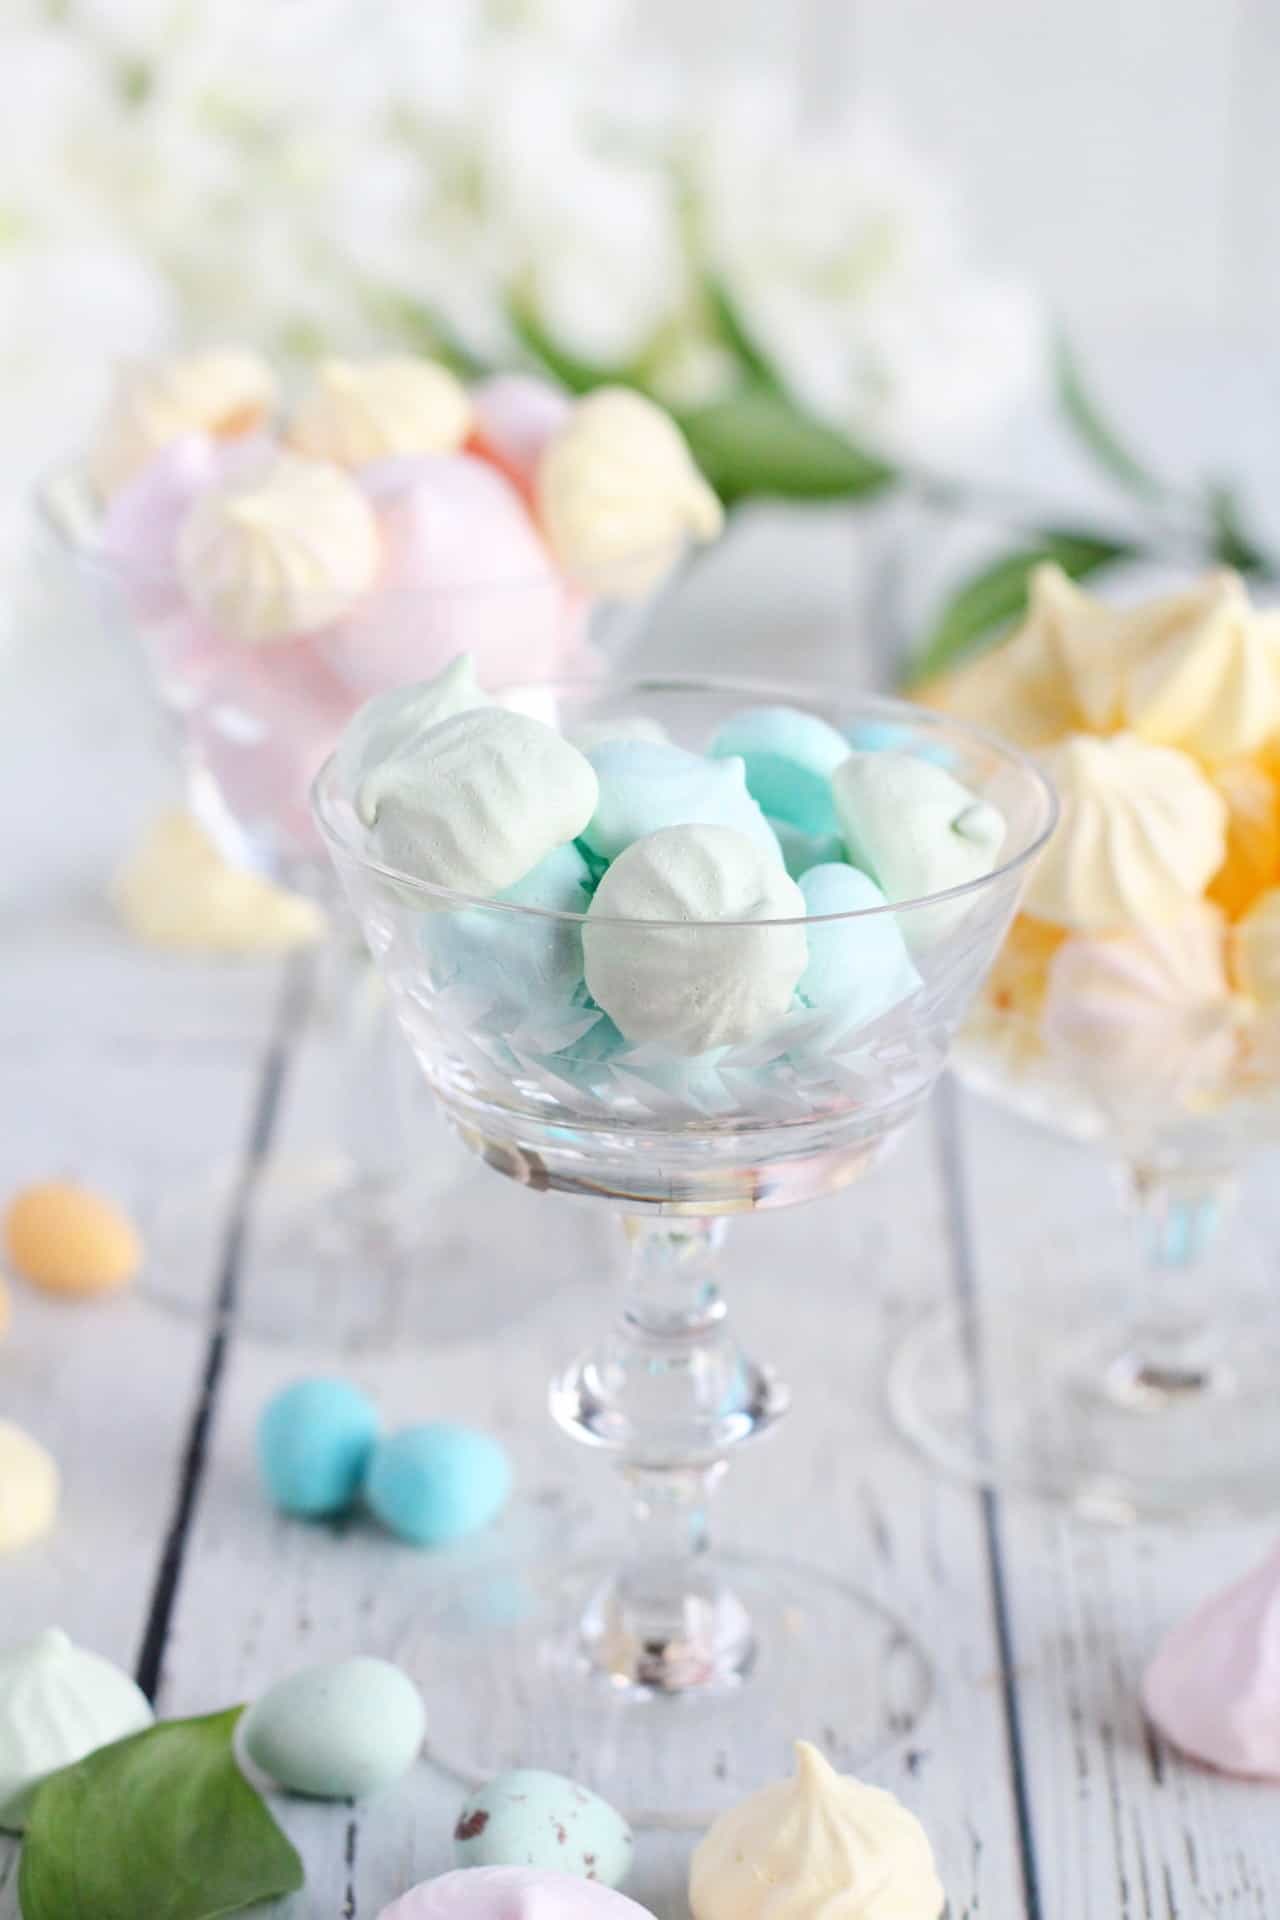
VARIATIONS
Easter Egg Meringues: Use pastel-coloured meringues to pipe out egg shapes, and use a toothpick to draw on colourful lines or dots. You can also sprinkle some edible glitter or sprinkles on top to add some sparkle.
Bunny Ear Meringues: Pipe out small round meringues and use a toothpick to draw out two small ears on top. Use mini chocolate chips or small candy pieces for the eyes and nose.
Carrot Meringues: Use orange food colouring to dye the meringue and pipe out cone-shaped meringues to look like carrots. Use green food colouring to pipe out small leaves on top of the meringues.
Spring Flower Meringues: Use different coloured meringues to pipe out flower shapes, such as daisies or tulips. Add a small piece of candy or chocolate in the centre of the flower to complete the look.
Easter Basket Meringues: Pipe out small basket shapes and use toothpicks to draw out basket weaving lines. Add small candy eggs or chocolate pieces inside the basket to make it look like it’s filled with Easter treats.
Remember to have fun and experiment with different shapes and colours to create an assortment of Easter-themed mini meringues.
SERVING SUGGESTIONS AND STORING TIPS
Serving Suggestions:
- Serve mini merengues as a standalone treat or used to decorate cakes, cupcakes, and other desserts.
- You can also serve them with fresh fruit, whipped cream, or ice cream for a light and refreshing dessert.
- Serve mini meringues as a fun and colourful addition to a party or dessert buffet.
- Use a small gift box or clear cellophane bag to package the mini meringues as a sweet gift for friends and family.
Storage Tips:
- Store mini meringues in an airtight container at room temperature for up to 1 week.
- Avoid storing meringues in the refrigerator, as the moisture can cause them to become soft and sticky.
- Do not store meringues in a humid environment or they may absorb moisture and become sticky.
- If you need to store meringues for a longer period, you can freeze them in an airtight container for up to 3 months. Let them come to room temperature before serving.
FREQUENTLY ASKED QUESTIONS
Can I make mini meringues without a piping bag?
Yes, you can use a small spoon or a small cookie scoop to drop small dollops of meringue onto a baking sheet. However, using a piping bag will give you more control over the size and shape of the meringues. Maybe try used milk bag, I haven’t tested it, but it’s basically a plastic bag same as piping bag.
Can I make mini meringues in advance?
Yes, you can make mini meringues in advance and store them in an airtight container at room temperature for up to 1 week. However, meringues are delicate and can become soft and sticky if exposed to moisture. It’s important to store them in a cool, dry place.
Why did my mini meringues deflate or crack?
Meringues can deflate or crack for a variety of reasons. It could be over-whipping the egg whites or adding too much sugar too quickly. Also, baking at too high of a temperature. Make sure you follow the recipe carefully and avoid over-whipping the egg whites.
Can I colour mini meringues with natural food colouring?
Yes, you can use natural food colouring such as beet powder, spinach powder, or turmeric. Just keep in mind that natural food colouring may not produce as vibrant colours as artificial food colouring.
Can I make mini meringues gluten-free?
Yes, mini meringues are naturally gluten-free as they do not contain any flour or wheat products. However, make sure to check the label of any additional ingredients you use to ensure they are also gluten-free.
How do I know when my mini meringues are done baking?
Mini meringues are done baking when they are crisp on the outside and slightly soft on the inside. To test if they are done, gently lift one off the baking sheet and tap the bottom – it should sound hollow. The baking time can vary depending on the size of the meringues. Also, the oven temperature is important, so keep a close eye on them and adjust the baking time as needed.
MORE RECIPES
- MINI LEMON TARTS
- PARIS STICKS
- BITE SIZE MINI BANANA CHEESECAKES
- COCONUT-LIME VEGAN TART
- CHOCOLATE CUPCAKES FOR VALENTINE’S DAY
EASTER MINI MERINGUES
Equipment
- baking tray,
- Parchment paper
- stand mixer or hand electric mixer
- 4 piping bags
Ingredients
- 4 (120 g) large egg whites
- 1 cup (200 g) granulated sugar
- 1/4 teaspoon (6 g) cream of tartar
- 1 drop Gel food colouring in light blue
- 1 drop Gel food colouring in light green
- 1 drop Gel food colouring in light yellow
- 1 drop Gel food colouring in light pink
Instructions
- Preheat the oven to 200 °F (93 °C). Line two baking sheets with parchment paper. In a large bowl of a stand mixer, beat the egg whites until foamy. Add the cream of tartar and continue to beat until soft peaks form.
- Gradually add the sugar, one tablespoon at a time, while continuing to beat the egg whites until stiff, glossy peaks form. Divide the meringue mixture into four small bowls. Add a small amount of gel food colouring to each bowl and stir until the colour is evenly distributed. Add more food colouring as needed to achieve the desired pastel shade.
- Transfer each coloured meringue mixture into a separate piping bag fitted with a small star or round tip. Pipe small dollops of the coloured meringue mixture onto the prepared baking sheets, spacing them about 1 inch apart.
- Bake the meringues in the preheated oven for 1 1/2 to 2 hours, or until they are dry to the touch and can be easily removed from the parchment paper without sticking. Turn off the oven and leave the meringues inside to cool completely.
- Once cooled, gently remove the meringues from the parchment paper and store them in an airtight container at room temperature for up to 1 week.
Disclosure: Bear in mind that some of the links in this post are affiliate links and if you go through them to make a purchase I will earn a commission. Keep in mind that I link these companies and their products because of their quality and not because of the commission I receive from your purchases. The decision is yours, and whether or not you decide to buy something is completely up to you.”

Sara Welch
What a beautiful and tasty treat for Easter! Excited to make these for baskets this year; looks too good to pass up, indeed!
Julia
Thank you, Sara! Hope they will make a great addition to your Easter basket.
Amanda Wren-Grimwood
So perfect for Easter. I love the colour and these would be so great as gifts too. Definitely making these.
Julia
Thank you, Amanda! Yes perfect for Easter edible gifts.
Kushigalu
How cute are these mini meringues? Thanks for sharing.
Julia
My pleasure Kushigalu!
Kate
These mini meringues are so simple and so cute!
Julia
Thank you, Kate! We love making them every Easter, great addition to Easter tables or Easter edible baskets.
Kim
These are so beautiful and would make the perfect addition to the Easter dessert table!
Julia
Absolutely agree Kim!
Tayler
The kids and I made these over the weekend and they were delicious. Super fun to make too!
Julia
So happy to hear it all went as planned 🙂 Thank you!