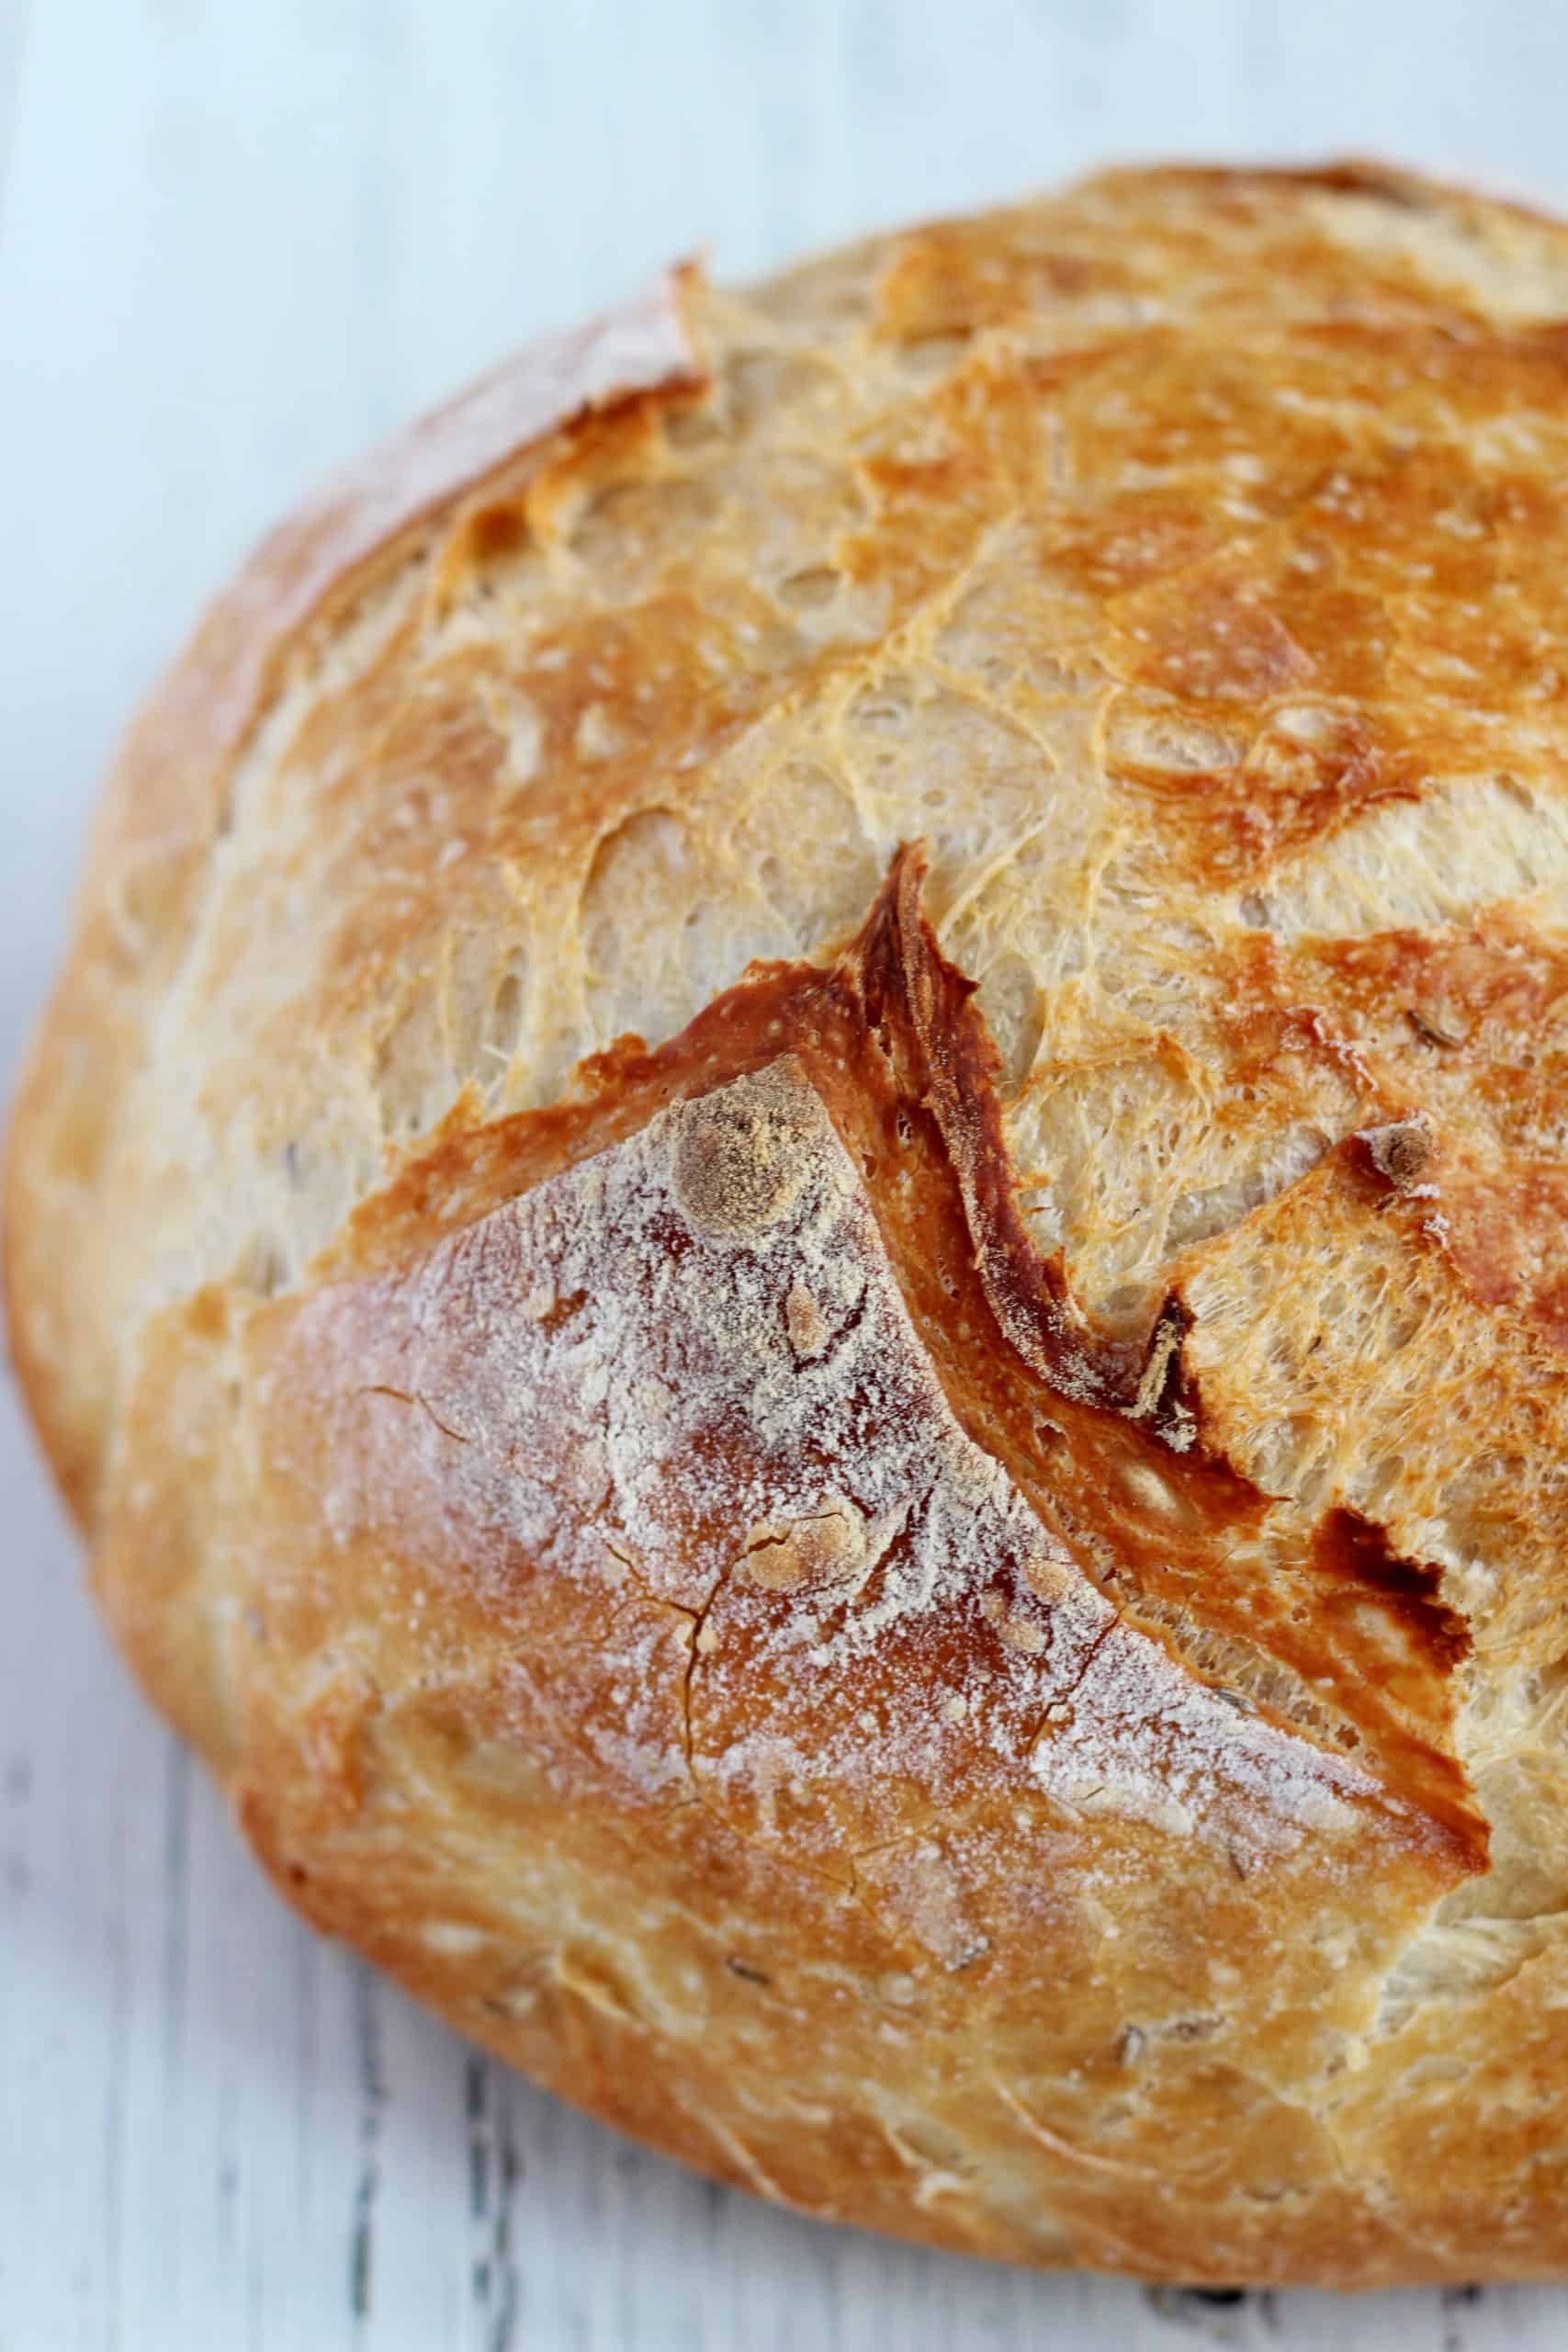
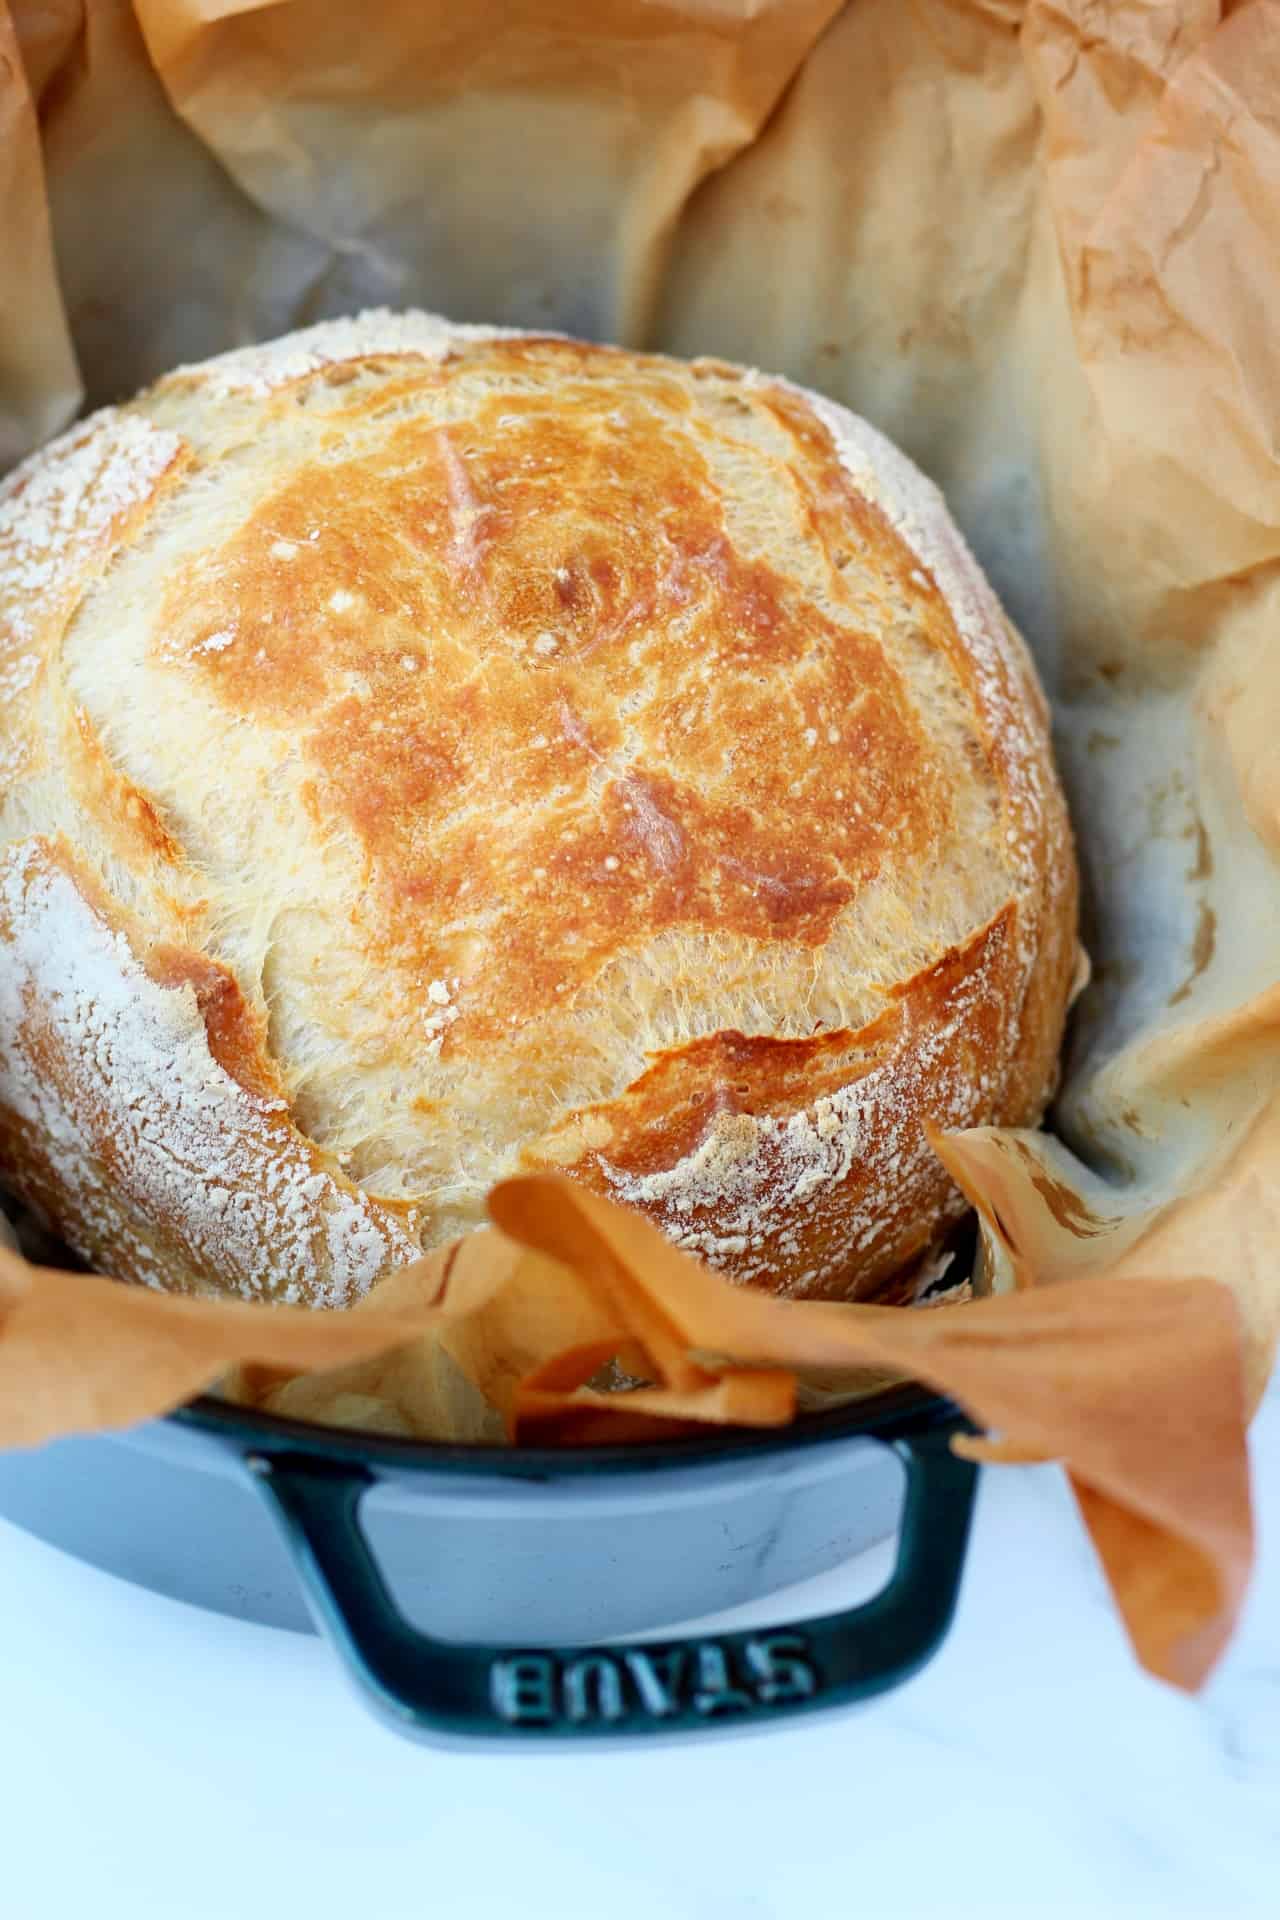
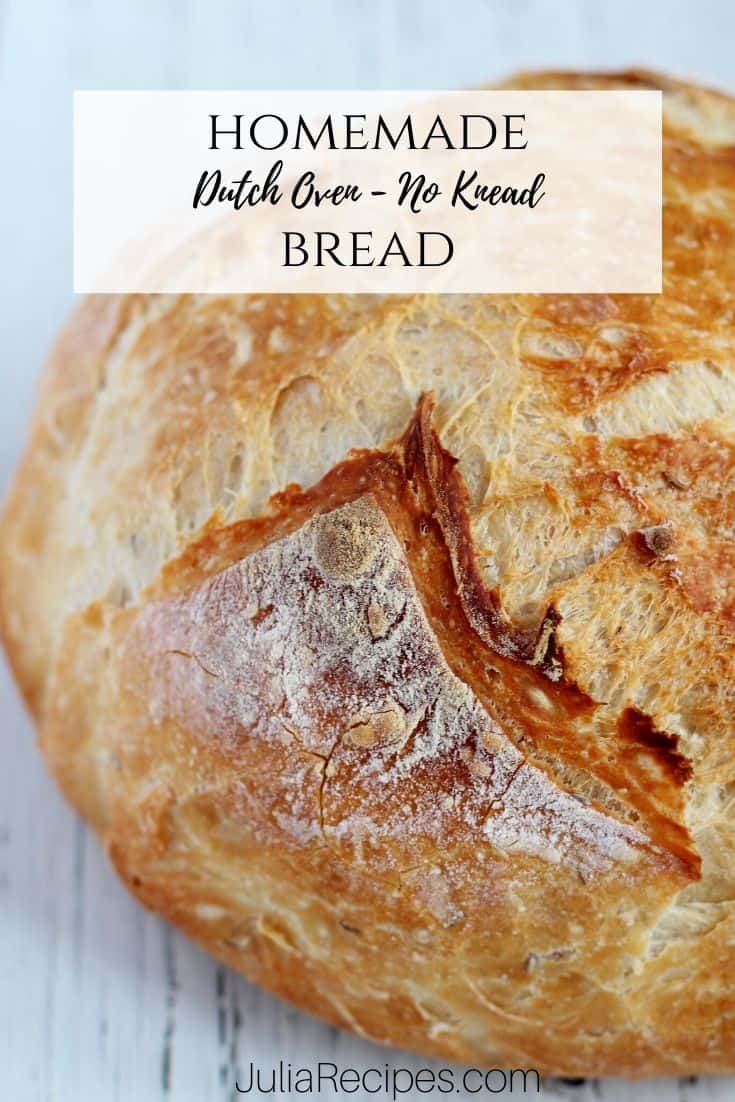
This homemade bread in a dutch oven, is so simple to make, that you will be making this bread every week. You will need only 4 ingredients, which are already in your pantry, so no more excuses to make fresh bread.
The simplest homemade bread in a dutch oven
Hello and welcome to all amateur bread makers and bread lovers! This recipe is for all those who loves fresh crispy bread, coming straight out of the oven. For those, who are inpatient and can’t wait for the starters (homemade yeast culture) to be ready. For those who wants to enjoy their fresh bread anytime of the day.
This homemade bread will take less than 10 minutes to prepare and doesn’t require kneading. You will just simply toss all the ingredients in the kitchen bowl, few strokes of wooden spatula to combine ingredients and then just waiting for the magic to happen.
“This post may contain affiliate links. Please see disclosure page for more information
WHY I CALL THIS EZ (easy ) BREAD
This recipe for homemade bread in a dutch oven is actually the easiest bread I have ever baked. It is often called no-knead bread. It means you don’t have to go through kneading stages as with sourdough bread would require. Just a few caresses to the dough to shape the bread in a nice ball and that’s it!
I have been trying many recipes for bread and this one is literally the easiest ever. And this is why I also call it easy bred or EZ bread 🙂

WHY TO USE Dutch oven AND WHICH ONE TO CHOOSE
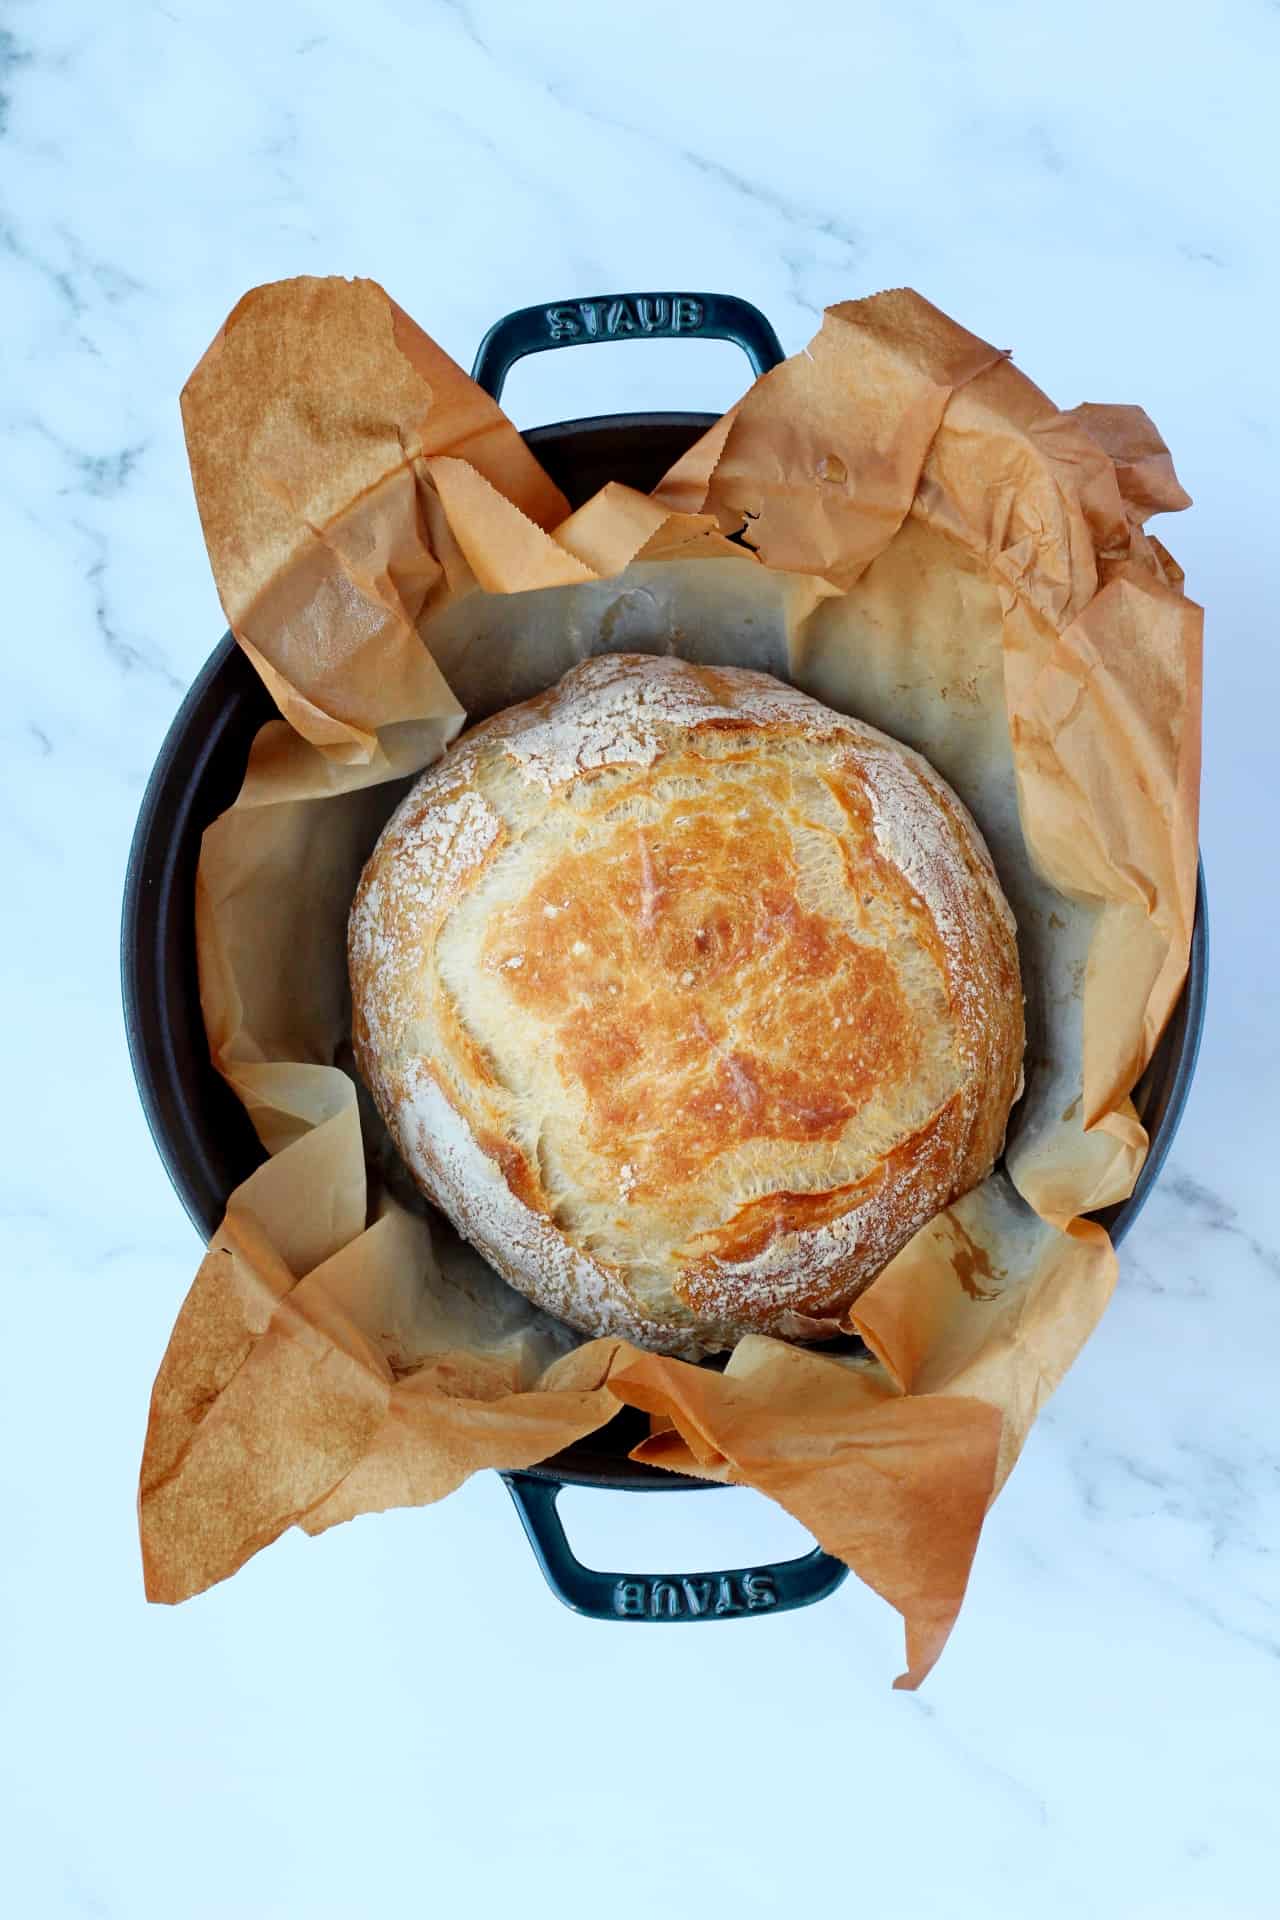
In this recipe for homemade bread, I will be using Dutch oven to bake the bread in. What is Dutch oven? You must have heard this name already at least once. Dutch oven, is any large cast iron heavy pot, covered with enamel. The use of Dutch oven is very versatile. You can use it on the stove top and/or in the oven. I am mostly using it for making homemade brad, but also soups or stews are an excellent in Dutch oven.
Most popular brands are Creuset, Lodge or Staub . I have a beautiful limited edition Staub cocotte, and I am using it for more than 3 years and it still looks like a new one. I love it because of its colour and non-stick black coating inside.
Do I have to use Dutch oven to make this bread?
Even though this recipe is adjusted and written specifically for making the bread in Dutch oven, it’s not required. But I strongly recommend Dutch oven for the best results.
You can use any type of large aluminum roasting pot with cover. Such as this aluminum/stainless steel roasting pot I am sure most of you must have one at home already. It is the one for making turkey. I would not recommend tempered glass oven proof dish, because most of them won’t support the high temperatures of the oven and you can run risk of shattering the glass dish.
If you happen to have any large pot with lid or large skillet with lid, which is suitable for oven and can support temperature of 230C/450F, then it would be also acceptable.

Why do I have to use parchment paper when making homemade bread?
Parchment paper is very important for handling the dough. You will be required to reheat the oven at high temperatures, with the Dutch oven inside. This all prior placing the dough inside the Dutch oven. So it comes very handy, to have the bread dough placed on parchment paper and securely transfer it from the kitchen counter into the Dutch oven.
It also protects the dough from burning on the bottom. So I do highly recommend to use parchment paper. Trust me, the dough is very sticky and you do not want to burn yourself, while transferring the bread dough inside the Dutch oven.
Don’t try to spray the Dutch oven with vegetable oil or any other fat. It all burns and smokes at the temperatures we will be baking the bread. And if you decide baking the bread without the parchment paper, it will most likely stick and burn on the bottom.
How long does it take to rise the dough for homemade bread?
This homemade bread in a dutch oven recipe is written to make the bread quickly. So I will try to break it down for you.
Prepare and combine these 4 ingredients: all-purpose flour, dry yeast, salt, water will take you about 10 minutes. Then the proving time is in between 2-3 hours depending on the temperature of your room. In summer my dough rises quickly and in 2 hours is ready to bake. But during winter times, I have to sometimes wait 3 – 4 hours. All depends on the temperature of the room where you are proving the dough. So if you are preparing the bread while cooking, place it close to the stove (but not on the stove)!
After the proving time, you have to shape the dough in a small ball and have to let it prove once more for 30 minutes. In the meanwhile you will be reheating oven with the Dutch oven inside. The baking time is 40 minutes with the lid and 10-15 minutes without the lid, for the crispy crust.
Water temperature will determine the time of proving
Water used for the dough must be warm, but not too warm. I do strongly suggest measuring the temperature of the water with food thermometer. The reason why is: if you use water which is not enough warm, the dough will take forever to rise. On the other hand, if you use very warm, hot or boiling water, you risk to kill the yeast and at this moment no proving will happen.
Colder water is actually not that bad, comparing it to the hot one. With killed yeast you can’t do nothing. Just to start over. But with cold water the process of rising will be slow and long. The proving time for bread with cold water is in between 10- 12 hours. Make sure the temperature is exactly as written in the recipe below.
TIPS FOR MAKE the BEST ARTISANAL BREAD
Make the bread overnight. If you wish to have fresh bread in the morning, you don’t have to wake up at 3 AM to prepare the dough. You can simply get the bread dough ready overnight. Just get the dough ready the night before and instead of warm water, you use cold water. Cold water will slow the process of yeasts to rise and the dough will take more time to prove (overnight). Leave the dough rest on the kitchen counter overnight, covered with plastic food wrap and bake it in the morning. Mmm this makes my mornings, when we can wake up to the smell of fresh bread coming from the oven.
The yeast measurement doesn’t need to be as precise as the water temperature. At this point the dough is very forgiving, if you would add a little more of instant yeast, it will rise a little more quickly, but not significantly.
VARIATIONS OF HOMEMADE BREAD
Add spices or seeds. You can add to this bread dough some seeds, such as sesame seeds, cumin or (I love) carvi seeds or sunflower seeds. Carvi seeds are very similar to cumin seeds, but are less aromatic. You may completely change the recipe with adding some brown sugar and adding raisins and cinnamon to the dough. This will make sweet bread.
Use different sort of flours. So far I have tested this recipe for rye bread flour and whole wheat bread flour. With rye bread flour, check the exact measurements, because rye flour has bigger percentage of humidity and the amount of water must be adjusted.
There are endless flavours, that you can add to this recipe (cheese, garlic, chives, french onions, olives, etc.) You might also check this YouTube video with my homemade bread recipe. At this time I have been using half size Dutch oven, so the ingredients are cut in half as well.
Products I used in this recipe.
More recipes
- Dutch oven chili con carne
- Light white fish soup
- Classic creamy leek soup
- Simple wonton soup
- Traditional beef goulash
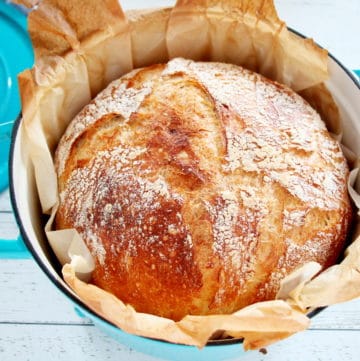
HOMEMADE BREAD IN DUTCH OVEN
Equipment
- dutch oven 5 1/2 qt
Ingredients
- 6 cups all-purpose flour
- 2 tsp dry instant yeast
- 2 tsp sea salt
- 3 & 1/3 cup warm water 130F/55C precisely
- 1 tsp carvi seeds (optional)
Instructions
- Combine the all-purpose flour, yeast, carvi seeds (optional) and salt in a large bowl. Stir in water and combine with wooden spatula.
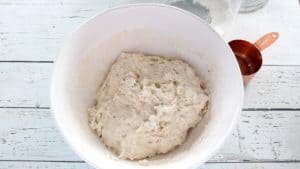
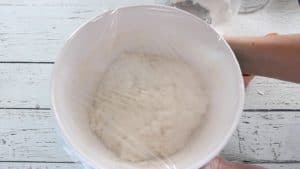
- Cover with plastic wrap and let the dough sit at room temperature for 3 hours.
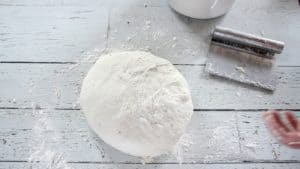
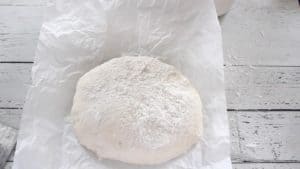
- Transfer the dough onto a clean surface, sprinkled with flour (approx. 3 tbs). Sprinkle some flour also over the dough (1 tbs), so it doesn't stick to your hands. The dough will be loose and sticky, but very soft. Fold the dough gently in a shape of a ball. Use dough scraper to help you to shape and lift the dough.
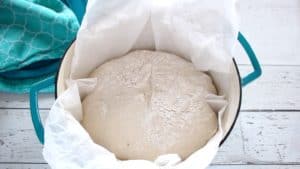
- Place the dough onto a piece of parchment paper-lined bowl and cover with a clean kitchen towel. Let it stand on counter top for another 30 minutes or until the oven will be reheated.
- In the meanwhile, place Dutch oven with the lid in oven and preheat oven to 450 °F (ca. 232 °C). It will take approximately 20-30 minutes for the oven to reheat. The dough will have it's time to prove for the second time.

- When oven reaches 450 °F (ca. 232 °C) carefully, using oven gloves, lift the parchment paper with the dough, from the bowl and place it gently into the hot Dutch oven. Be extremely careful, as the Dutch oven is very hot!! Cover with lid and bake for 40 minutes.
- After 40 minutes baking, remove the lid and return the bread in Dutch oven back to the oven and bake for additional 10 – 15 minutes. Keep a close eye on the bread, as temperatures of ovens may vary. Once the bread is golden brown remove it from the oven.
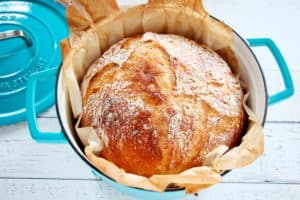
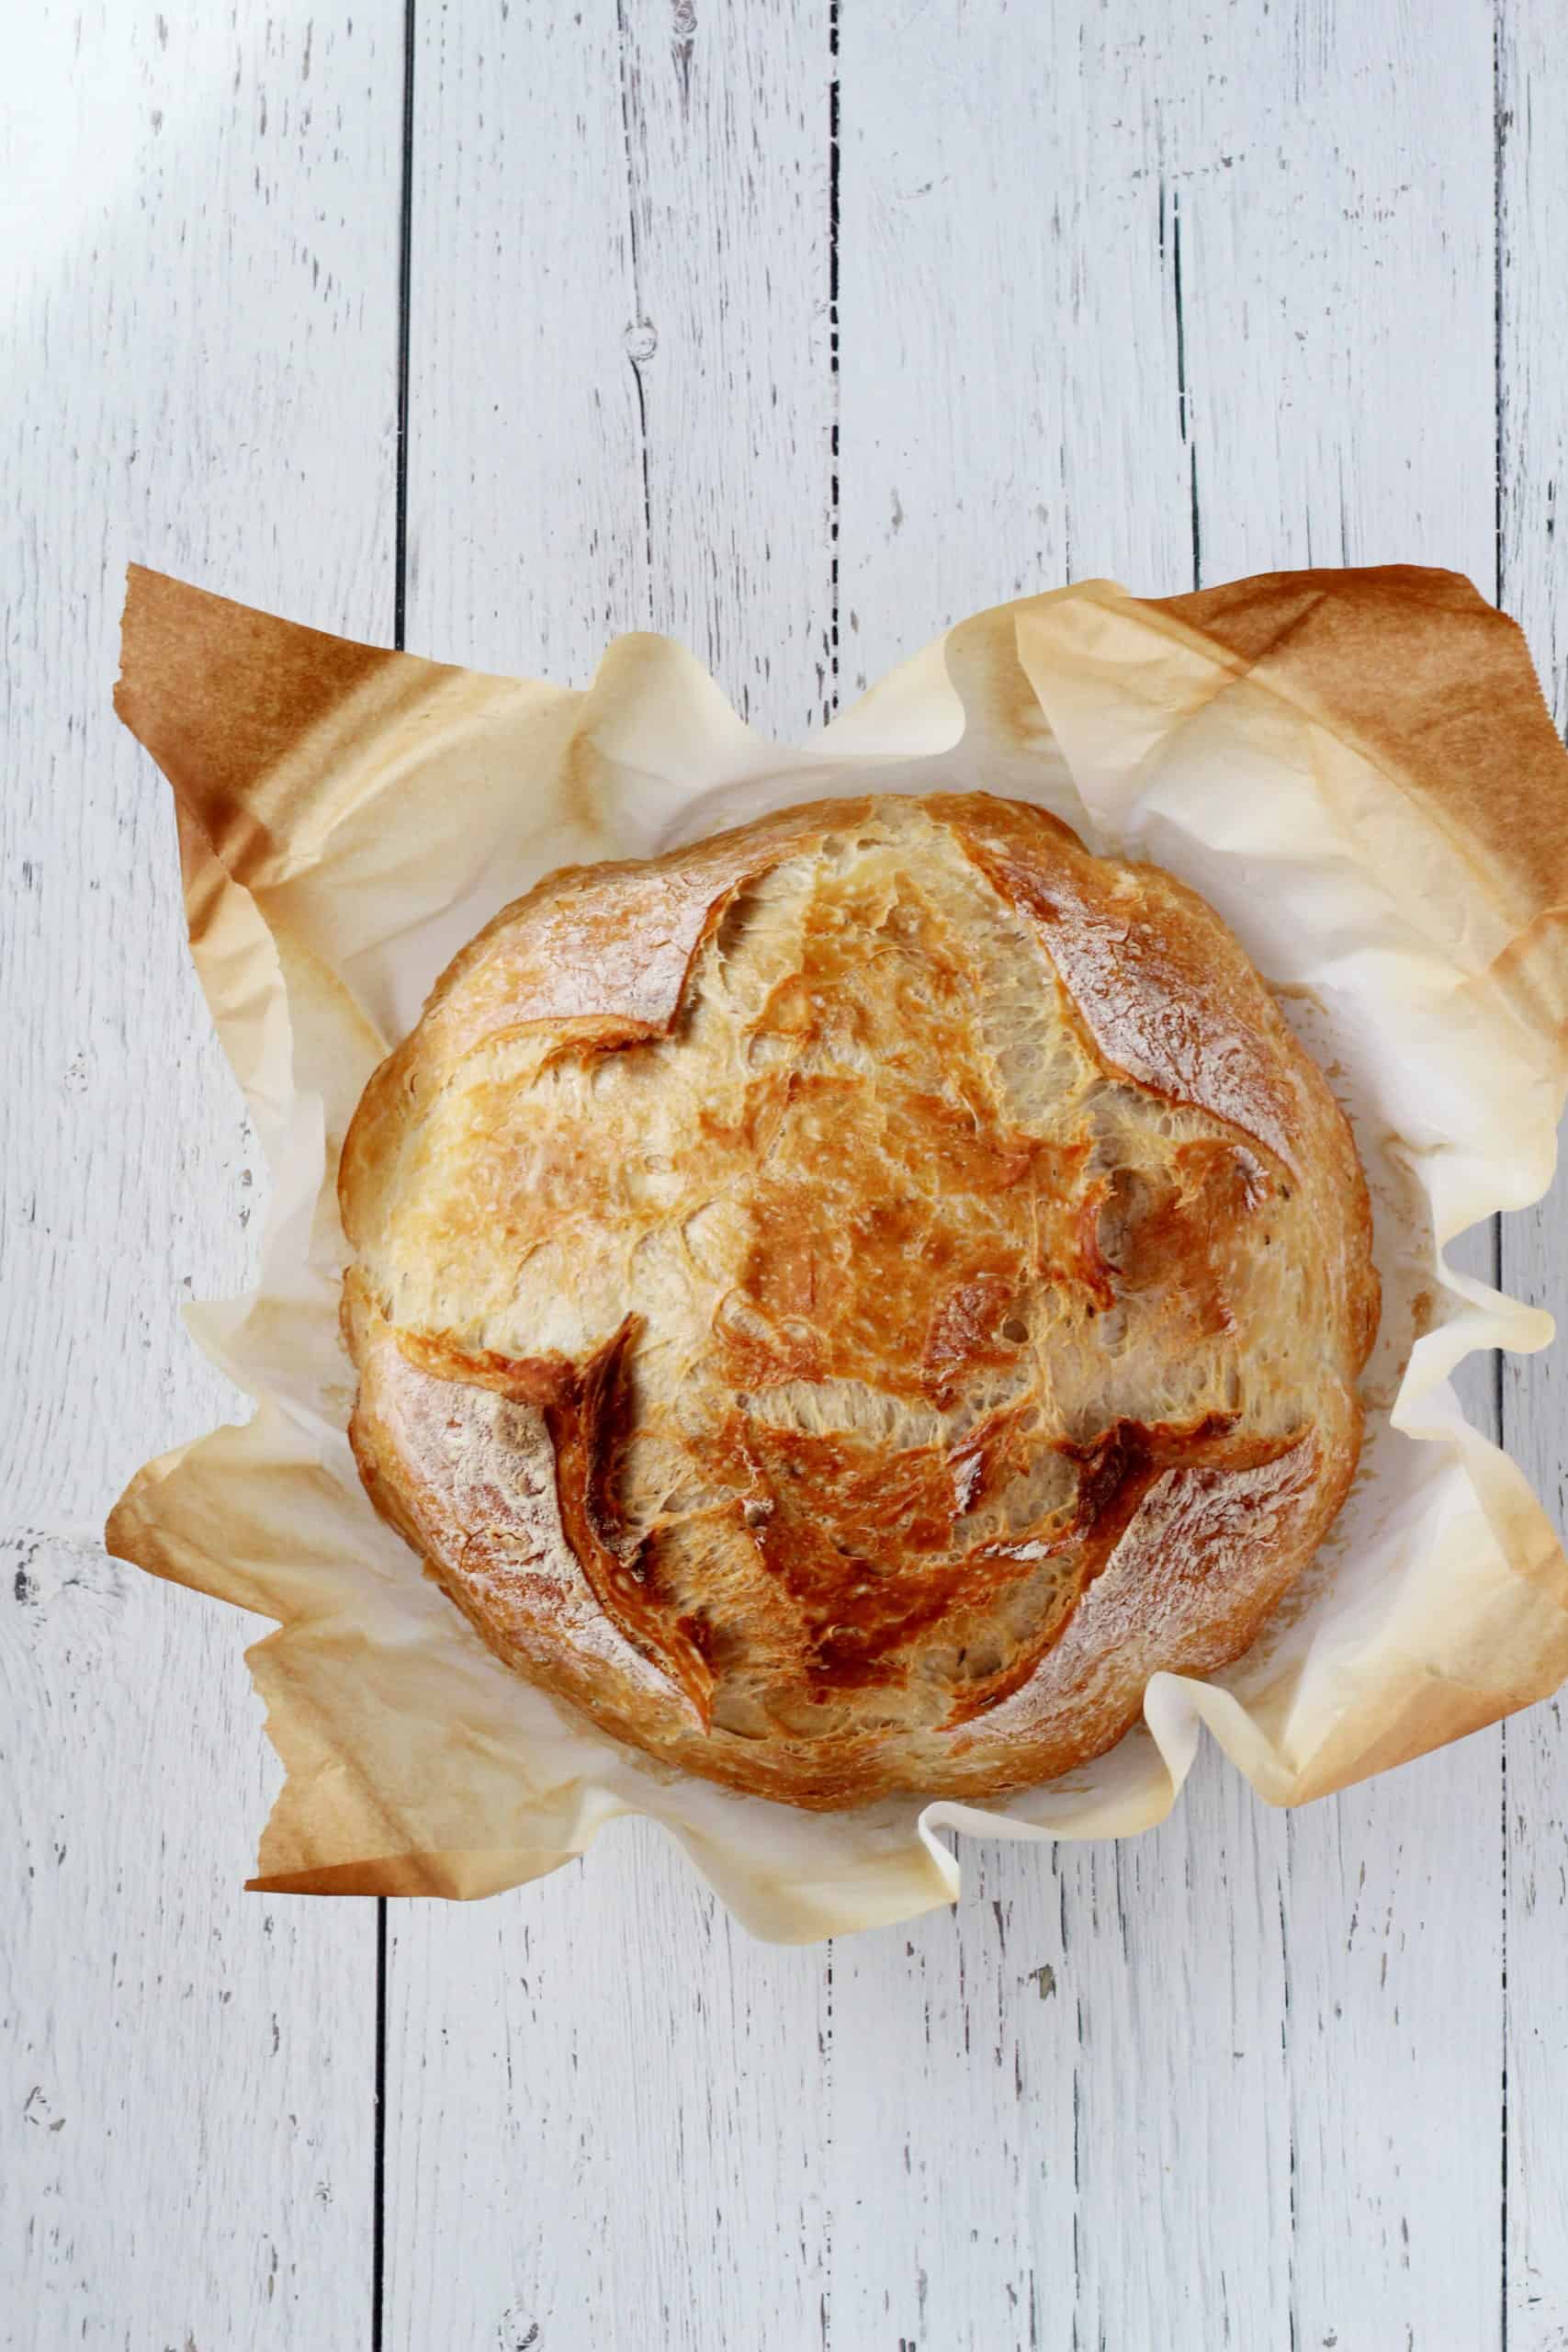
- Lift the bread on the parchment paper from the Dutch oven and place it (with the parchment paper) on the rack to cool it down. Let the bread cool for at least 1 hour.
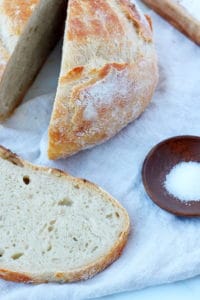
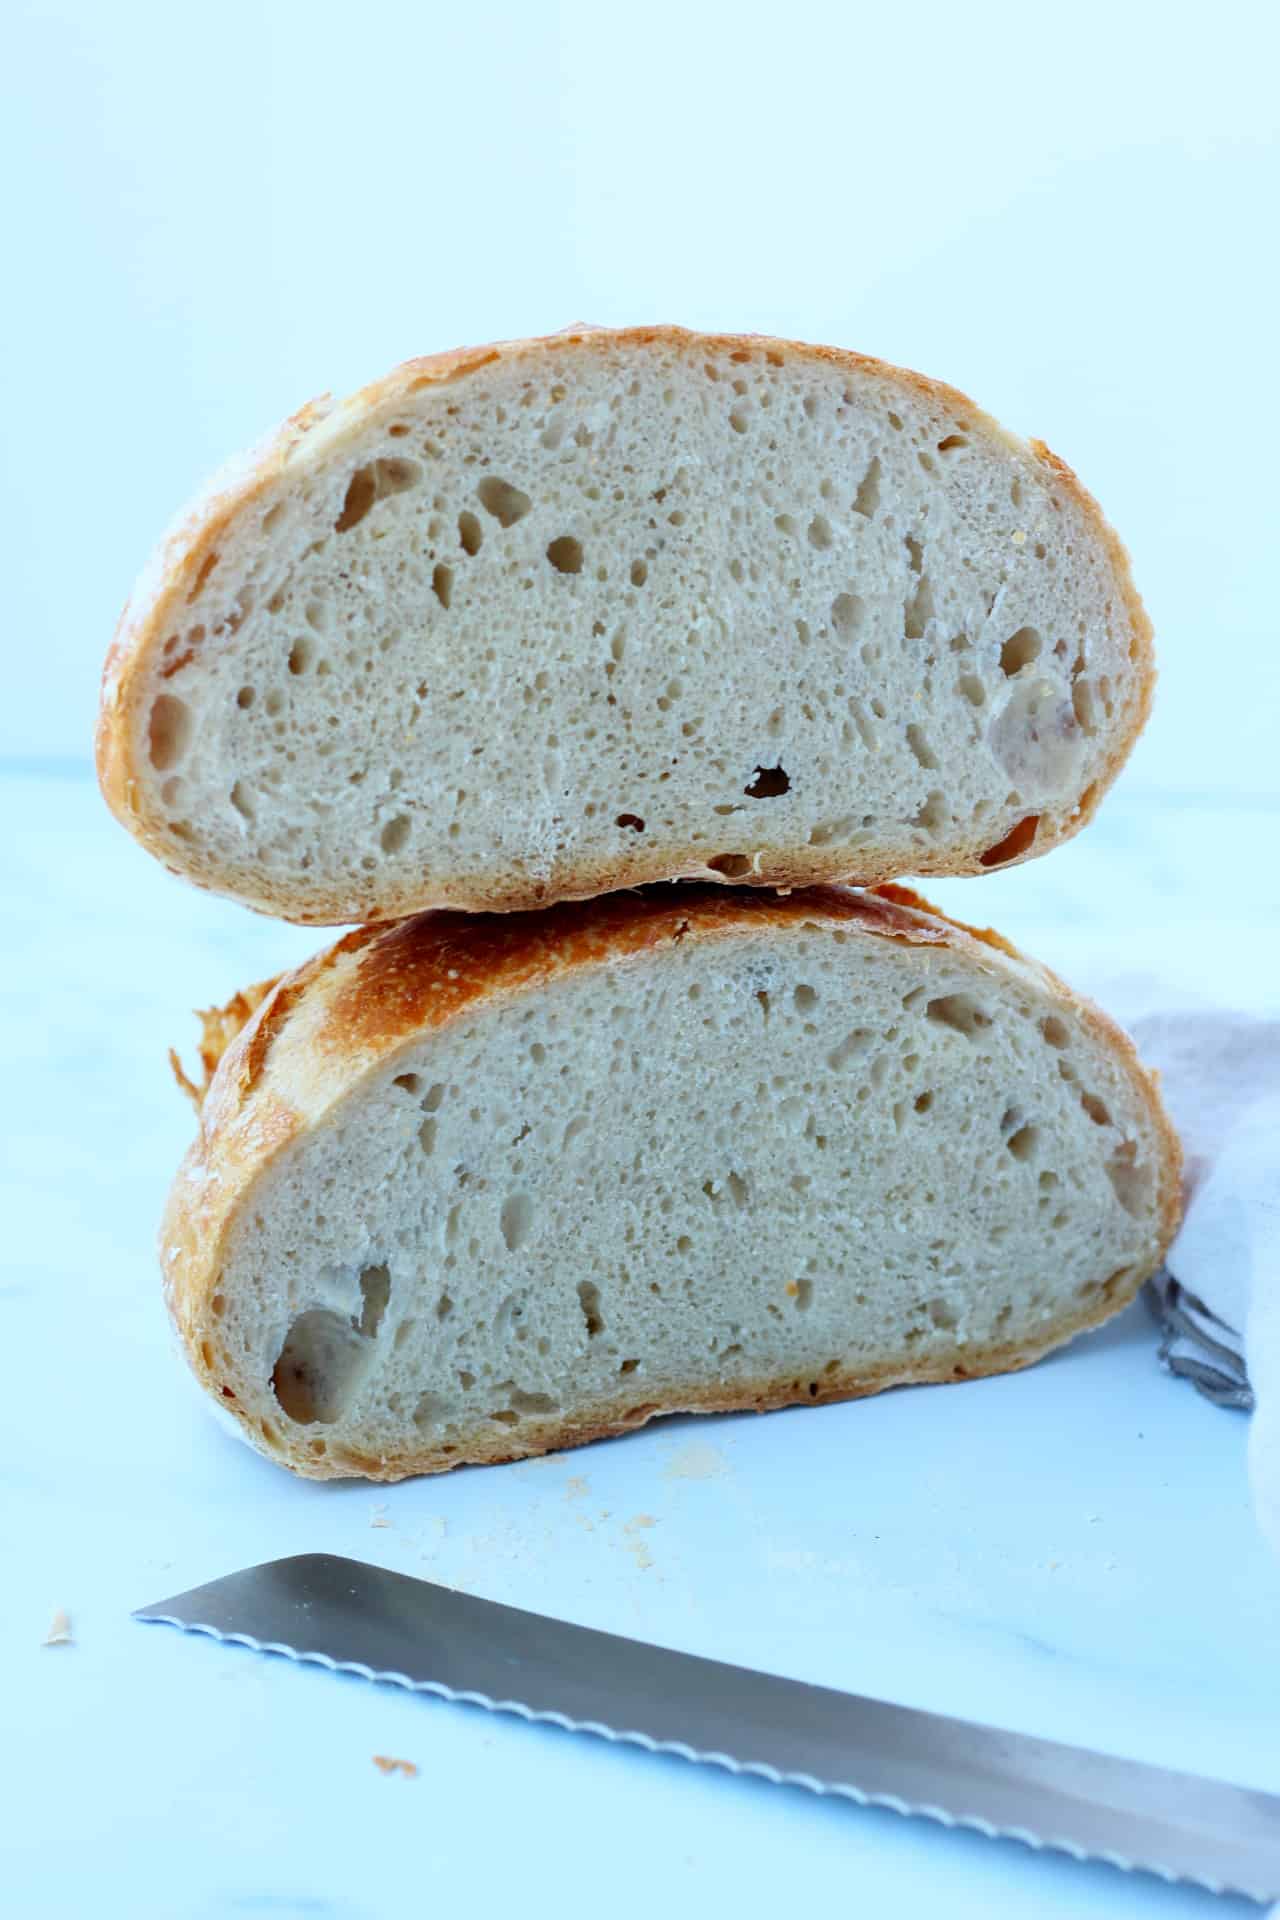
- Use sharp bread knife to slice the bread. Enjoy it with your favourite toppings!
Notes
- This recipe is adjusted to all-purpose flour, but you can mix it whatever ration you want with wheat bread flour or whole wheat flour. Both works well with this recipe. If you want to use rye flour, see the recipe here.
- The water temperature must be precise, if you want to enjoy the bread in the shortest time possible. Which is in total in between 3-4 hours, including rising the dough.
- You can also prepare this homemade bread overnight with 12 hours of rising. See the notes inside the blog post.
- The best result are when baked this bread in Dutch oven.
- You can add different flavours to this homemade bread, such as cheese, seeds, olives, onions, chocolate, cinnamon, etc.
Dannii
This bread looks perfect. So light inside, but a nice crispy crust. I can’t wait to try it.
Julia
Yes, that crust is amazing! Every time I bake this bread, I have the same joy when I have baked it for the first time!
Shashi
Oh wow! What a fabulous loaf of bread! I cannot wait to try this easy recipe – thank you for it!
Julia
My pleasure Shashi:) I am so happy I can share this very simple, yet delicious homemade bread!
Anjali
Omg I had no idea it was so easy to make bread from scratch at home! Love that it’s only 4 ingredients and it turned out great!
Julia
Yes, only 4 ingredients and you can munch on your own homemade bread Anjali! You will love how easy is to make it!
Chris Collins
I never realised it was this simple to make bread in a dutch oven! Thanks so much for sharing the recipe 🙂
Julia
My pleasure Chris:) One of the easiest method for homemade bread and I have been baking it for years now and it always comes out excellent!!
Bintu | Recipes From A Pantry
I love that you need just four ingredients for this bread – it looks so good! Definitely going to have to make my own.
Julia
You will love how easy this bread is to make Bintu! I am baking it every Sunday:)
Marty
Easy, cheap and delicious 😋.
Julia
Thank you Marty 🙂