Homemade kefir is the most affordable probiotic rich fermented drink. See for yourself how easy you can make your own at home.

What is kefir
Kefir is tangy, fermented milk. It has a mild taste of acidity, and it tastes like drinkable yogurt and has been a regular part of Eastern European diets for centuries. It’s a full powerhouse, packed with calcium, protein, potassium, and other minerals and vitamins, and it abounds with healthy bacteria, yeasts, and enzymes.
It is packed with probiotics, more than you can find in yogurt. You can enjoy it plain or add some fruits and make a smoothie from it. You can also use it in baking as substitute for buttermilk or yogurt.
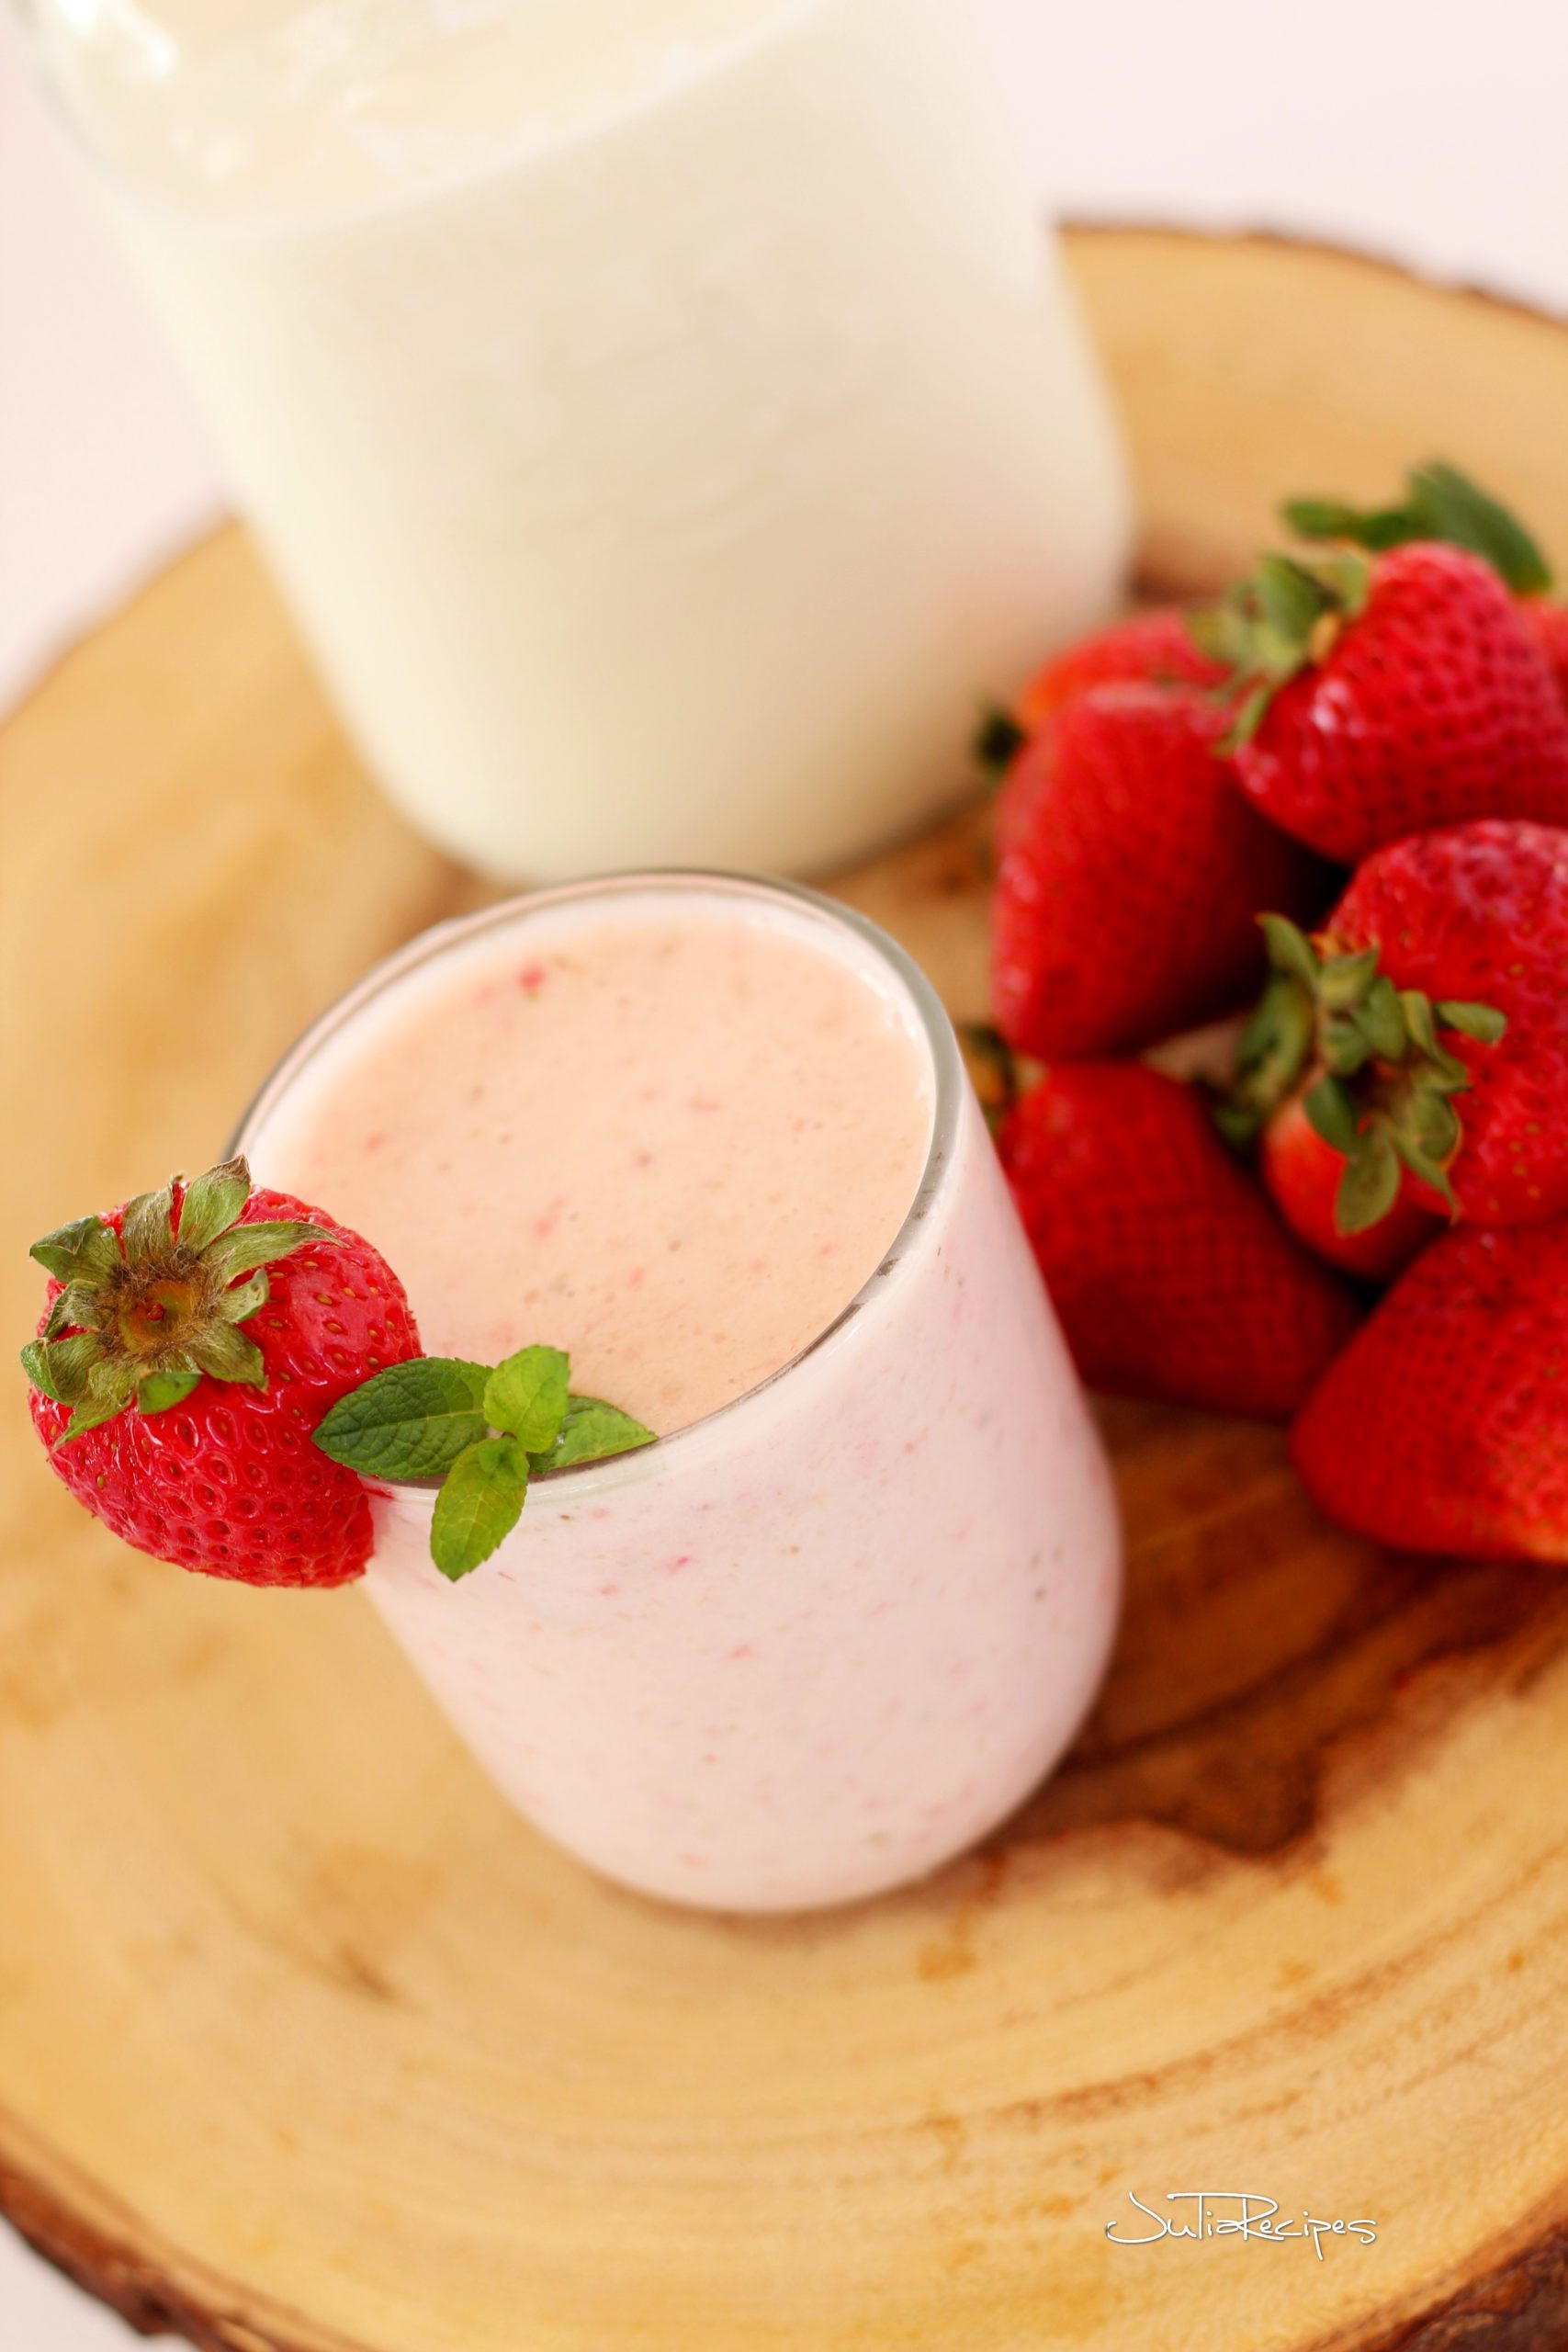
Homemade kefir has more microorganisms
Store-bought kefir beats the probiotic supplements, when it comes to the number of diversity of probiotics. Kefir is full of live organism, ranging from 150 billion to 950 billion per cup. It is far more, then found in most of probiotic supplements.
And homemade kefir, wait for it, contains even more microorganisms than the store bought one. And why? Because most of home ferments use kefir grains that contain between 30 and 50 different strains of healthy bacteria and yeast.
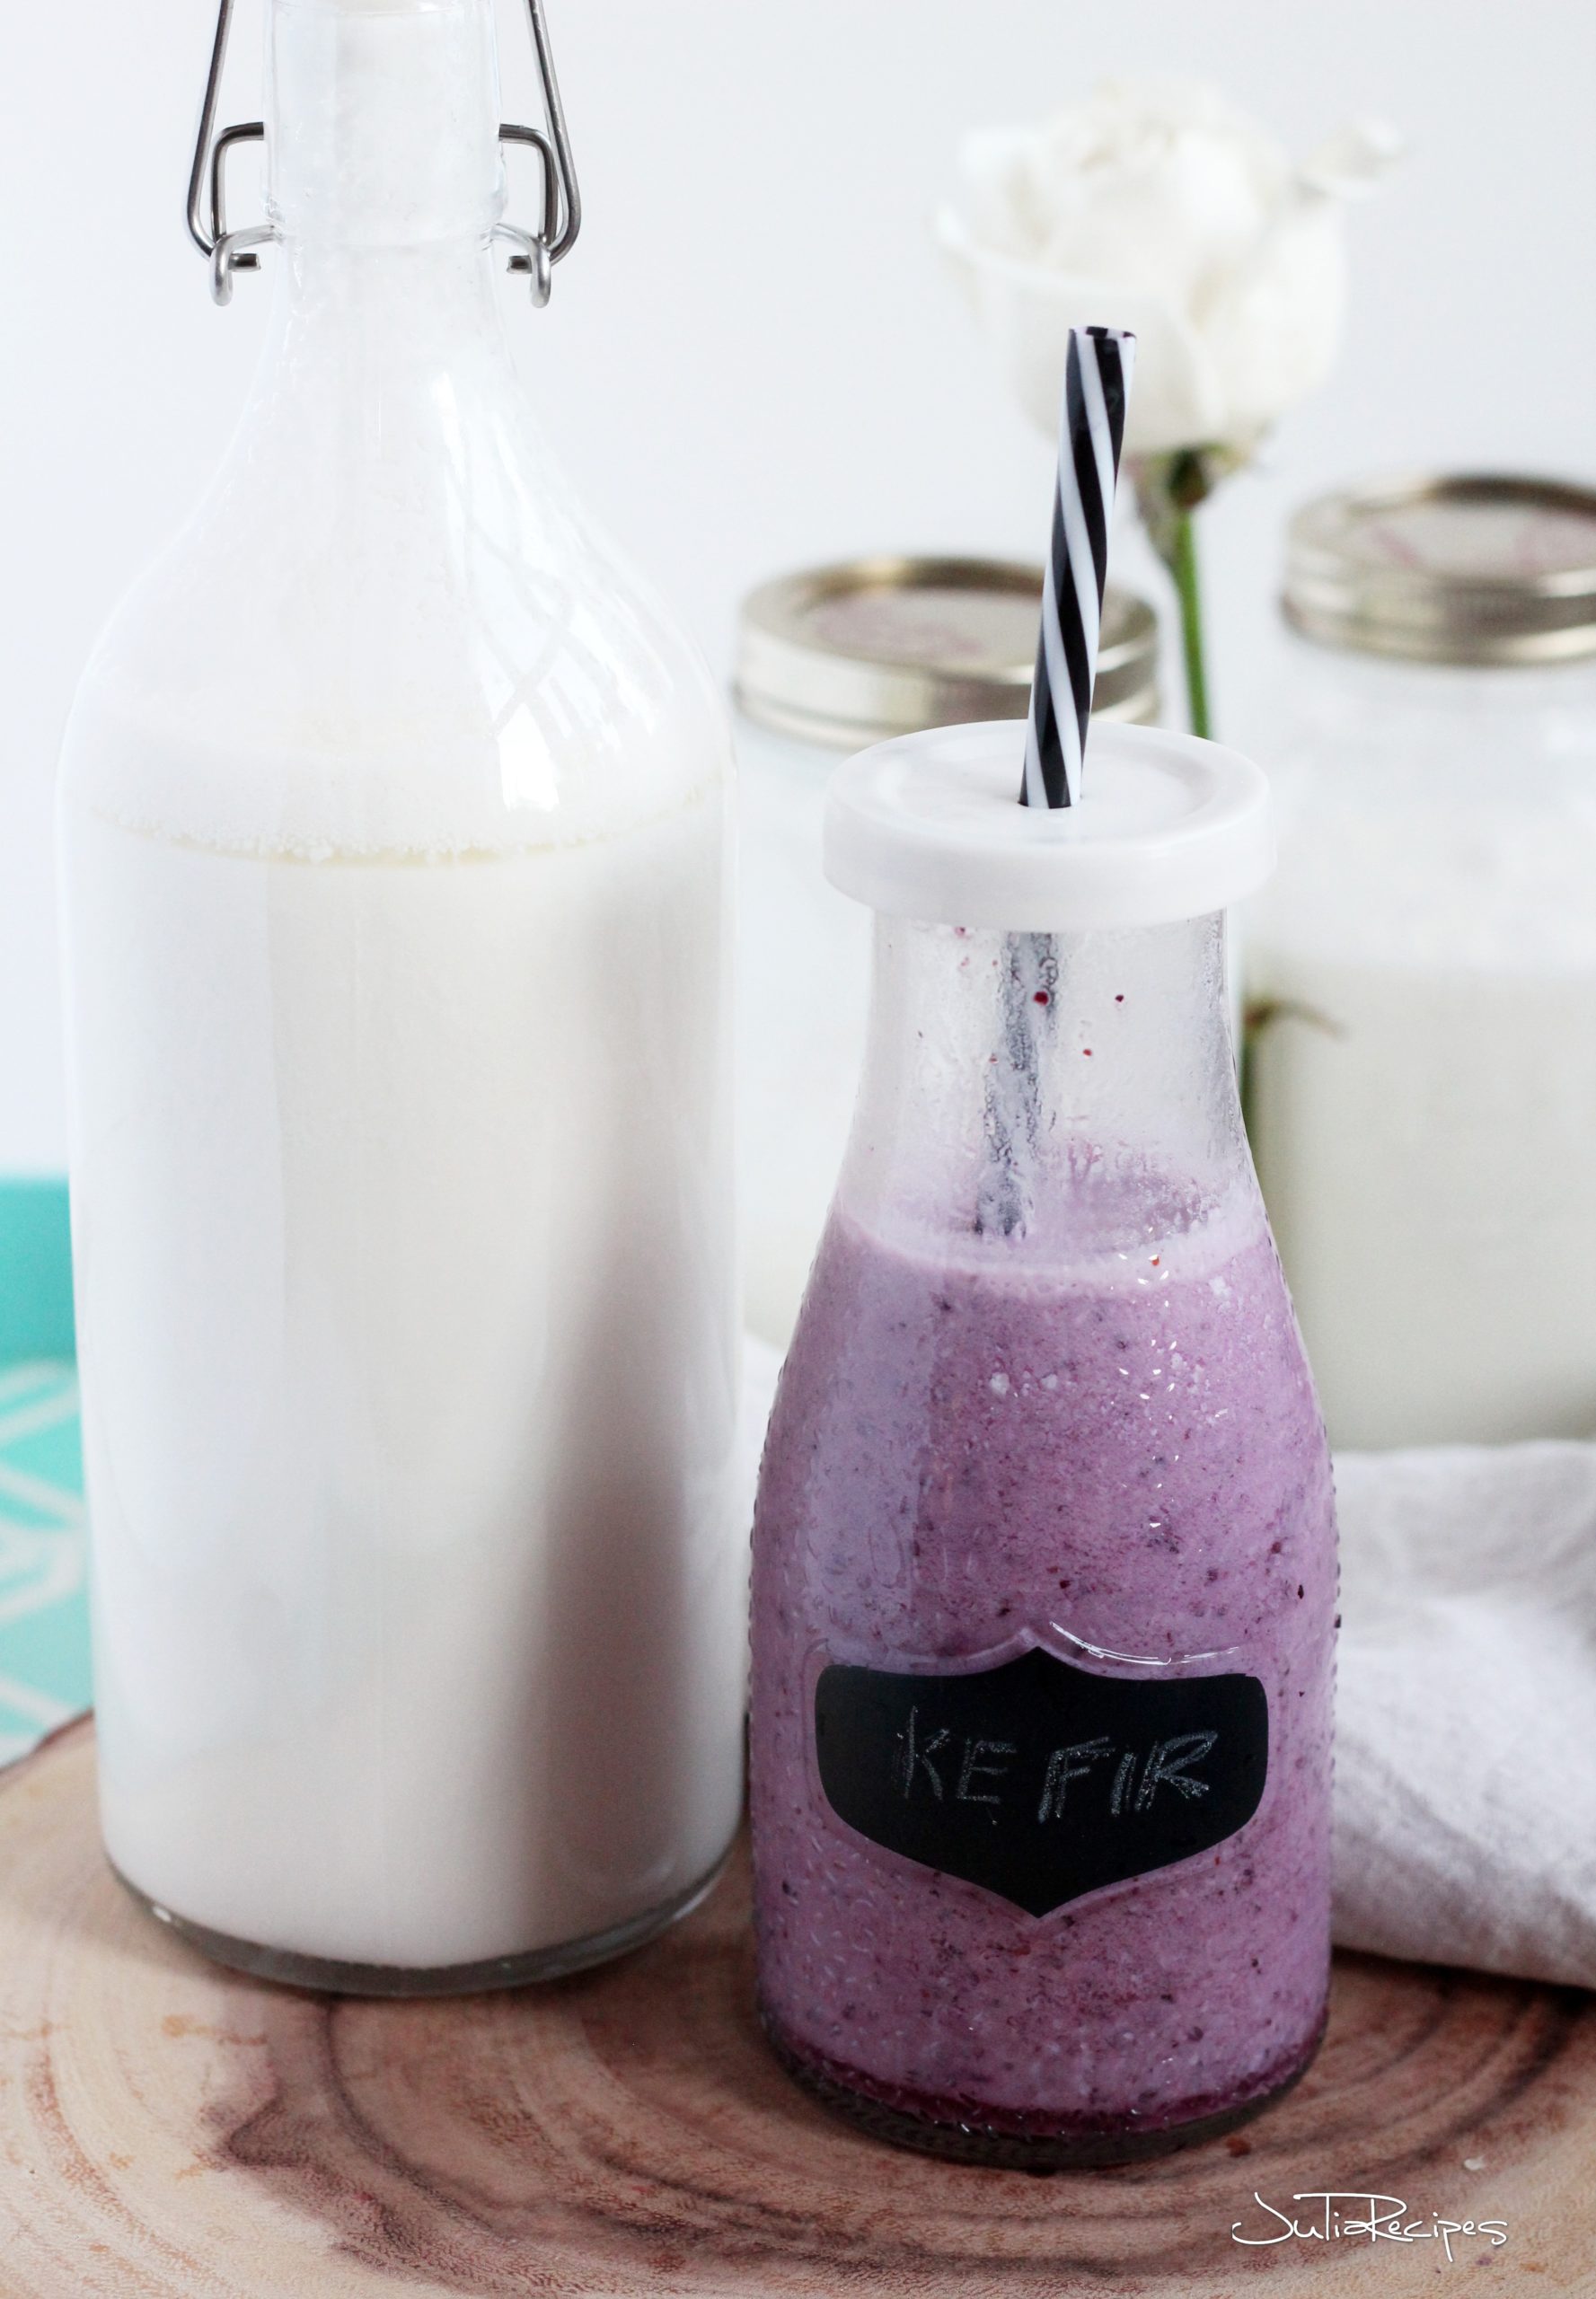
What milks to use to make kefir
Kefir is a fantastic-cultured beverage that has been used as a tonic in Eastern Europe and the Middle East for centuries. Kefir is traditionally made with cow’s milk or goat’s milk. But you can make it from any plant-based milk (such as coconut milk, almond milk, cashew milk) or even from water. The best part is that kefir is amazingly simple, superfast, absolutely inexpensive, and safe to make at home. The entire fermentation process only takes 24 hours at room temperature.
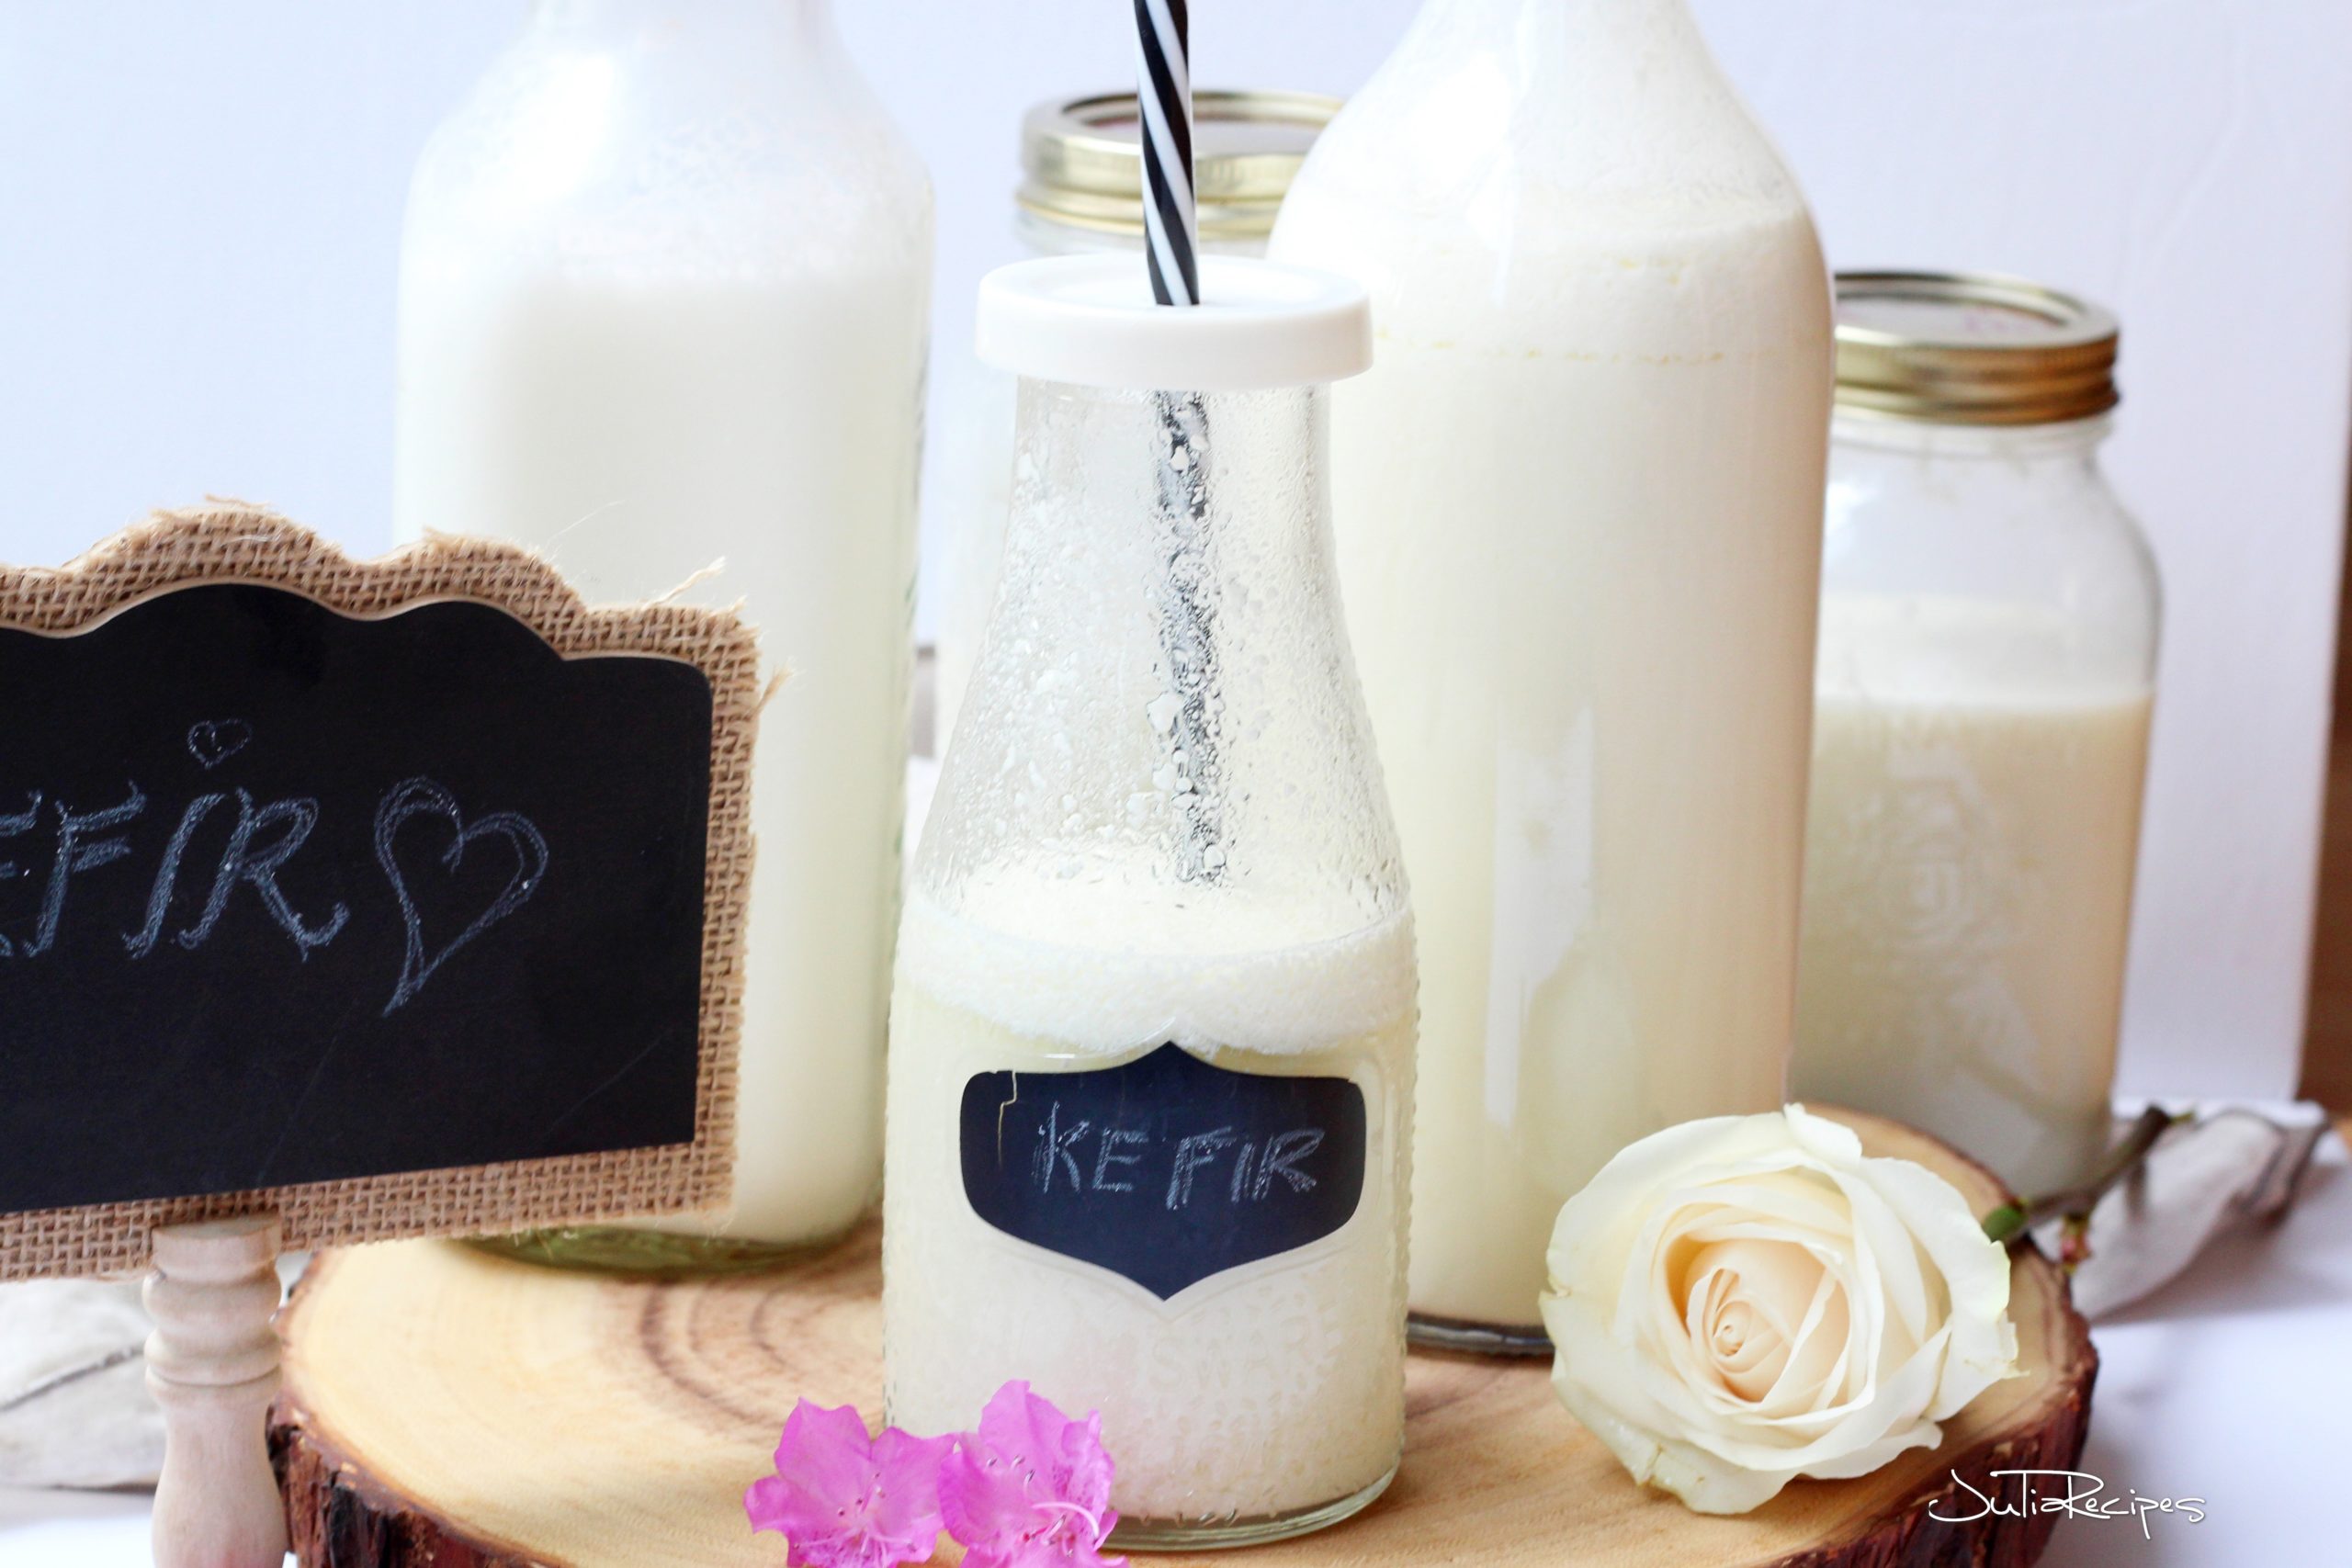
What are the benefits of drinking kefir
- Kefir is a fantastic source of many nutrients
- Kefir is more powerful probiotic than yogurt
- Kefir has potent antibacterial properties
- Kefir can improve bone health and lower the risk of osteoporosis
- The probiotics in kefir may help with various digestive problems
- Kefir sooth digestive system
- Kefir may improve symptoms of allergy and asthma
- Kefir can protect against infections
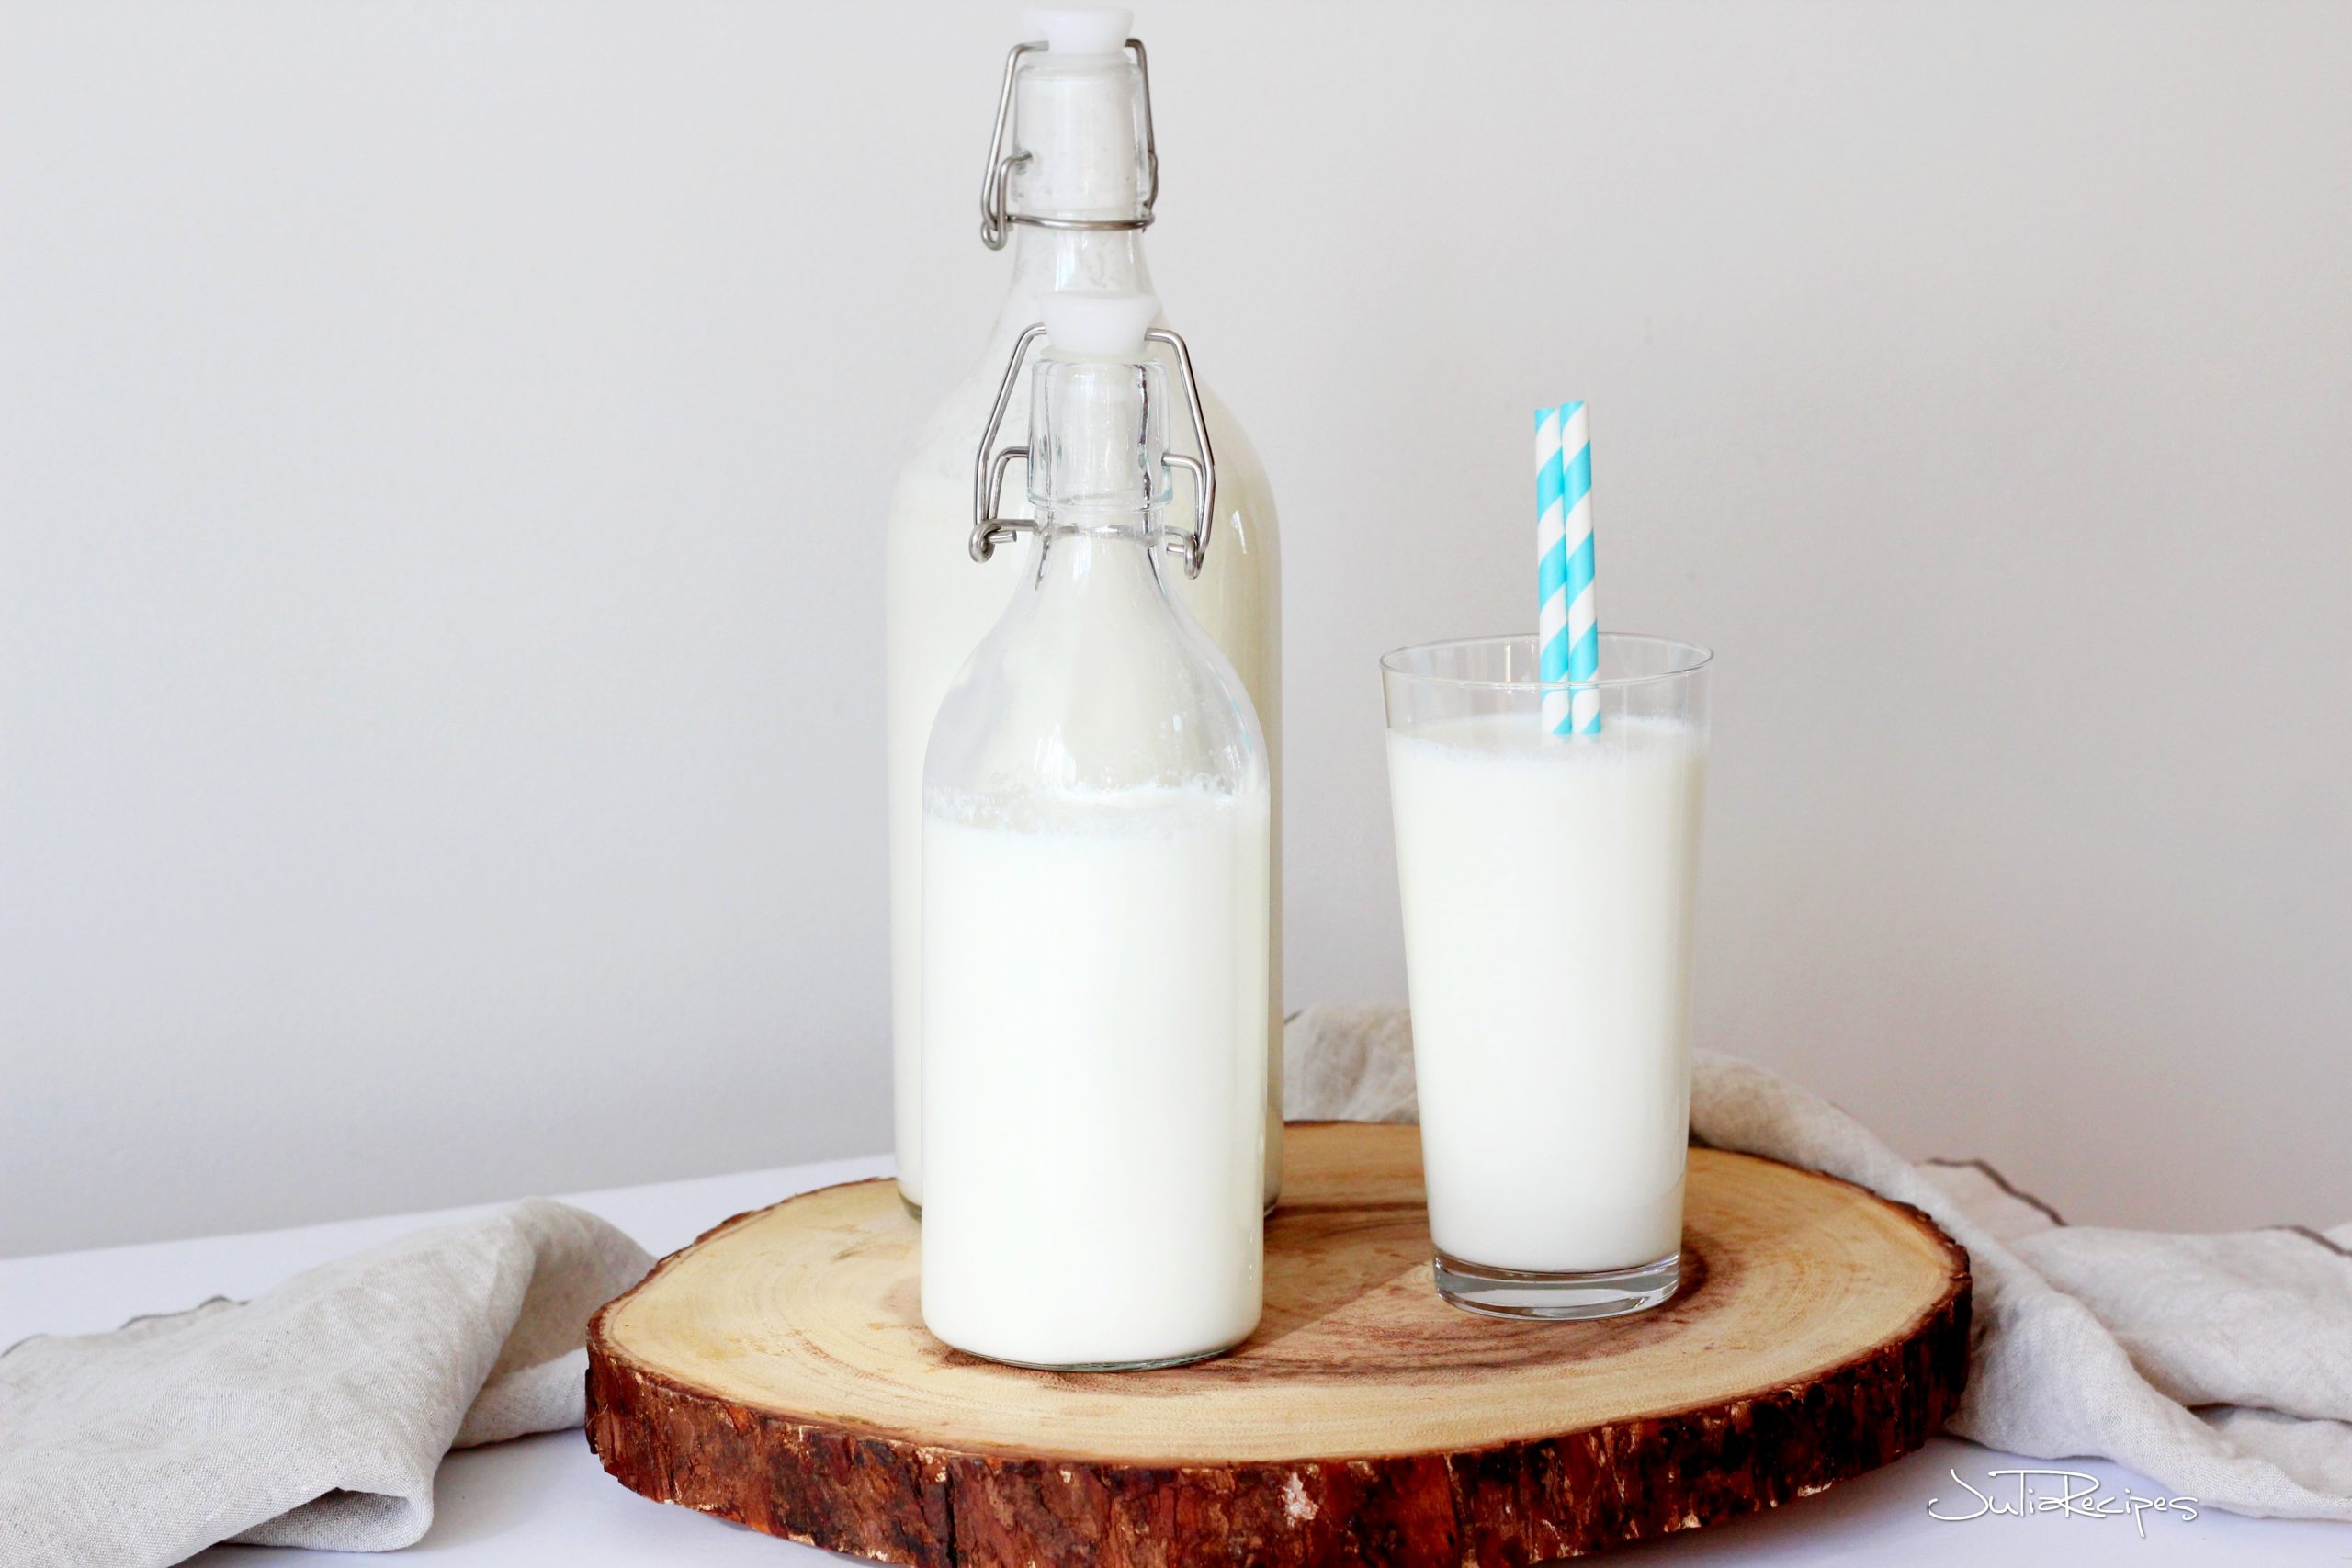
Kefir can also help with cold sores
Kefir can help reduce or heal completely cold sores. From my personal experience, I used to have a lot of cold sores at least 3-4 times a year. But since I have introduced kefir in my diet, the frequency of cold sores has been reduced dramatically. I had the cold sore only once this year.
Kefir is great against any kind of candida infection as well. Daily drinking kefir, will make you go regularly. If you have a sensitive gut, start slowly with kefir, take few tablespoons morning and evening, so you give a chance to your body to get used to of kefir probiotics.
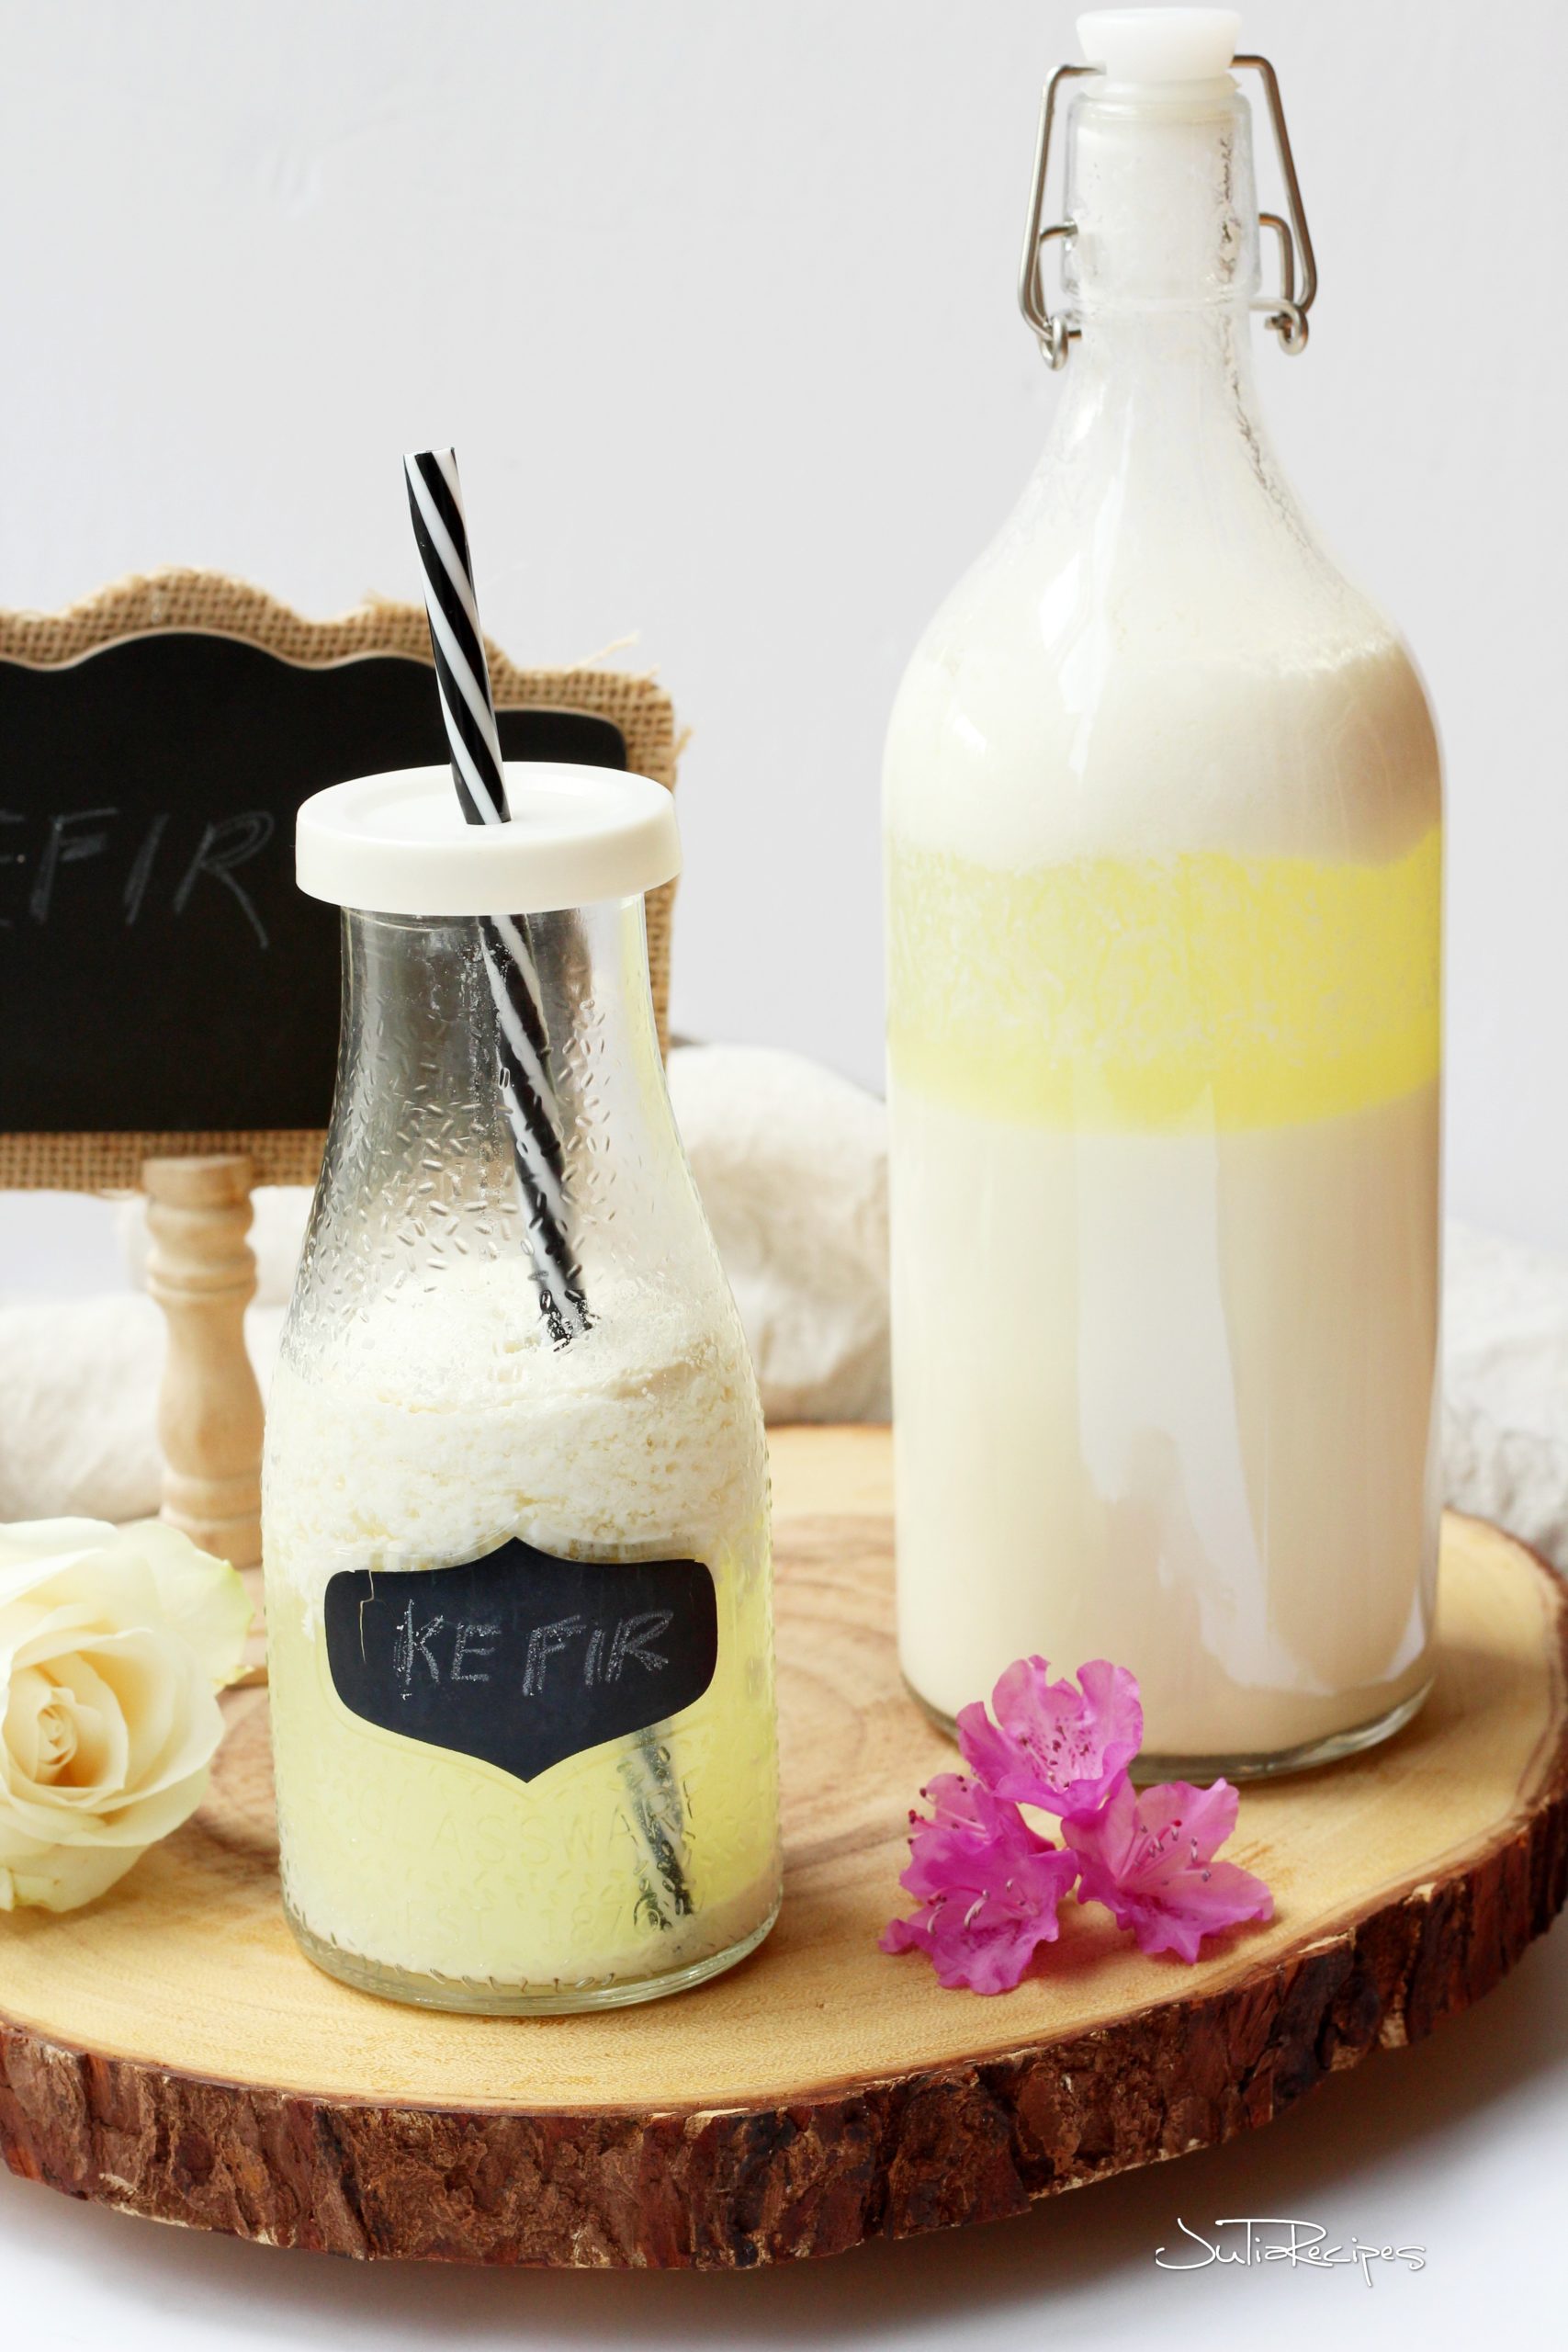
Where to get milk grains for kefir ?
Where to get kefir grains? These days, it’s super easy. Ask in your local health store, or lots of choices of milk grains are now sold also online, such as on Amazon.com. I also found milk grains to be sold on a local advertisement sites, such as Kijiji or Craig list.
Good news, grains do multiply, so your investment will pay off and eventually, you might be able to share with your friends.
Tools needed for homemade kefir
To make homemade kefir doesn’t require special equipment, but make not to use metal equipment. Grains might go through chemical reaction and produce less grains.
- Large mason jar, about 1 liter (4 cups)
- Wooden or plastic spoon
- Plastic strainer/colander (or cheese cloth)
- Large glass bowl
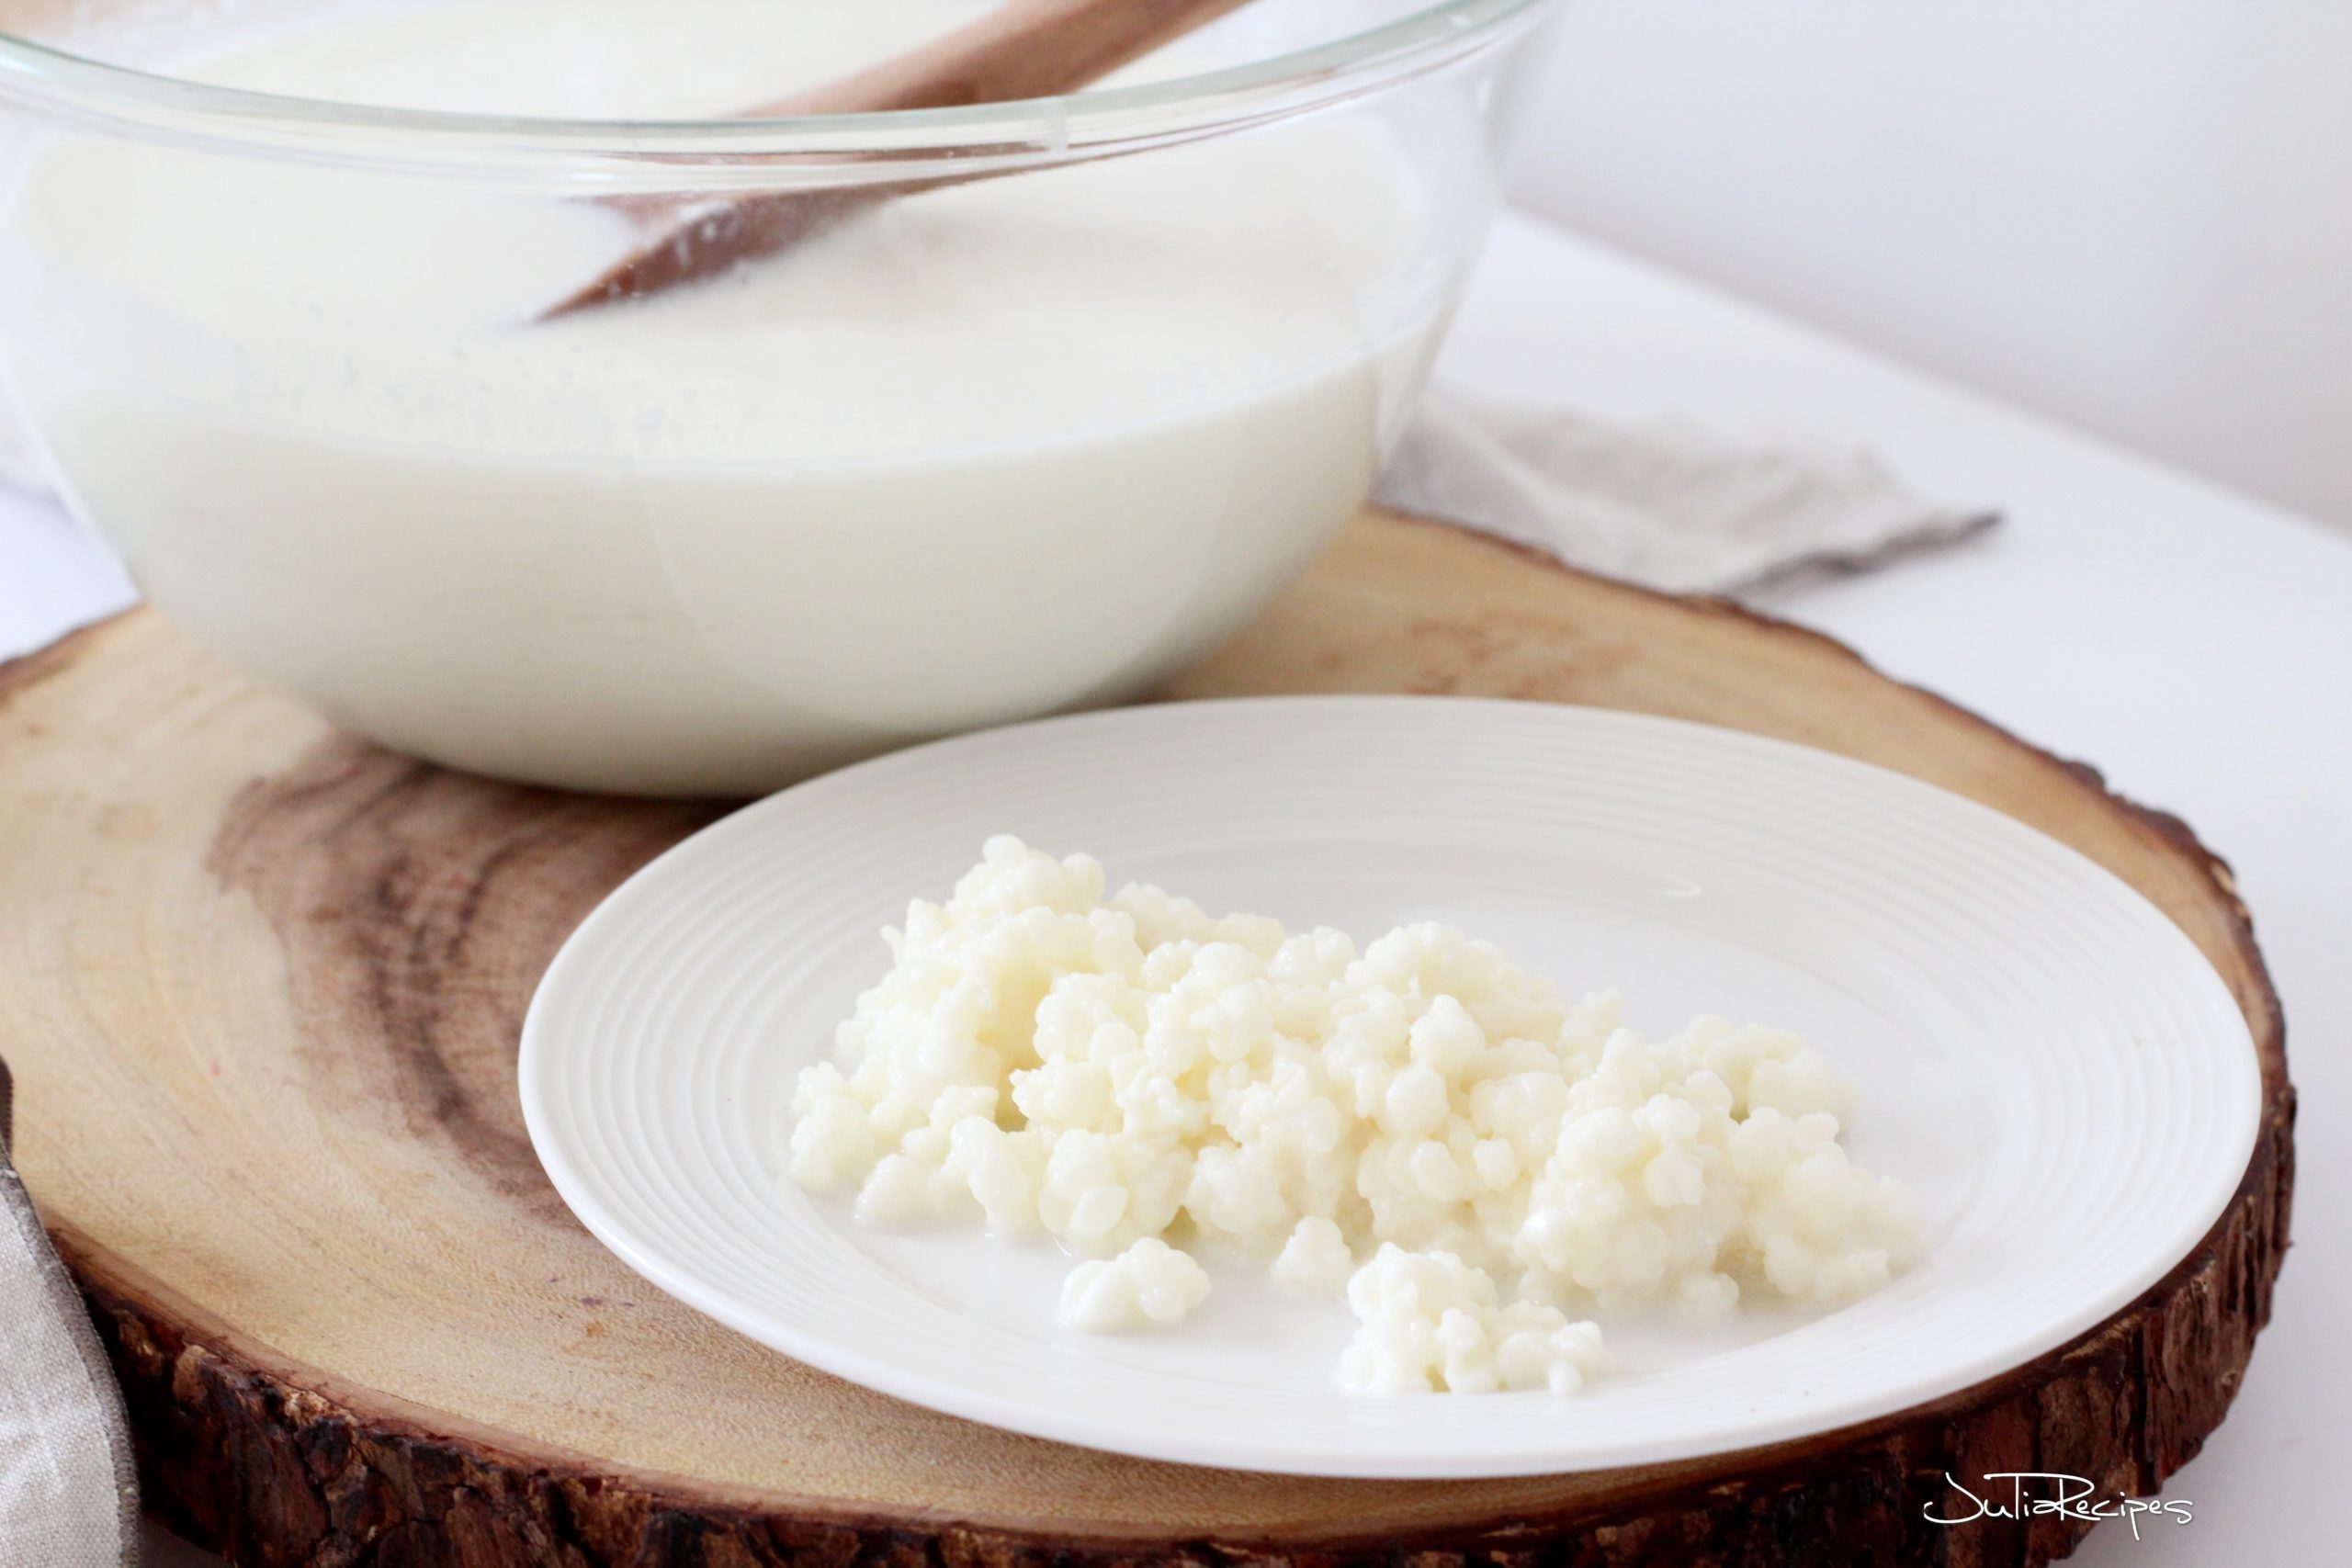
How to make homemade kefir?
How can you make Kefir at home ? It’s surprisingly easy. First things first, you need to know, that Kefir is made from milk and milk kefir grains. Milk kefir grains aren’t a real grains, it is rather a mixture of lactic acid, bacteria, and yeasts in a matrix of proteins, lipids, and sugars, and they contain the cultures that turn milk into kefir.
You simply place the kefir grains into a clean sterilized jar and pour over whole milk or any other milk (2% works best). Cover with cheese cloth or place the jar cover (do not tighten, only lightly close) and let stand covered on the counter or in your cupboard for 24 hours.
The milk can be room temperature or just taken out of the refrigerator. In the next 12 hours you will start to see the grains working. The milk will have few bubbles and on top you will start to see a little bit of curds. That is a great sign that your milk grains are viable and are working.
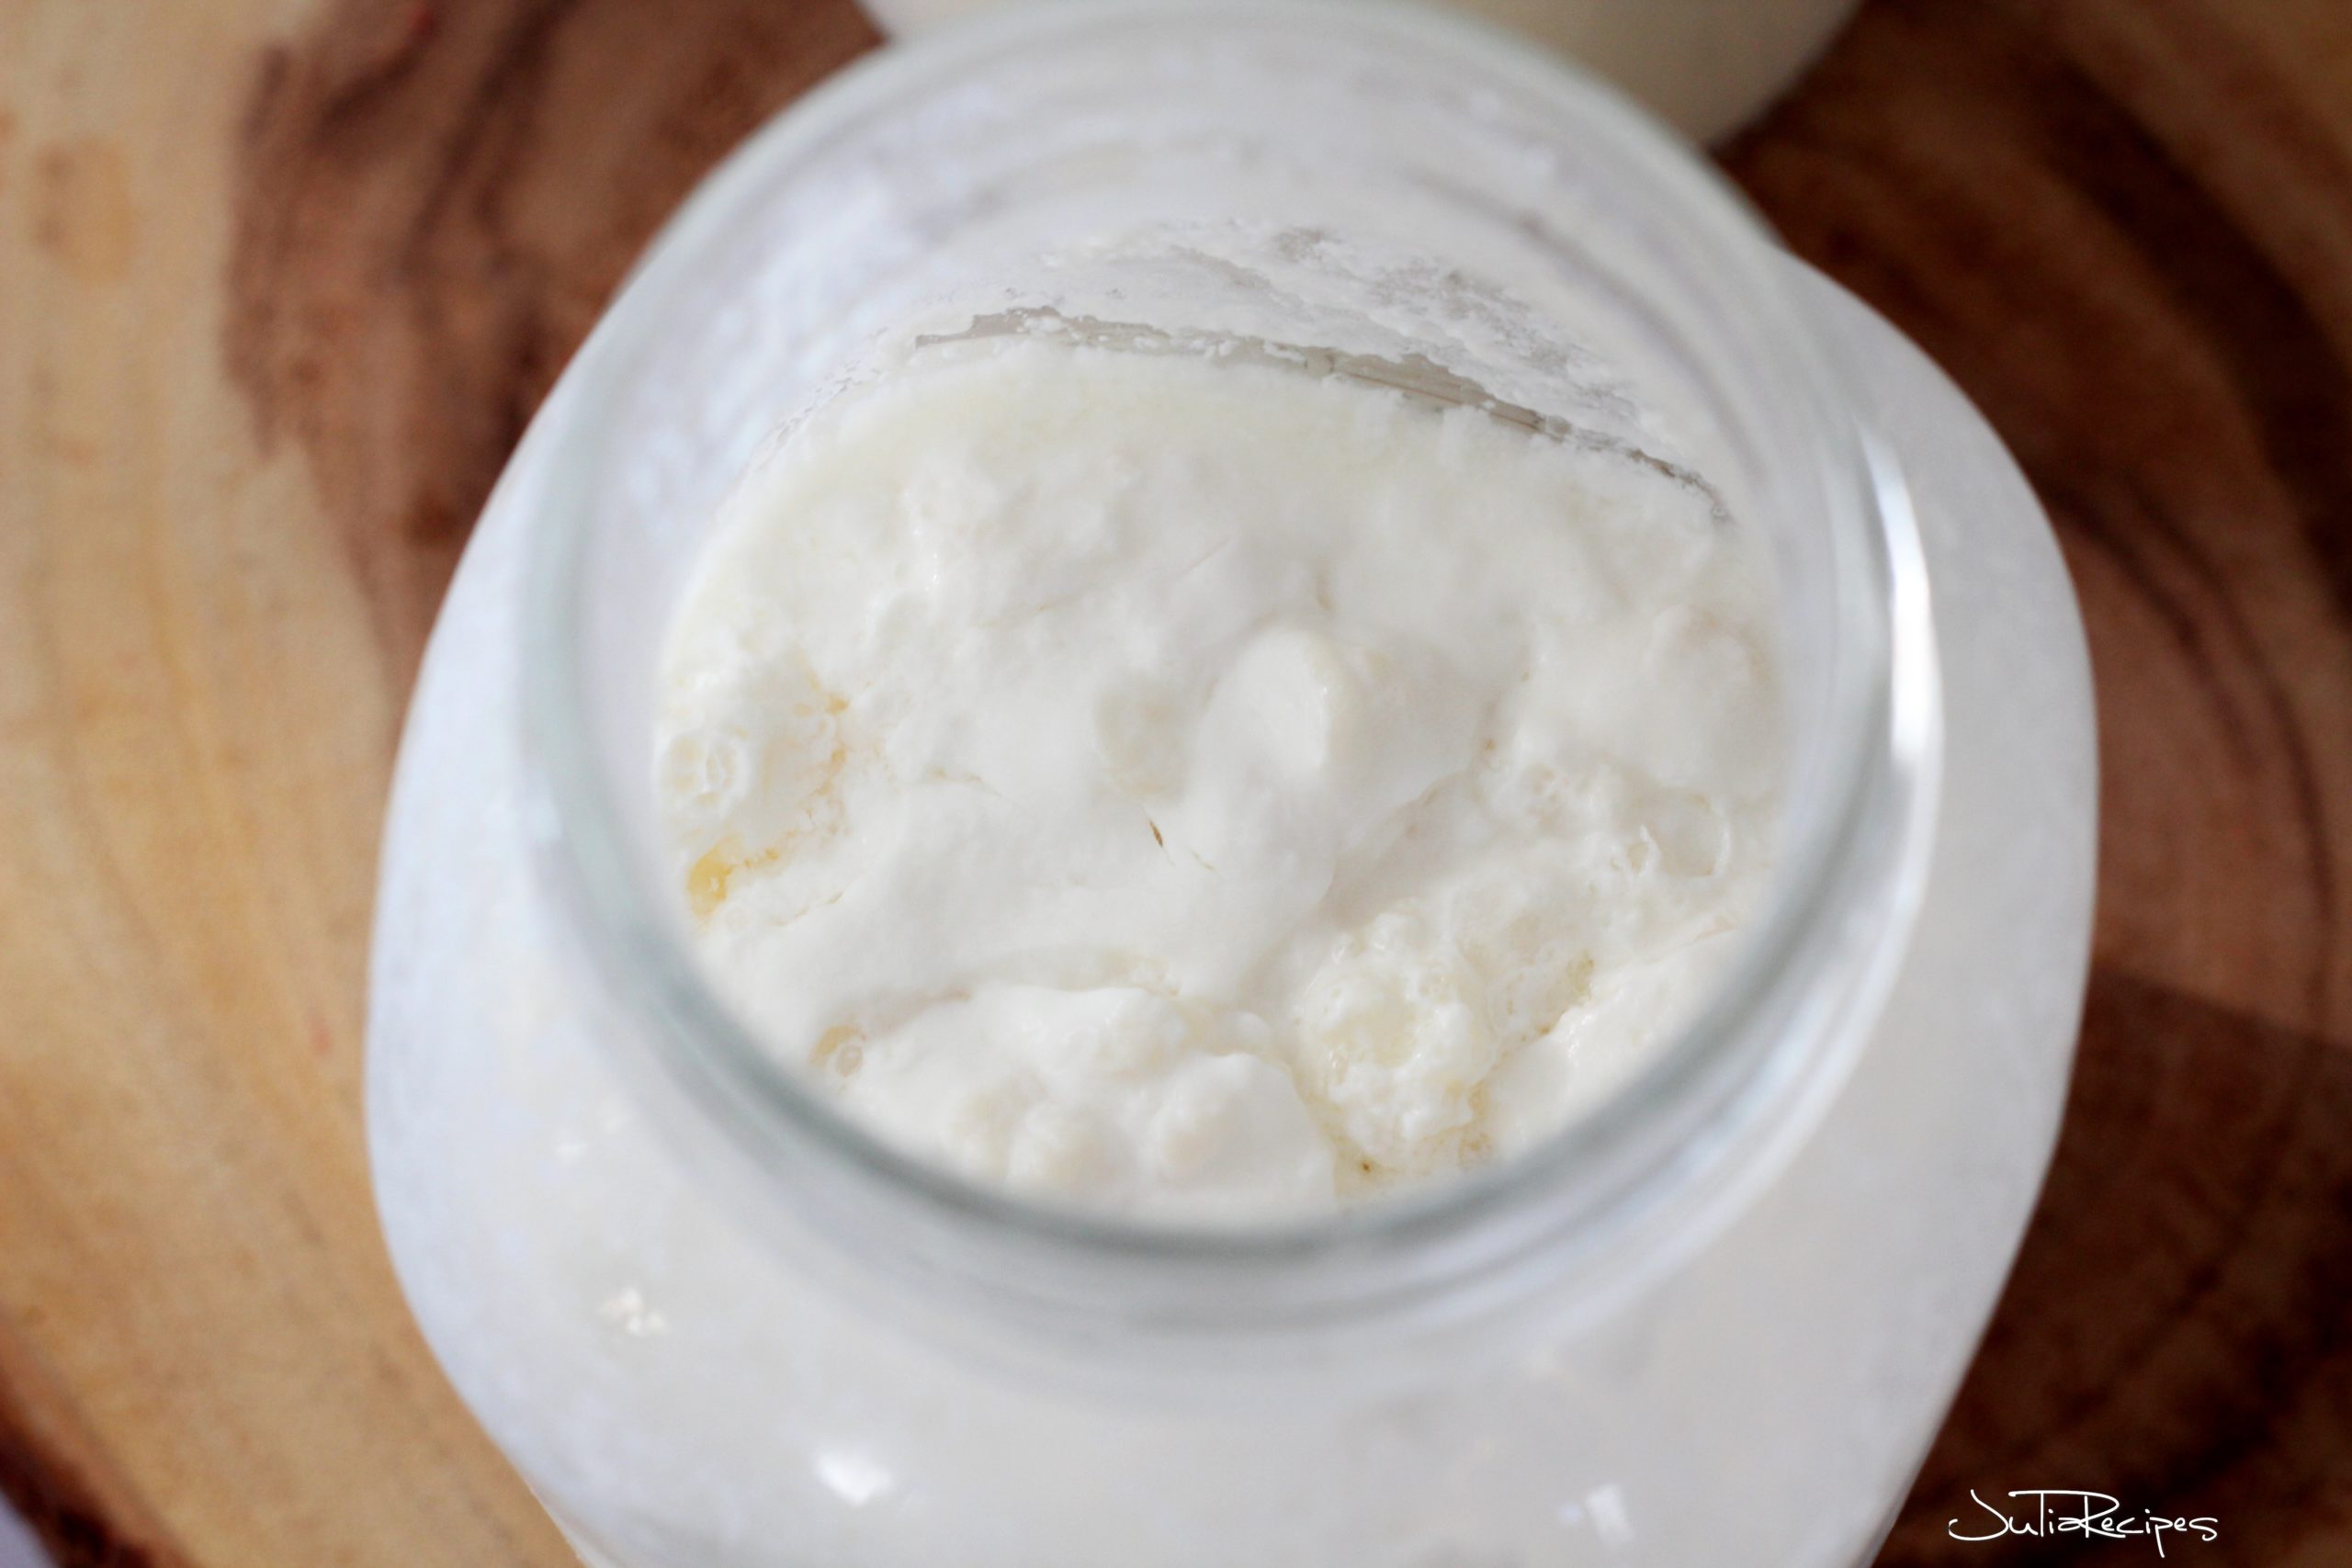
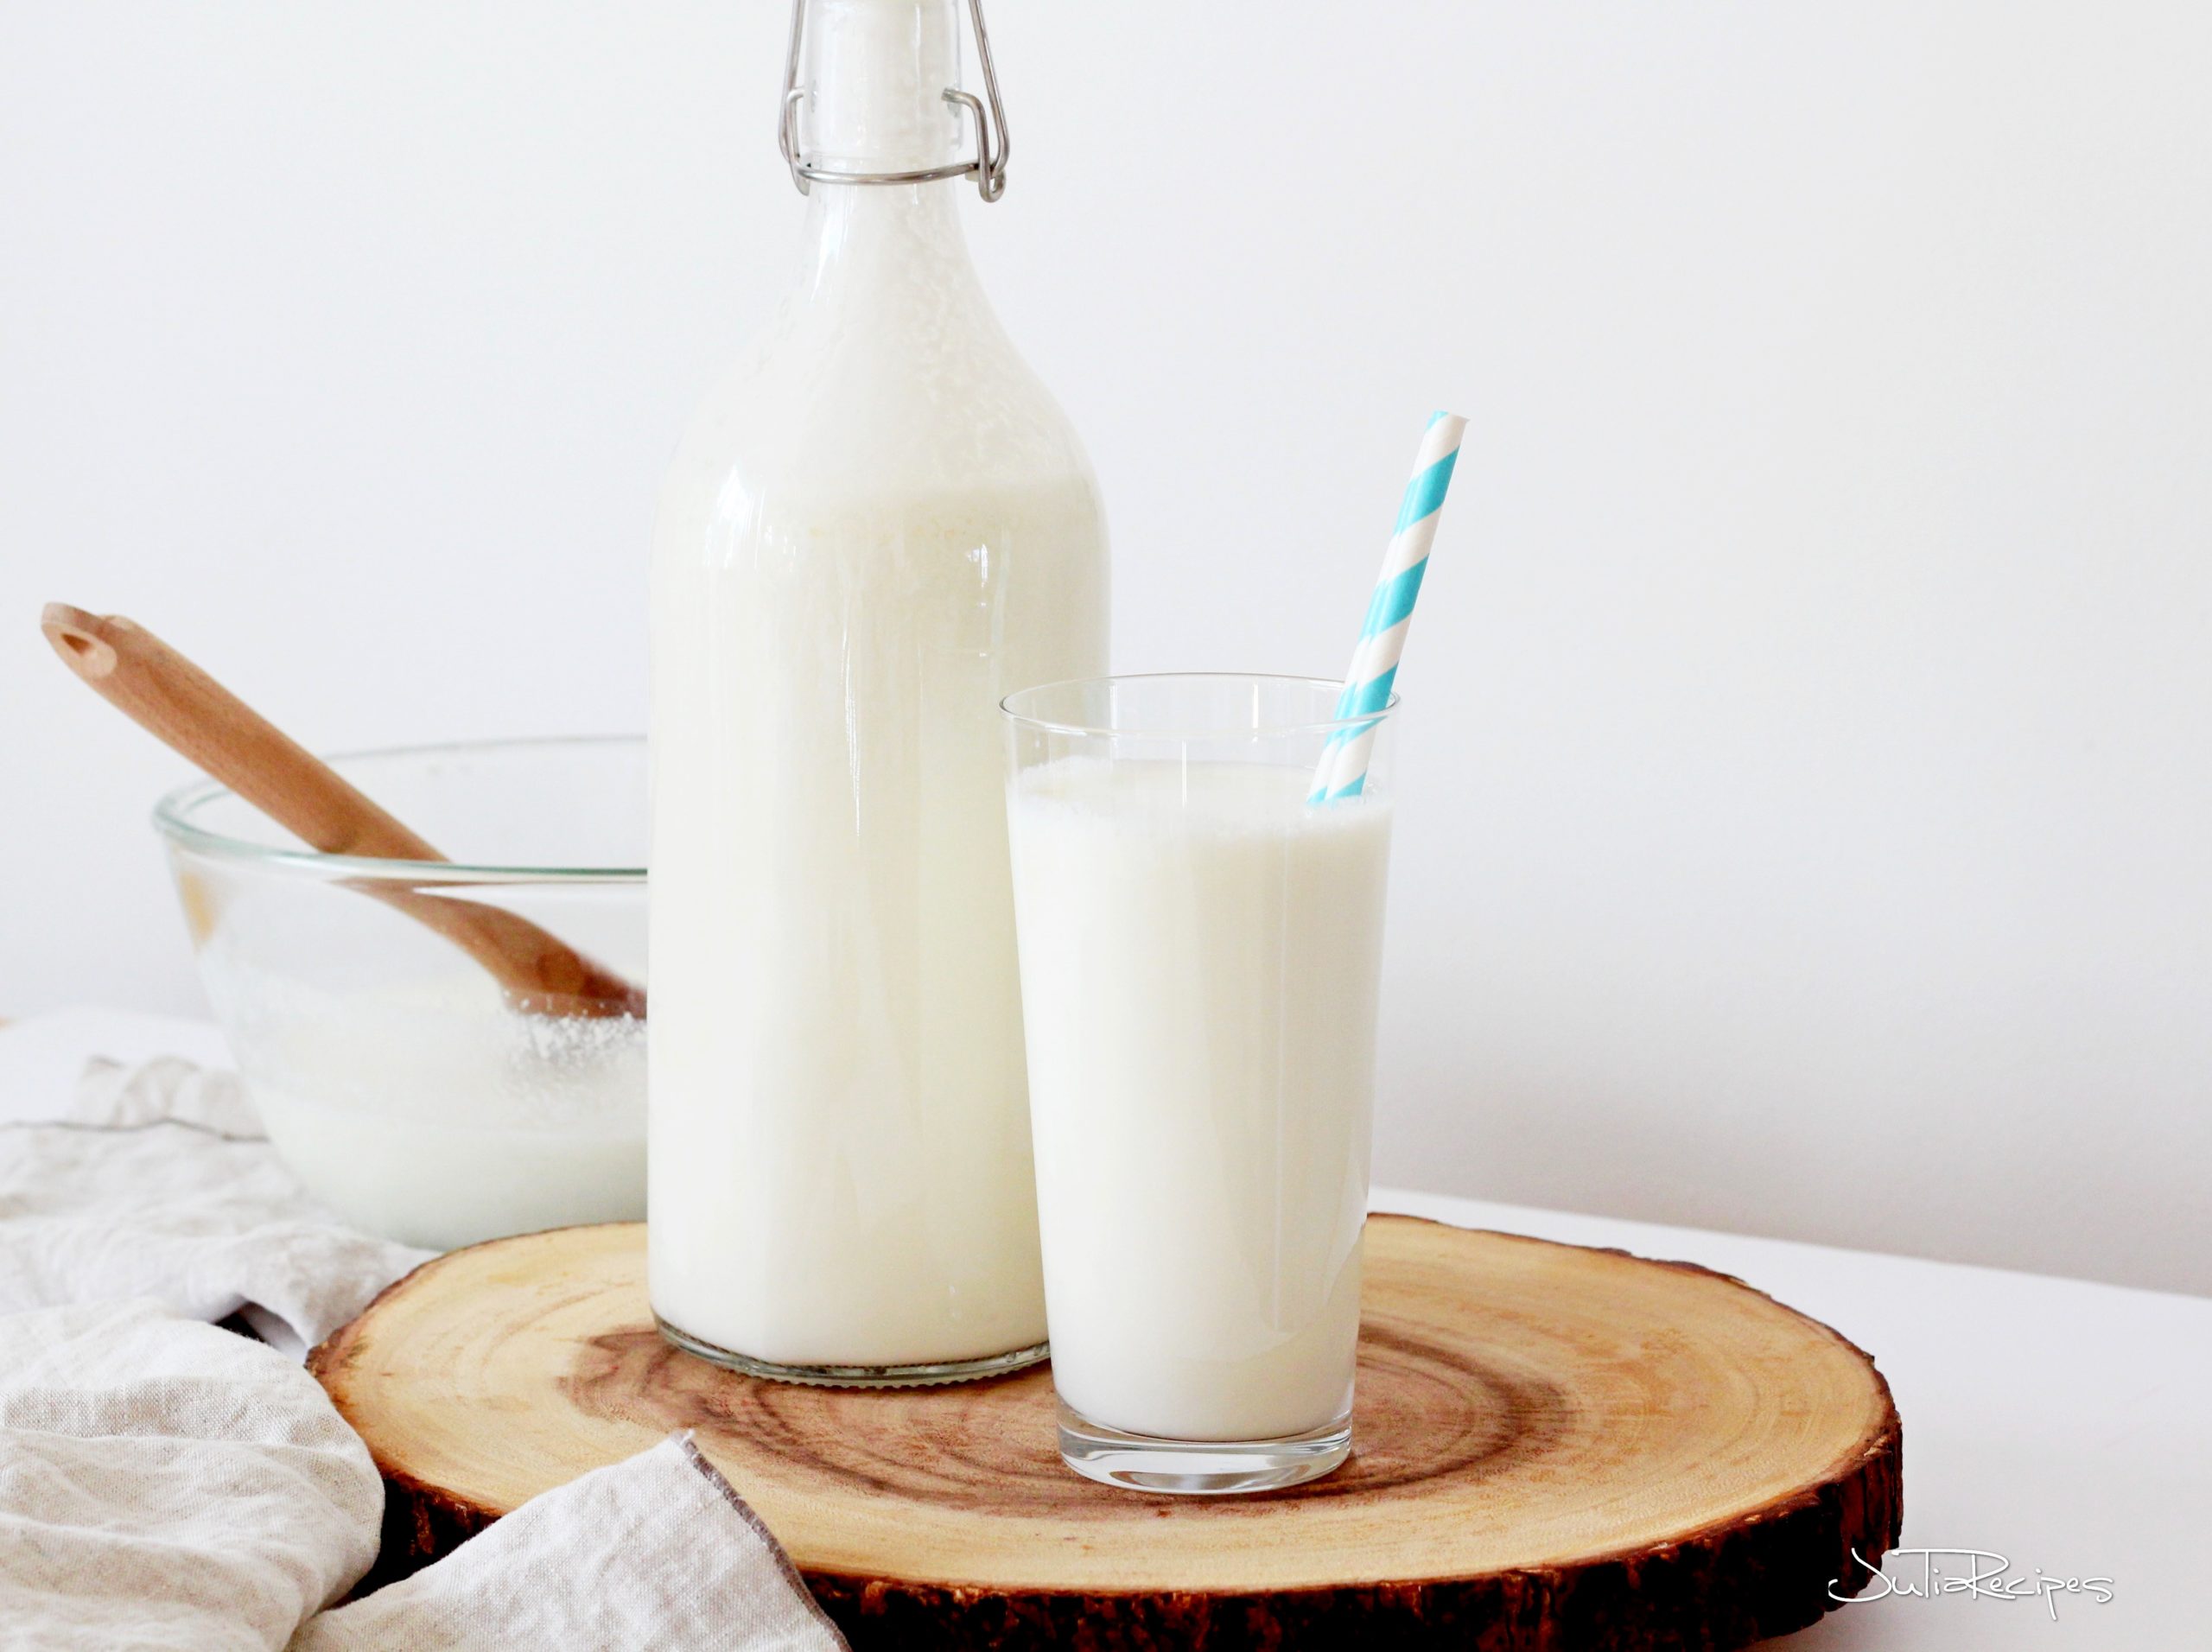
At the end of the fermentation (after 24 hours), you strain the kefir into a bowl or another clean jar and the kefir is ready to be consumed. You can enjoy it right away in your smoothies or drink it as it is.
If you prefer consuming the kefir cold, then you can cover it with a jar lid and place it in the refrigerator for 2 hours to have it nicely chilled. This is how I love my kefir.
Another option is also ripening the kefir for longer period for more tangy and sour flavor. Leave it in the closed jar on the kitchen counter, for another 24 hours. The kefir will become more thick and sour. But remember, this additional fermentation process do not contain milk grains. Always strain the grains after 24 hours, after being in milk, in room temperatures in between 65º – 82ºF (18º – 28ºC)
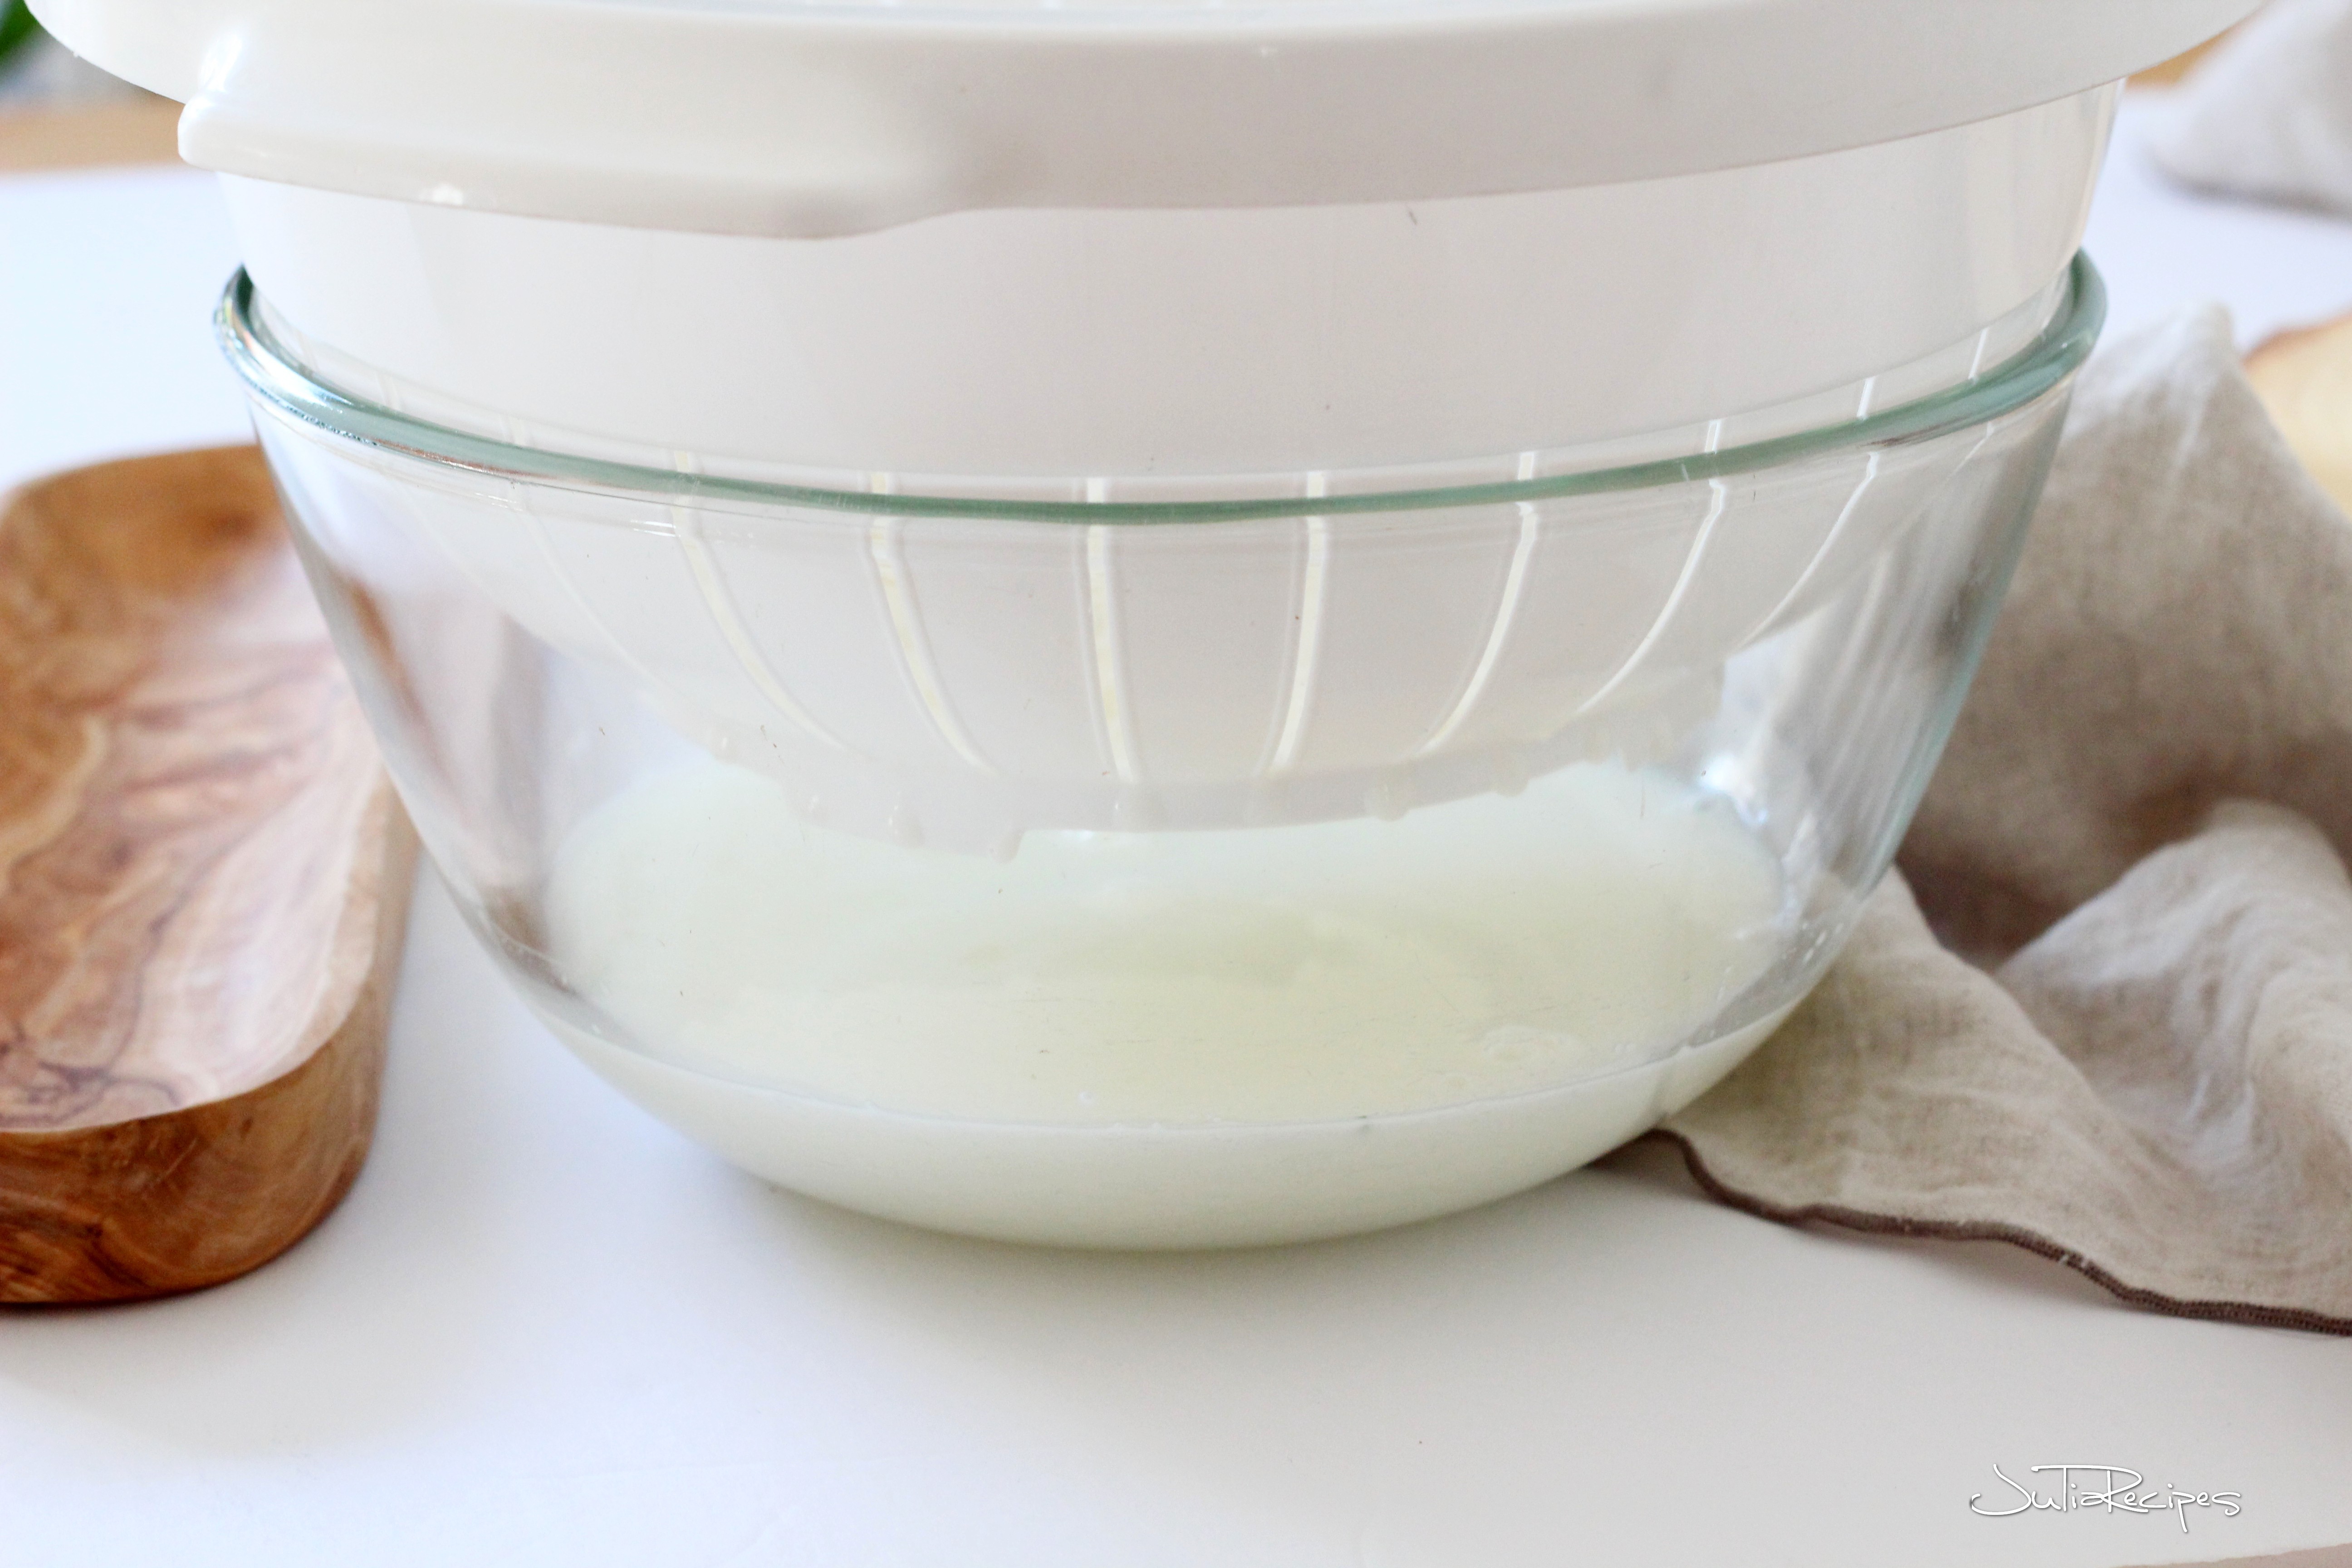
Tips on making successfully homemade kefir
When you work with kefir/milk grains, do not get them in contact with metal utensils like strainer or wooden spoon. Grains might go through chemical reaction and could lower the production of grains or stop producing new one.
Always use plastic strainer and wooden spoon or any plastic utensils, when working with kefir/milk grains! Do not expose the fermentation beyond 28ºC/82ºF, and never on direct sunlight. If in your home, during the day is more than 28ºC / 82ºF, then try to keep the kefir in refrigerator during the day and at night place it on the counter. This might slower the process of fermentation, but you won’t damage the grains.
Always remember do not exceed 24 hours of fermentation (milk together with grains in temperatures above 18 C / 65 F) the milk could get spoiled. Remove/strain the grains after 24 hours of fermentation on the counter. If you are keeping the jar of grains with milk in the refrigerator, it can stay there for 5-7 days, then you need to strain it as well.
How to store milk grains
If you are leaving on a vacation where you cannot continue making kefir, you just simply place the grains in a small jar, pour over the milk to cover the grains and leave it up to 5-7 days in refrigerator. Once you want to use your grains again, you strain the milk and use the grains with new fresh milk.
Once in a while, it is good to give a little break to your kefir grains. I would say twice a year is sufficient. You can also store your grains in freezer or dry them completely for longer storing period, this requires special treatment, you can read about it here www.yeemos.com .

How to use kefir
- The most delicious way to use kefir is to drink it plain. It’s slightly sour and tangy and if you like yogurt, you will fall in love with this fermented drink.
- In smoothies, my favorite way how to consume kefir. You can add fresh, frozen or canned fruit, add a few teaspoons of maple syrup, and you have a refreshing healthy smoothie.
- In baking, fantastic way to add moisture to your bundt cakes. Instead of milk, use kefir. Or use it instead of buttermilk or yogurt. Will make your baked goods much tastier.
- In cooking, thicken up your Alfredo sauce or Rose sauce with kefir. Instead of heavy cream, use kefir.
- Add kefir to your base for dressing.
More recipes you might enjoy
HOW TO MAKE HOMEMADE KEFIR
Equipment
- 2 2x 1 l ( 4 cups) sterilized jar 1 litre (4 cupes) sterilized jars
- 1 non metallic strainer plastic trainer
- 1 wooden spoon
- 1 non metalic mixing bowl
Ingredients
- 2 Tablespoons kefir/ milk grains
- ¾ litre (3 cups) whole milk 2%
Instructions
- Clean and sterilized your jars. Place grains in the first clean jar and fill the jar with milk. Cover the jar with a lid, but do not tighten it. Set the jar on the countertop out of direct sunlight or in a cupboard for 24 hours.
- Shake occasionally. Strain the kefir through the non-metallic strainer into the mixing bowl. The kefir has to be thick, tangy, and slightly fizzy. Transfer the kefir to the second clean jar and either consume it or keep in closed in the refrigerator. You may also ripen your kefir in a clean jar (without the grains) for another 24 hours on the counter. It will become more thick and sour.
- Move the grains from the strainer into the last jar. Repeat the process to make another batch of kefir, or cover the grains with milk and place in the refrigerator.
- Keeping the grains in refrigerator, slows the fermentation, so the grains will rest there until you’re ready to make kefir again. You can drink your kefir plain or add it to your smoothies or baking.


mistimaan
I am licking my finger seeing it Julia 🙂
juliarecipes
Thank you Priyo, so much appreciated!!
vietnamtravelandculture
Reblogged this on Vietnam Travel & Trade Portal .
juliarecipes
Thank you for sharing!
thehomemakerslife
Love Kefir, I buy it almost every week! Would love to try this ☺