This is no churn coconut milk ice cream recipe is dairy-free and no ice machine needed! Smooth coconut flavoured ice cream, suitable also for vegans.
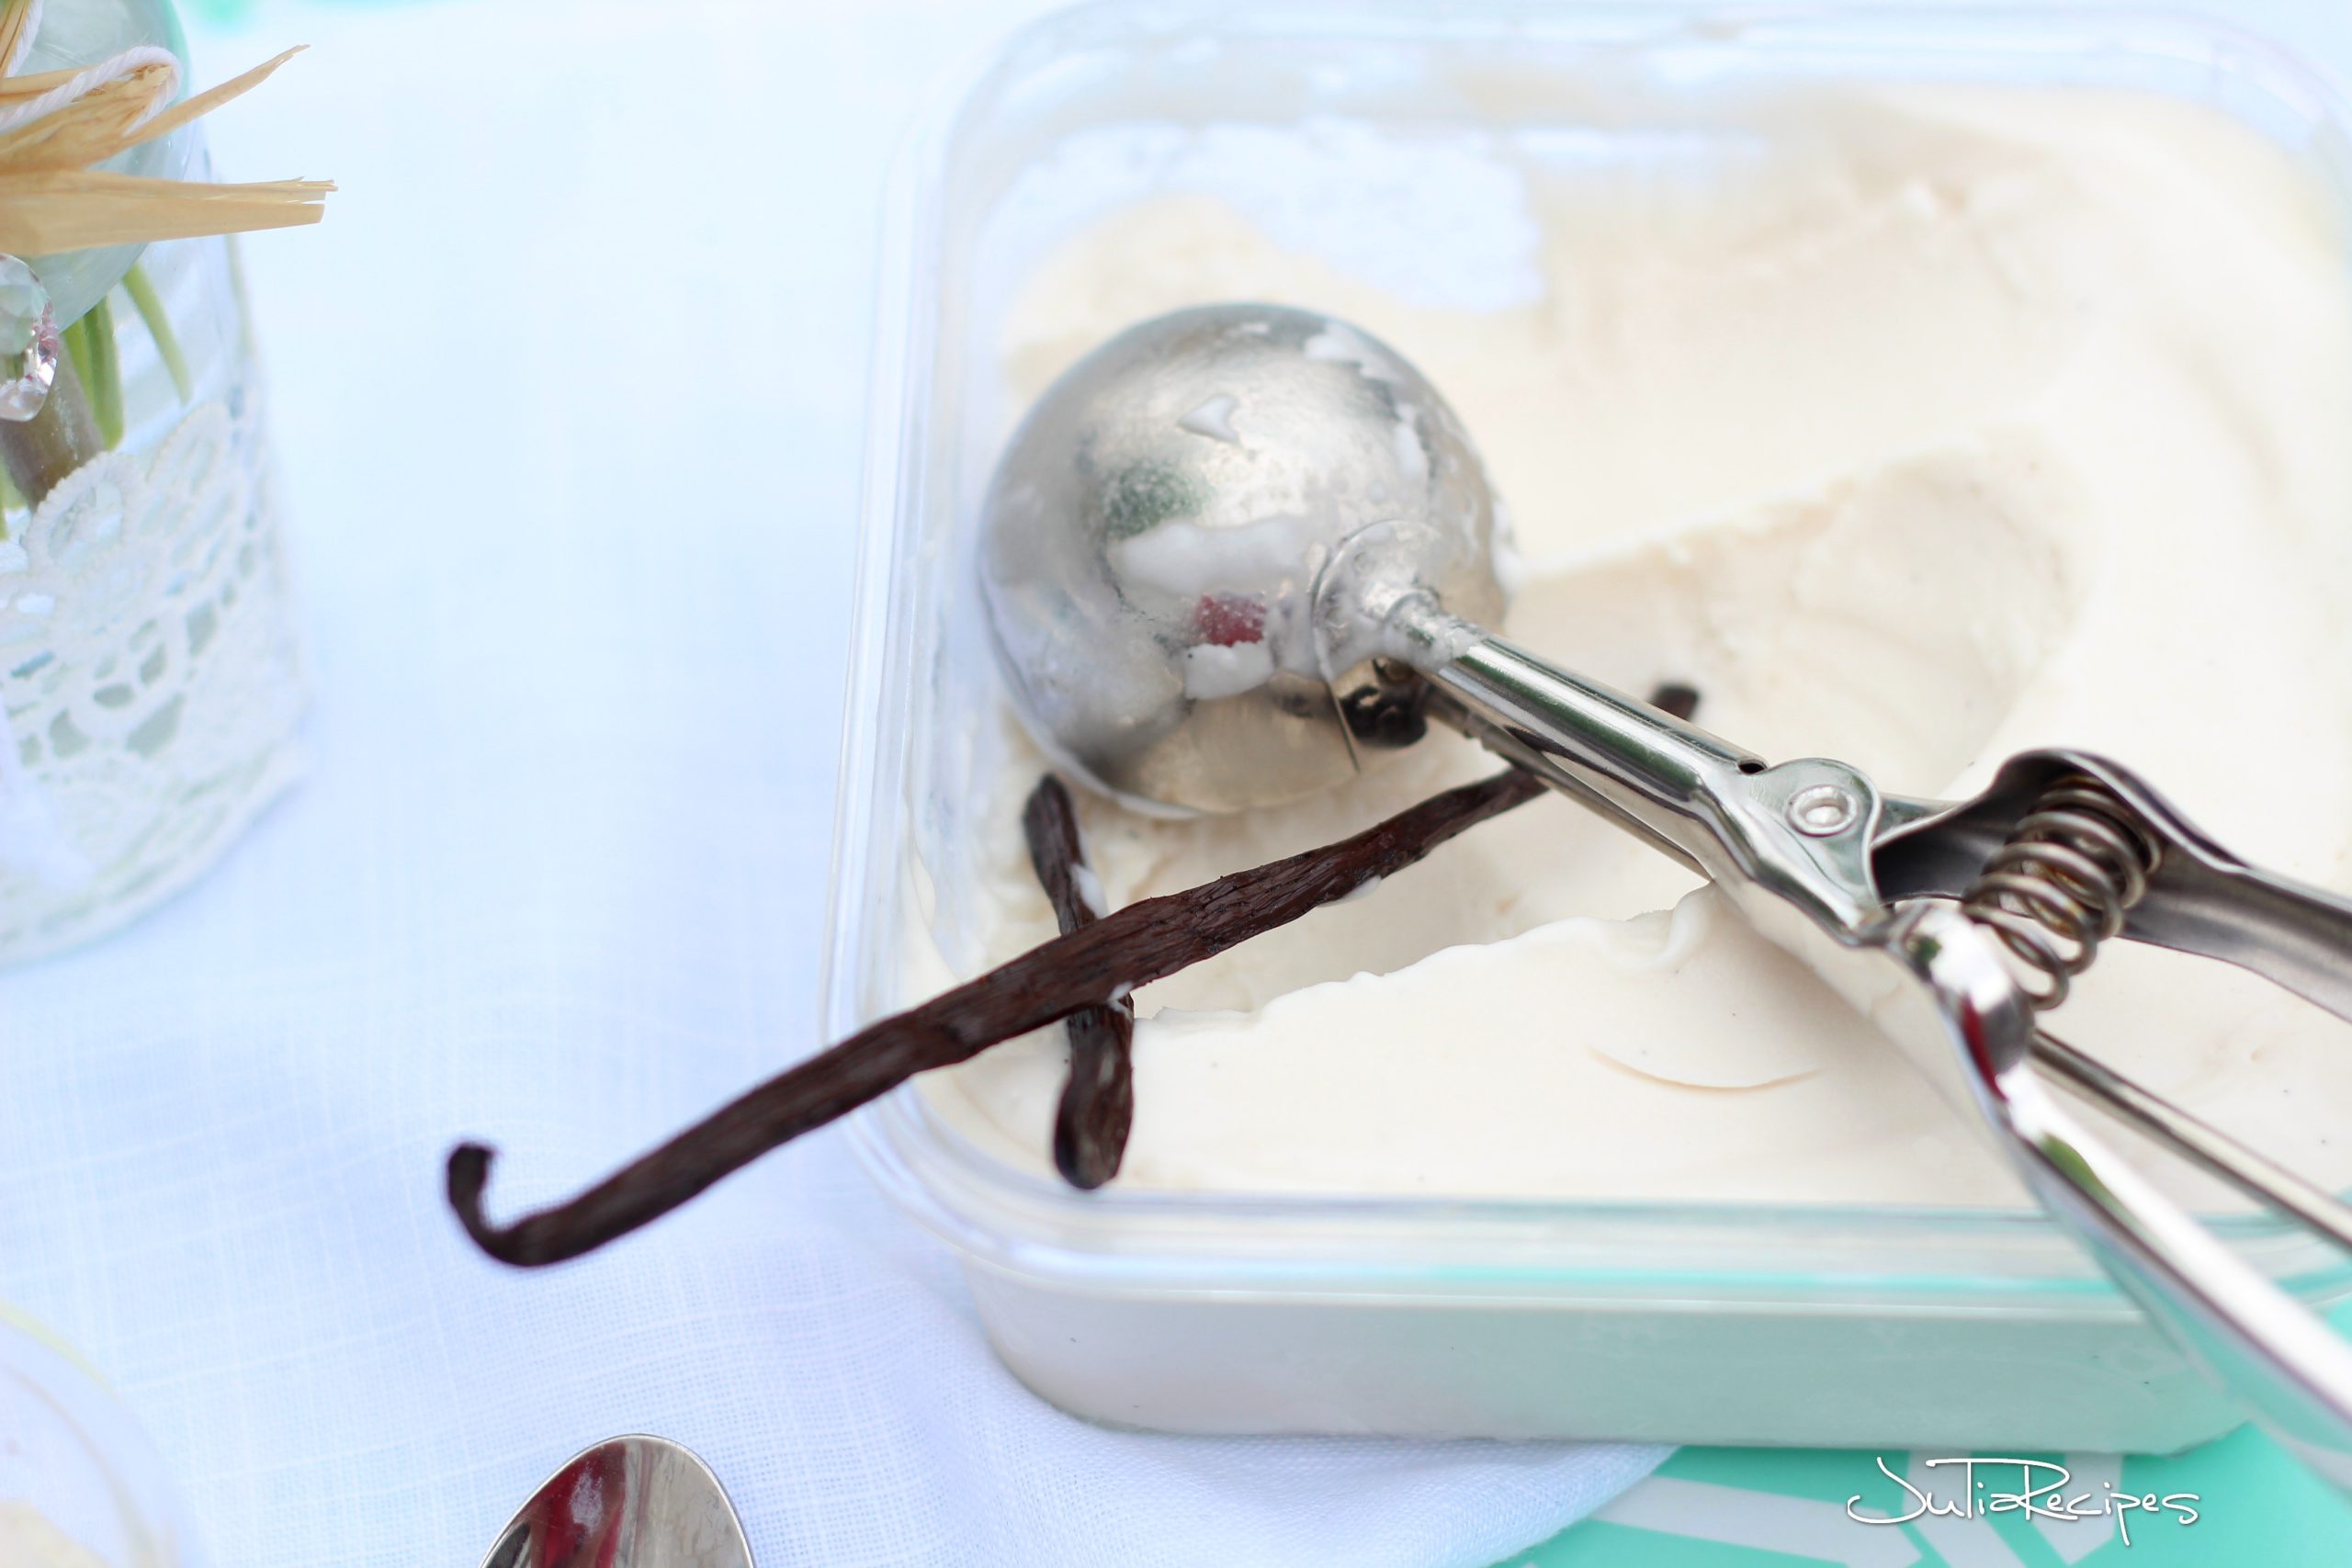
How to make coconut milk ice cream
I love this ice cream, because it’s just 3 ingredients used in this recipe, and it doesn’t require an ice cream machine. It’s super simple to make, it’s vegan, dairy-free and amazingly tasty. If you already have some coconut milk cans in your pantry, then you are on the right path to make this so irresistibly smooth coconut milk ice cream.
This is a dairy-free ice cream, which is suitable for any diet: Paleo, vegan, refined sugar-free. The main ingredient is coconut milk in can, coconut sugar and vanilla bean. But you can also add extra flavour to it.
Flavours to add to this coconut ice cream
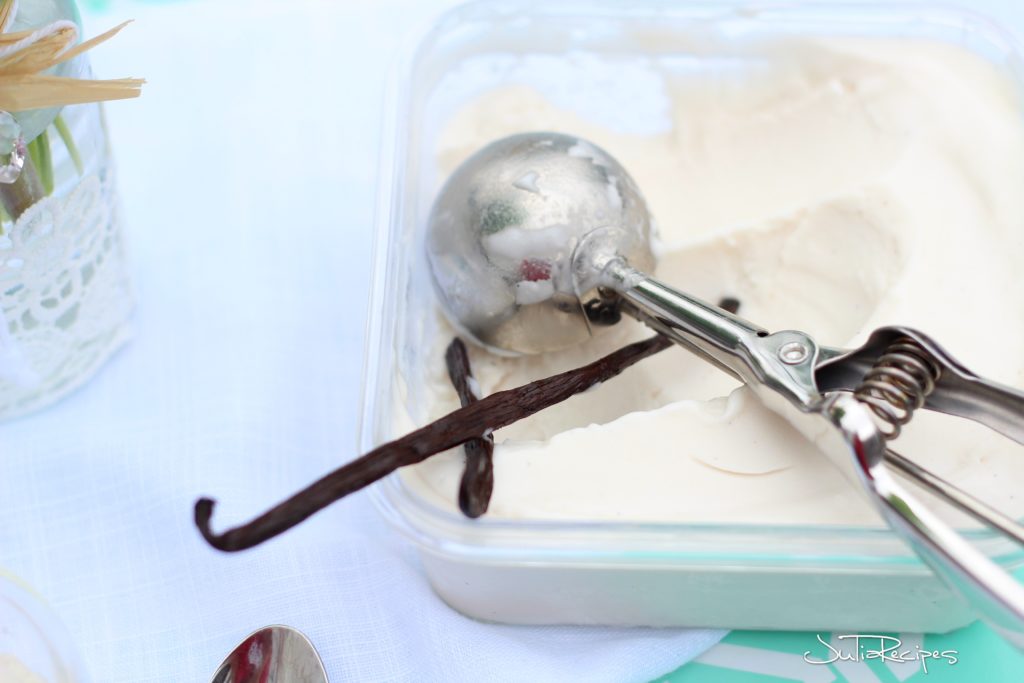
The flavours you can add to this coconut milk ice cream are endless, it’s all about your imagination. I am adding vanilla bean to get more vanilla flavours, but you can omit the vanilla bean in this recipe and try these flavours.
- Chopped fruit: strawberries or blueberries
- Salted caramel sauce
- Melted chocolate
- Chocolate chips
- Matcha powder
- Baileys
- Roasted nuts, such as pistachios or pecans
- Peanut butter or almond butter
- And many more
What coconut milk to use for no churn ice cream
The best works, coconut milk in a can (not in the box). The trick in this recipe and the creaminess of the ice cream will mostly come from the coconut milk fat. And therefore we will be using only a coconut milk fat portion from the coconut milk can. In order to get that coconut milk fat, we have to refrigerate the coconut milk cans overnight in the refrigerator, or at least for 8 hours, in order to achieve the separation of fat and water. Only then, we will be able to scoop out the coconut milk fat.
To make this all clear, coconut milk in the can will separate overnight on fat and water. And that only if the can is going to be untouched! So do not shake the can or do not flip the can when taking it out from the refrigerator.
Important tip! Refrigerate the 2 cans of coconut milk the day before you plan making the ice cream.
Coconut condensed milk
For the milk fat content, refrigerate only 2 cans of the coconut milk. The 1 remaining coconut milk can will be used to cook coconut condensed milk.
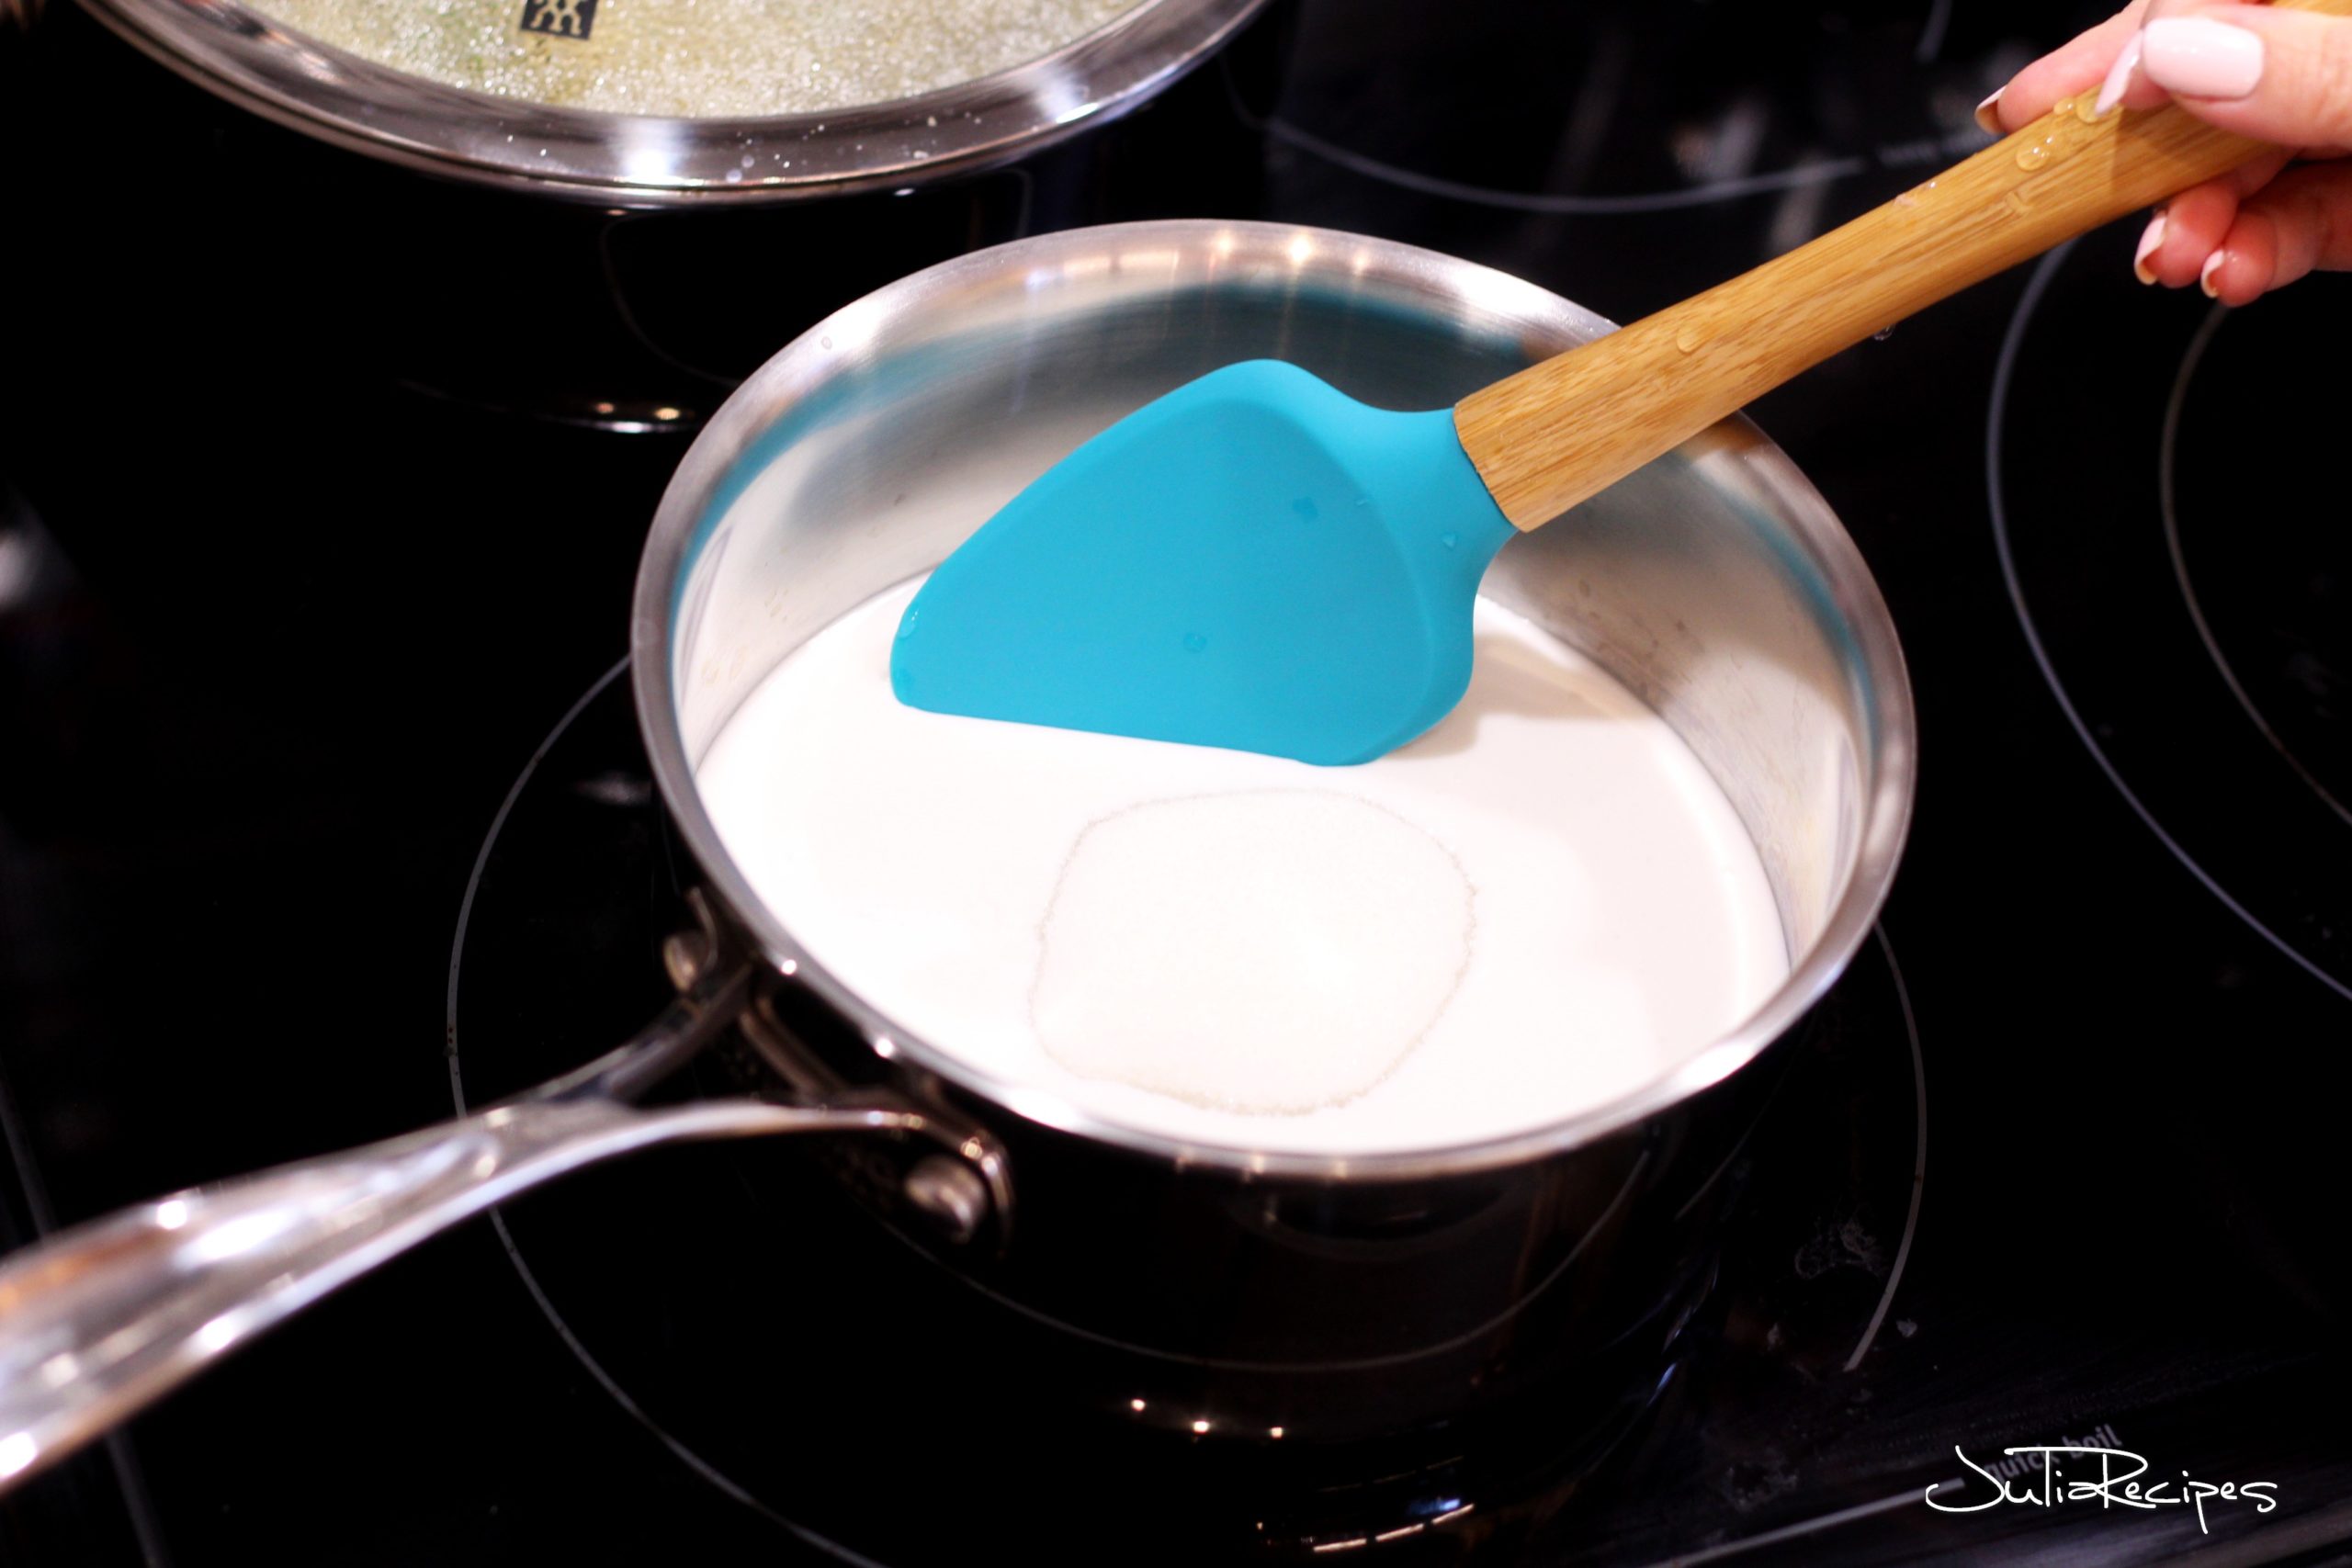
How do we do that. This step is also recommended doing a day before making the ice cream, because it needs to be chilled. In a medium saucepan, empty the content of (1) one remaining can of coconut milk and add coconut sugar (or other sweetener of your choice). If you are not looking for coconut ice cream without refined sugar, you can use also white sugar.
Bring the coconut milk with sugar into a boil, while stirring constantly. Simmer gently for 30 minutes, or until the milk becomes thick as condensed milk and is reduced by half. You might notice, that the colour of the cooked coconut milk will have slightly yellowish colour. It’s ok, because of the coconut sugar and also because of the caramelisation.
Remove the saucepan from the heat and let it cool completely. Once the milk has reached room temperature, place it covered with plastic foil in the refrigerator and let it chill overnight as the remaining 2 cans of coconut milk.
Making the coconut ice cream
The day of making the ice cream, take the 2 cans of chilled coconut milk out of the refrigerator. Do not shake or turn the cans, we are looking for the coconut fat that had separated overnight in the can and risen to the top of the can.
Open carefully the can and scoop all that cream risen to the top and scoop it into a mixing bowl. The leftover coconut water can be used for milkshakes, smoothies or drink it as is.
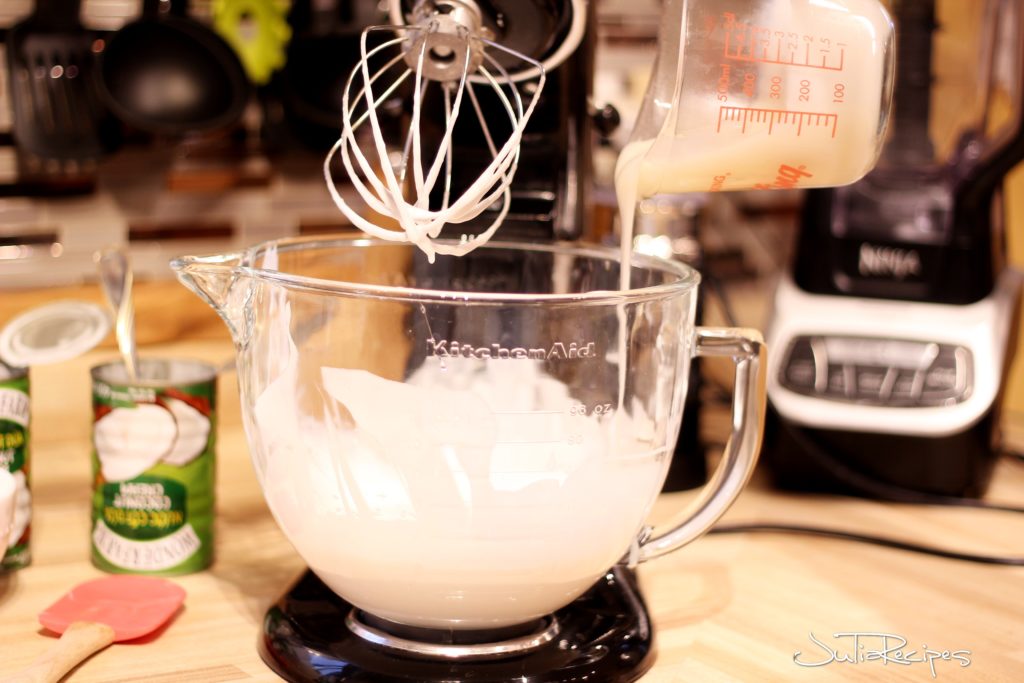
With an electric mixer, whip up the coconut cream on highest speed with a whipping fork. Whip until it’s light and fluffy (5-10 minutes). Add the sweetened coconut milk prepared in advance. Whip on high speed for another 5 minutes.
If you wish to add different flavouring, now it’s the time. Add your flavouring, mix again and transfer it to a freezable container with lid and freeze for at least 6 hours or overnight.
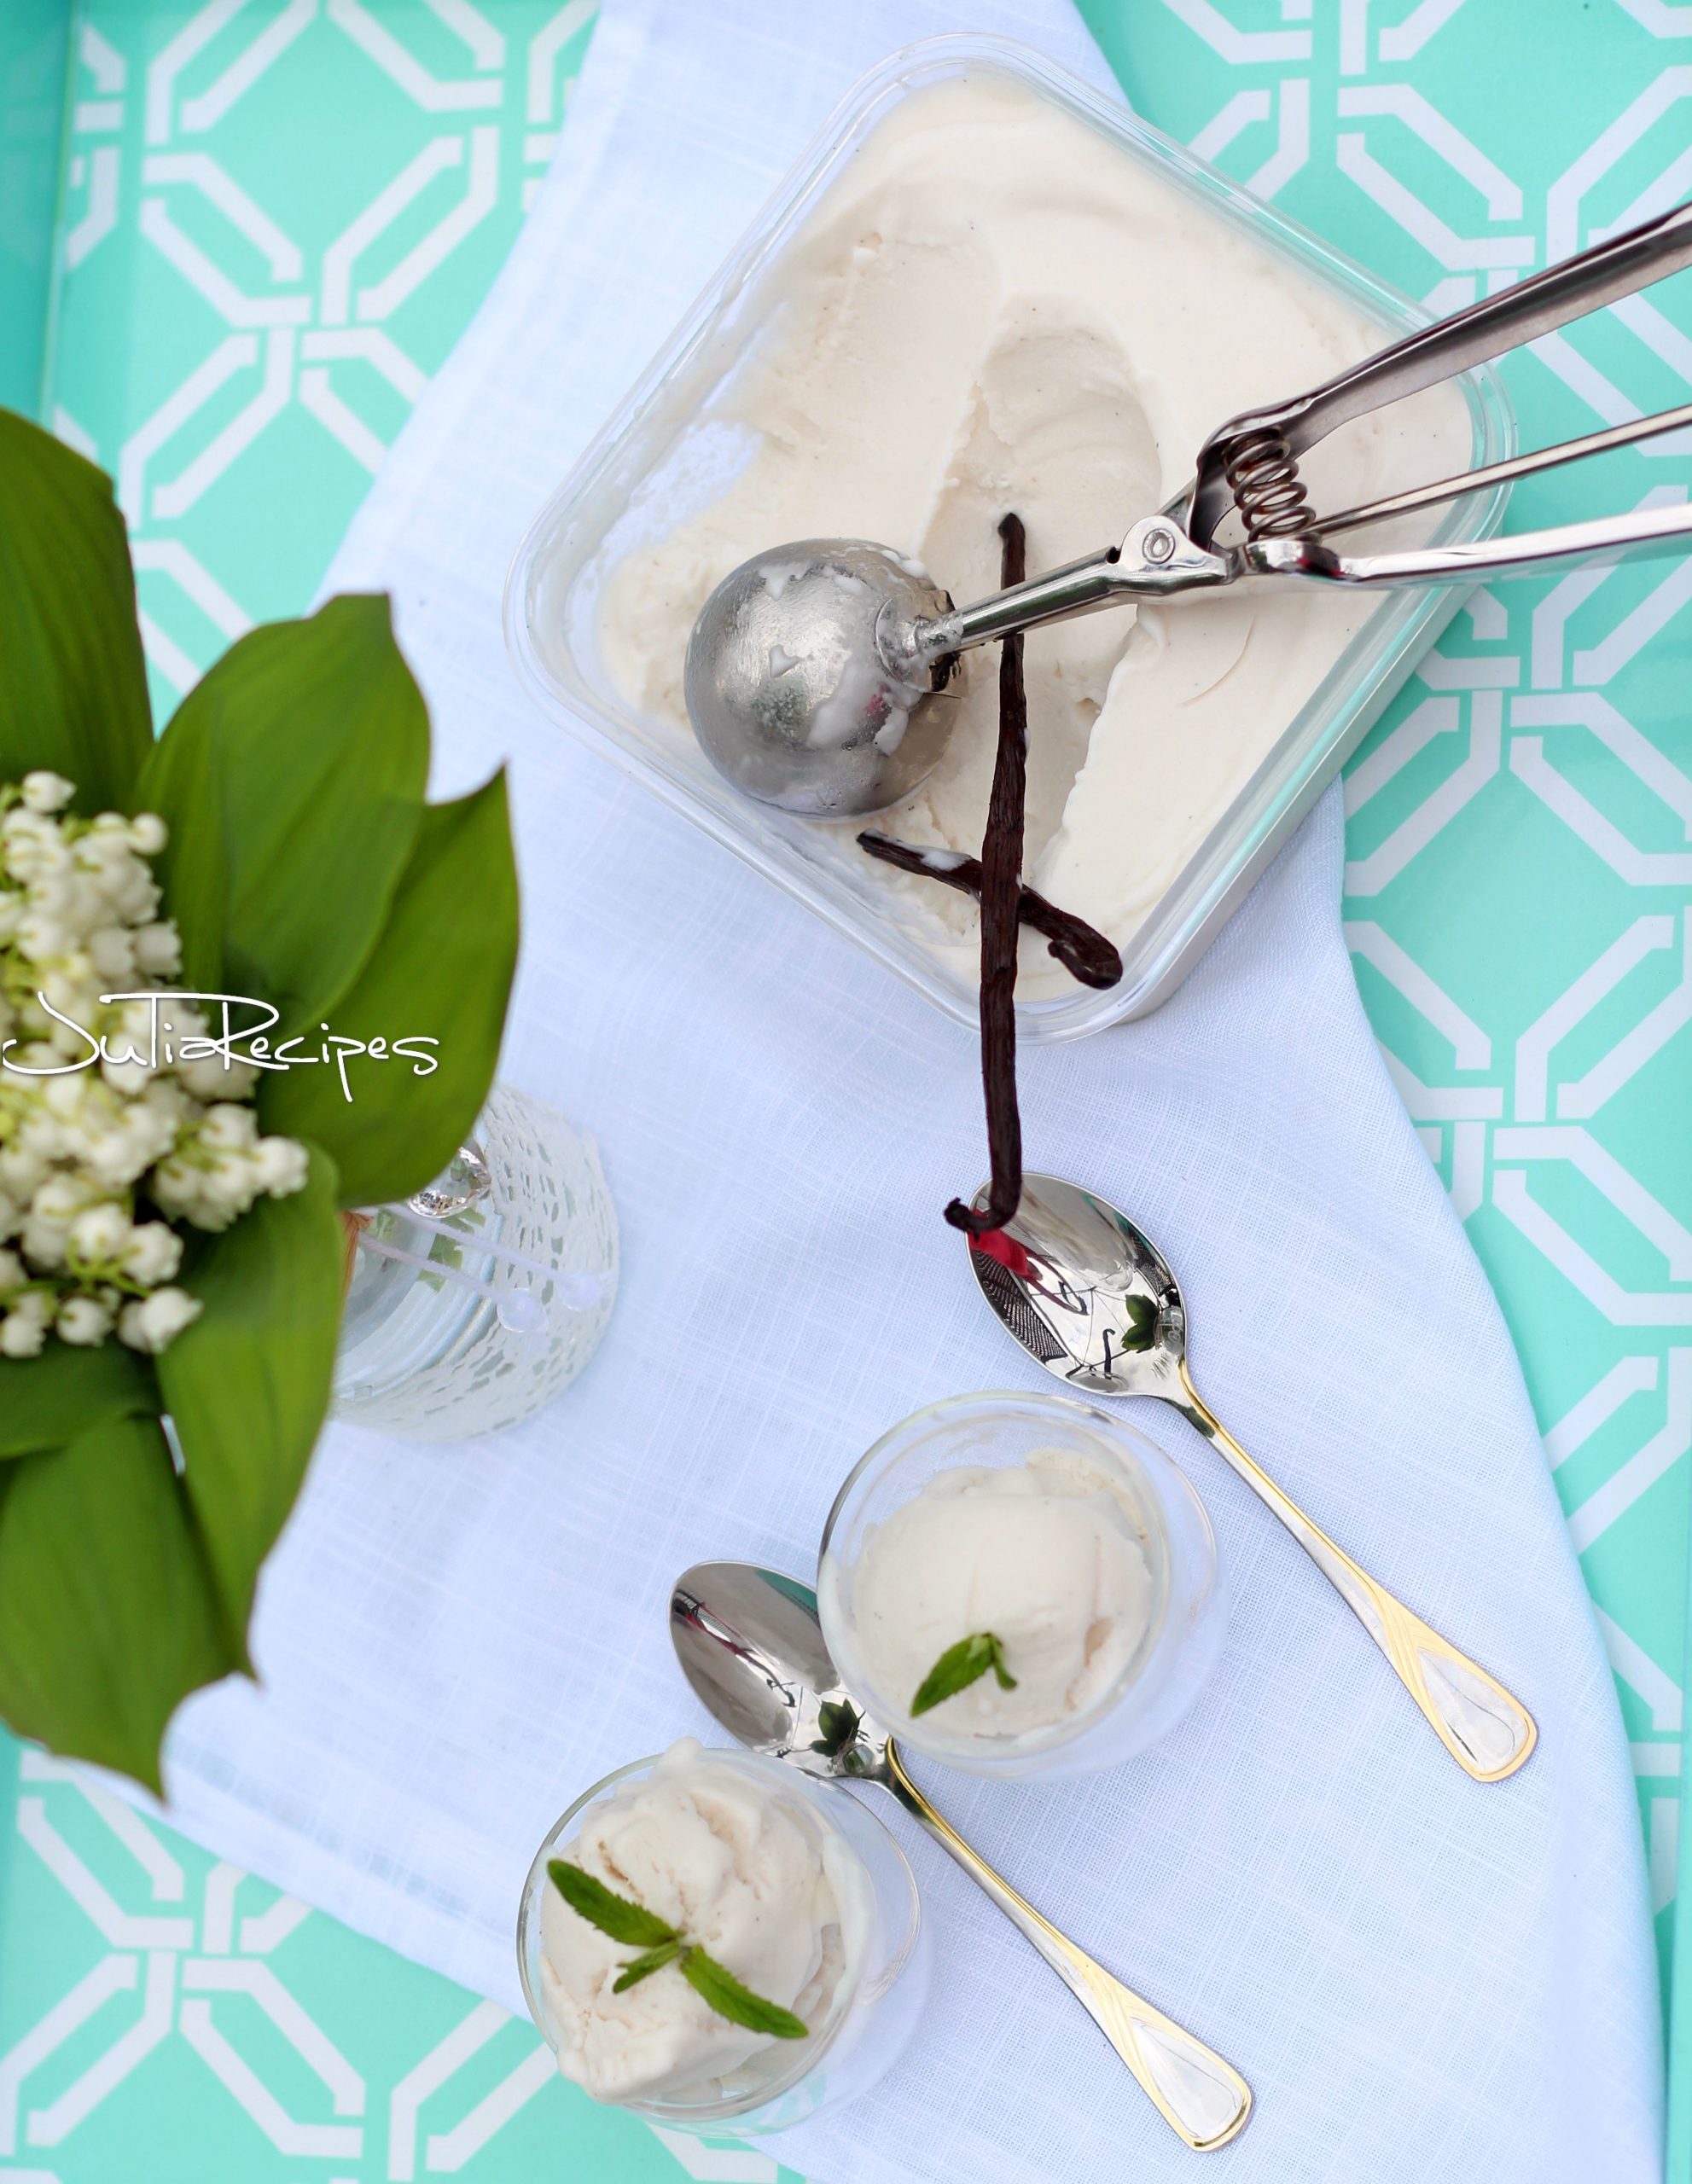
Once it’s well frozen, take it out of the freezer and let it stand for 10 minutes on the kitchen counter, or until the ice cream softens. As it is no churn ice cream, it is hard to scoop it right away from the freezer.
Tips
I would suggest, before you start making this ice cream, buy yourself one extra can, just to try out, if your milk will be able to separate the fat from water. Because, in my own experience, I have bought 2 different brands of coconut milk and even, if I treated it the same way, one turned out not to be able to separate the fat from water. So just make yourself sure, that the brand you are buying is the one which will work.
More ice cream recipes
- EASY NO CHURN STRAWBERRY ICE CREAM
- MATCHA GREEN TEA NO CHURN ICE CREAM
- MANGO POPSICLES DIPPED IN WHITE CHOCOLATE
- BLUEBERRY CHEESECAKE POPSICLES
- HOW TO MAKE MANGO SHERBET IN VITAMIX
“THIS POST MAY CONTAIN AFFILIATE LINKS. PLEASE SEE DISCLOSURE PAGE FOR MORE INFORMATION.”

COCONUT MILK ICE CREAM
Ingredients
- 3 cans coconut milk 400 ml each
- 10 tablespoons coconut sugar or other sweetener such as stevia
- 1 bean vanilla or 2 tsp vanilla extract
Instructions
- The day before making the ice cream, place (2) two cans in the refrigerator and let refrigerate overnight.3 cans coconut milk
- Also, the day before making ice cream, prepare the ice cream base. In a medium saucepan, empty the content of (1) one can of coconut milk and add coconut sugar (or other sweetener of your choice). Bring the coconut milk with sugar into a boil, while stirring constantly. Simmer gently for 30 minutes, or until the milk becomes thick as condensed milk and is reduced by half.10 tablespoons coconut sugar, 1 bean vanilla
- Remove the saucepan from the heat and let it cool completely. Once the milk has reached room temperature, place it in the refrigerator and let it chill overnight as the remaining 2 cans of coconut milk.
- The day of making the ice cream, take the 2 cans of chilled coconut milk out of the refrigerator. Do not shake or turn the cans, we are looking for the coconut fat that had separated overnight in the can and risen to the top of the can.
- Open carefully the can and scoop all that cream risen to the top and scoop it into a mixing bowl. The leftover coconut water can be used for milkshakes, smoothies or drink it as is.
- With an electric mixer, whip up the coconut cream on highest speed with a whipping fork. Whip until it's light and fluffy (5-10 minutes). Add the sweetened coconut milk prepared in advance. Whip on high speed for another 5 minutes.
- If you wish to add different flavouring, now it's the time. Add your flavouring, mix again and transfer it to a freezable container with lid and freeze for at least 6 hours or overnight.
- Once it's well frozen, take it out of the freezer and let it stand for 10 minutes on the kitchen counter, or until the ice cream softens. As it is no churn ice cream, it is hard to scoop it right away from the freezer.
Disclosure: Bear in mind that some of the links in this post are affiliate links and if you go through them to make a purchase I will earn a commission. Keep in mind that I link these companies and their products because of their quality and not because of the commission I receive from your purchases. The decision is yours, and whether or not you decide to buy something is completely up to you.”

Megala
Sounds delicious & flavorful !
juliarecipes
Yes,it is very velvety this ice cream, you should give it a try 😀