Honey cake or Medovnik (in Czech) is a popular cake made on special occasions (especially during Christmastime) and served in every restaurant or coffee shop in the Czech Republic. Most of the time it runs also under the name Marlenka cake. And today I am going to show you how to make this famous Slavic cake at home.
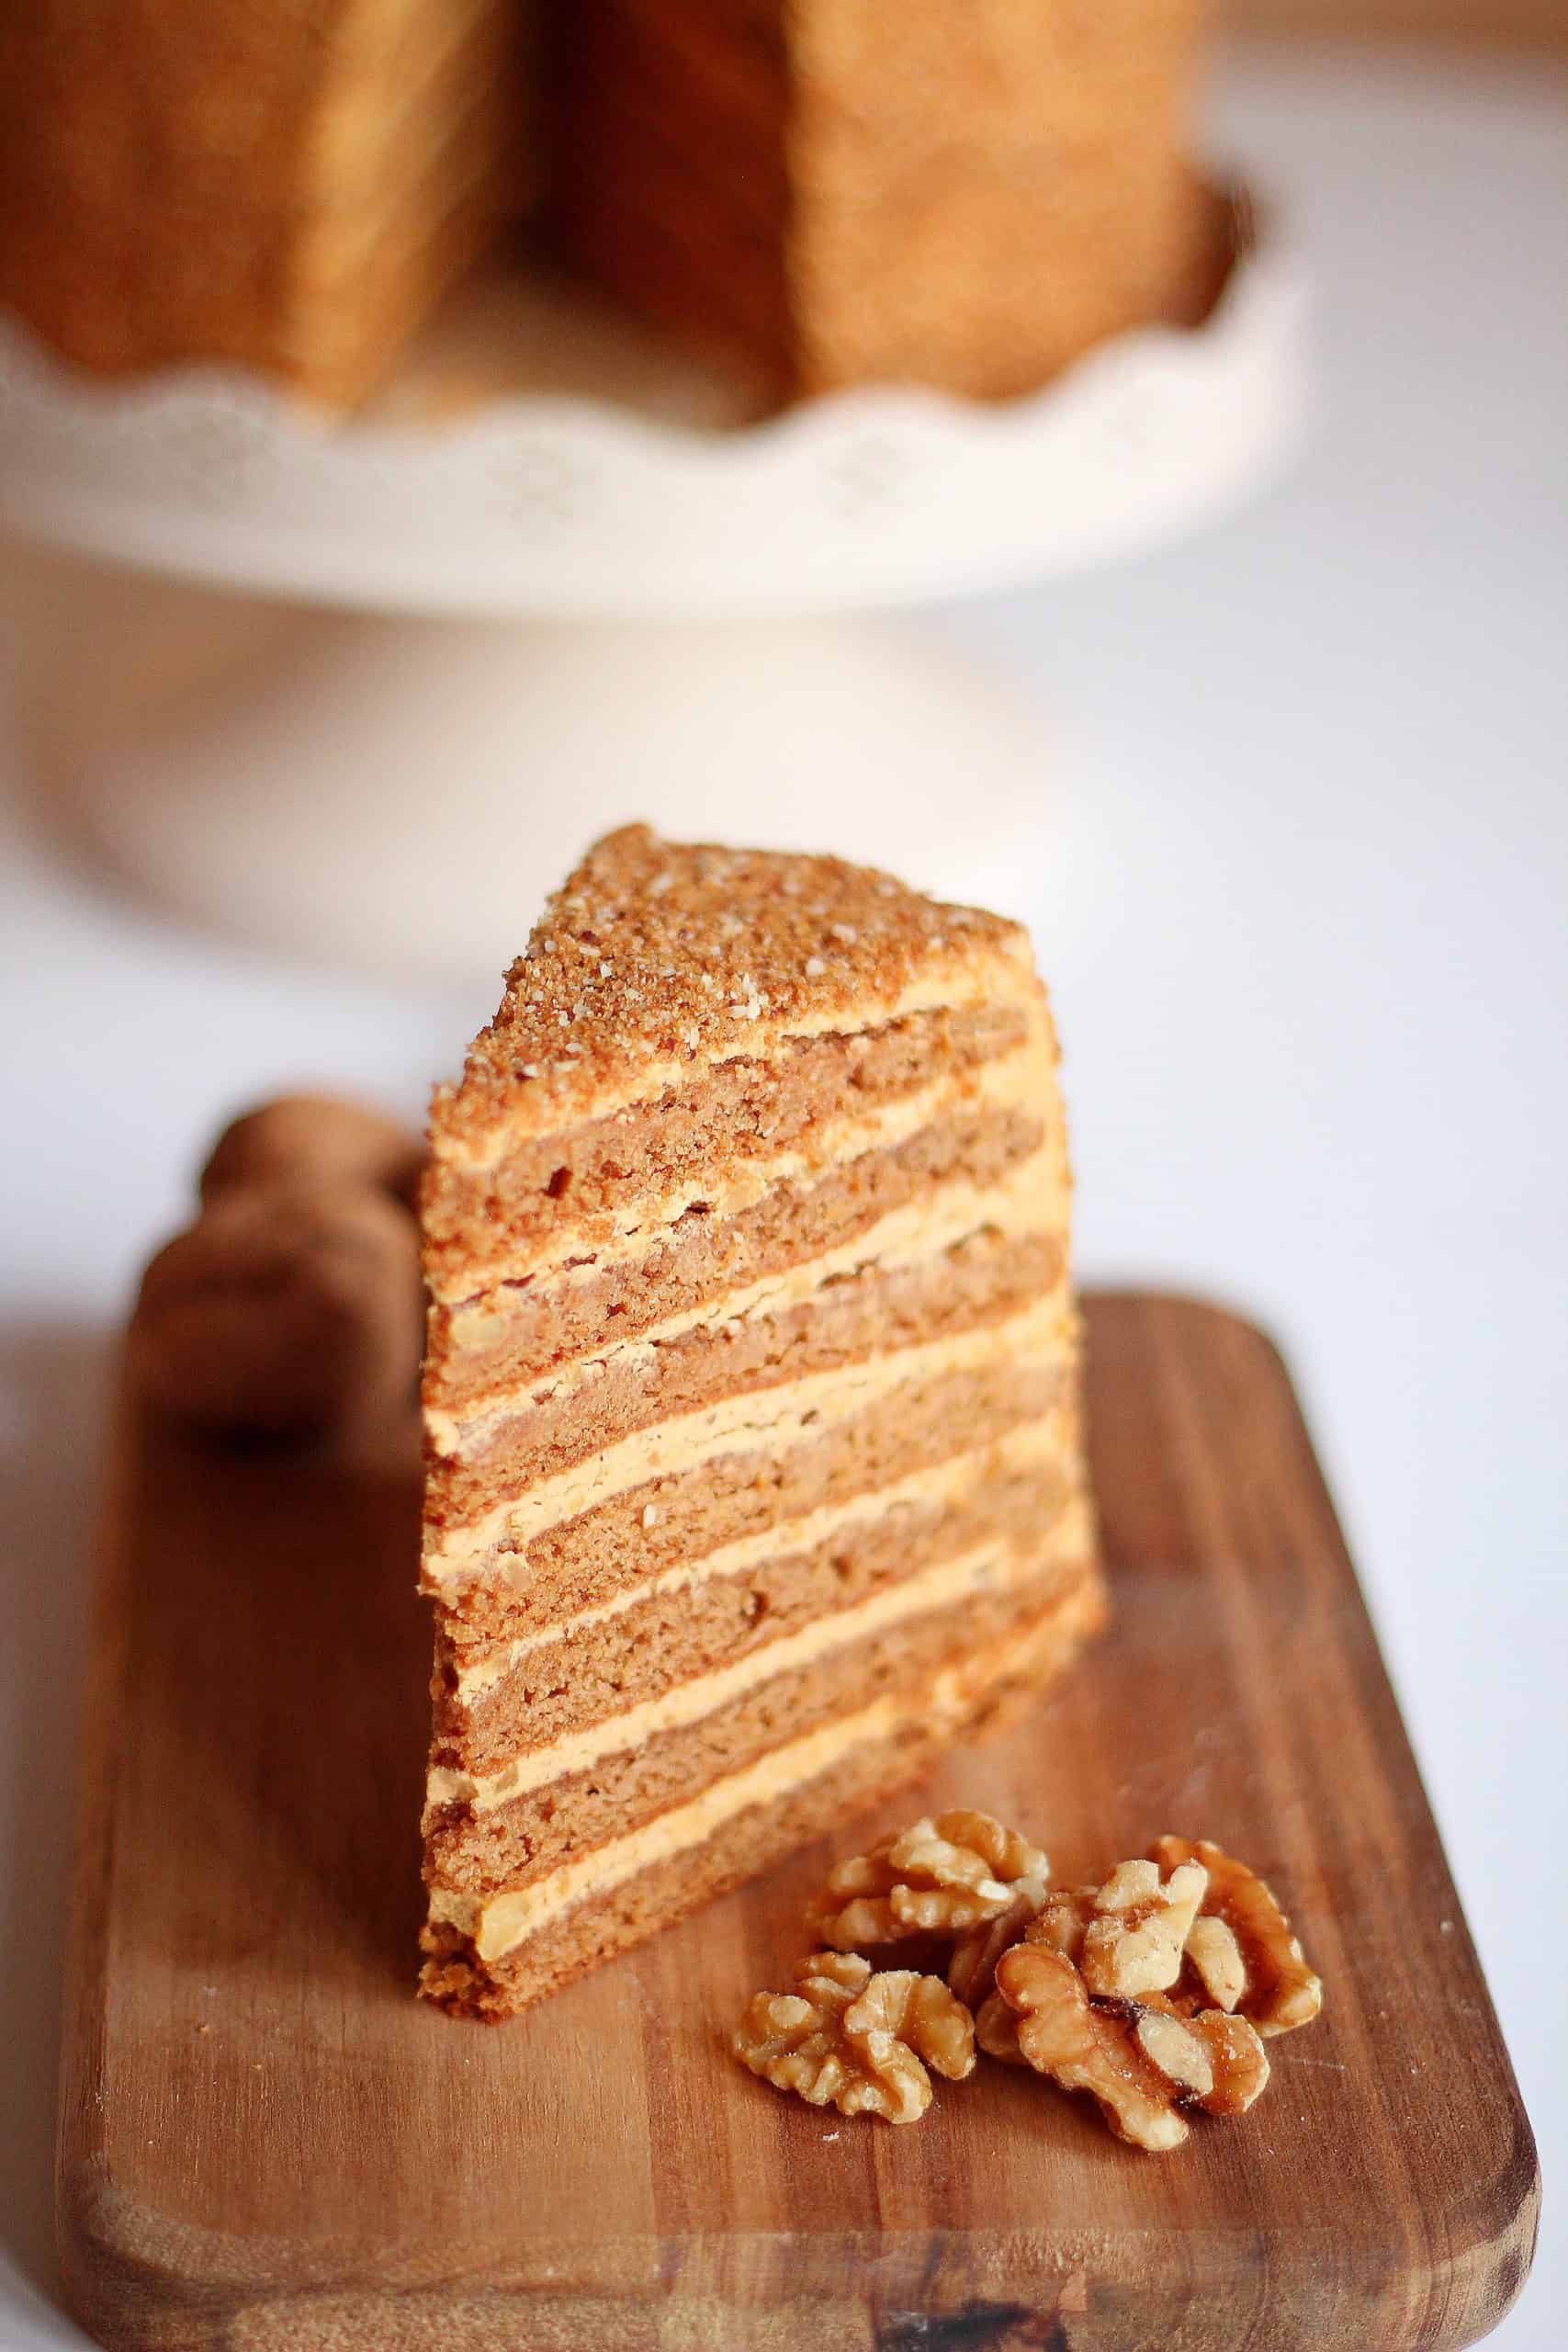
Where is honey cake from
The origins of honey cake are touching old Soviet countries, where at that time the cake was filled with simple sour cream buttercream layers, sometimes cream cheese buttercream. Since then, this cake has made its way to all Slavic countries, and of course it had landed also in my birth country, Czech Republic. The version of honey cake or medovnik from the Czech Republic is little different from Russian version of honey cake.
I have tasted my first honey cake, when I was a little girl back in Czech in one of the coffee shops. And I couldn’t help myself and had to try to recreate this luxurious and rich honey cake with layers of caramel Dulce de Leche buttercream and walnuts on honey cake discs infused with rum and sweet syrup.
Why is the cake so popular?
This cake has won one of the “best cakes” label, because of its popularity among my family and friends. And here is the full recipe and detailed instruction, so you can’t fail at making this honey cake.
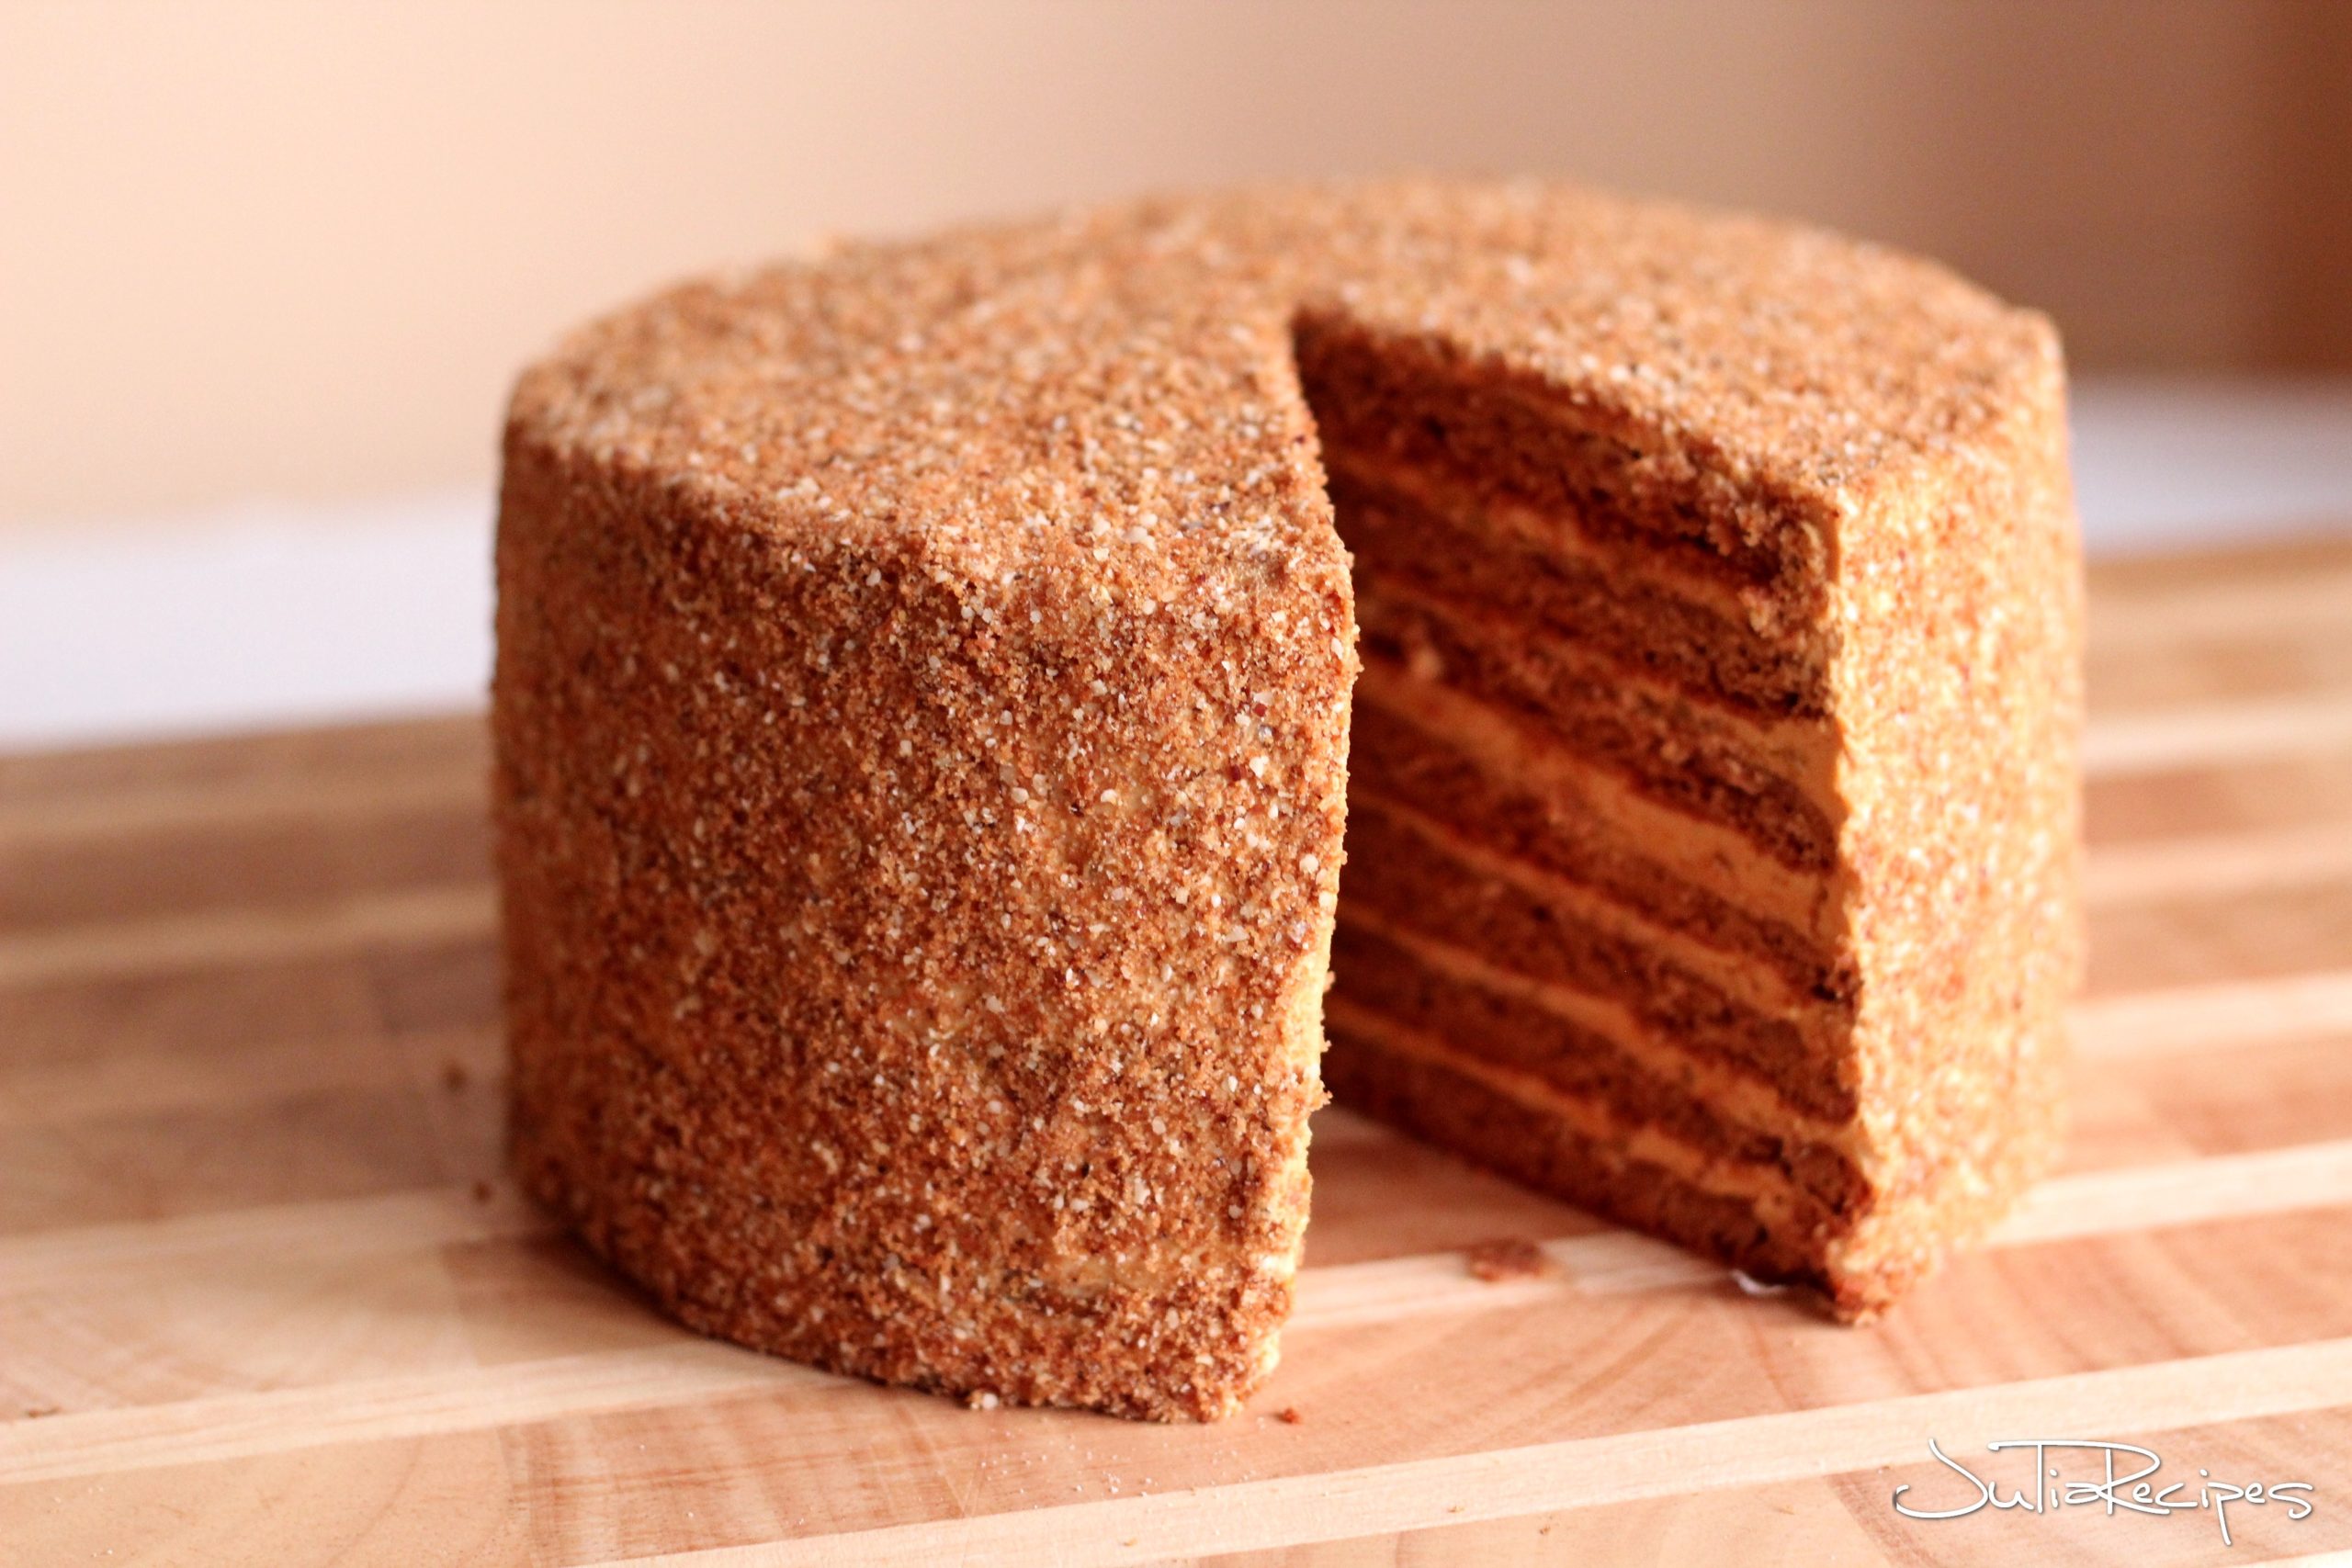
Ingredients needed for honey cake
For the Honey cake disks
- All-purpose flour
- White sugar
- Room temperature butter
- Large egg
- Baking soda
- Raw honey
- Heavy cream (min. 35% or full cream)
- Cocoa powder (Dutch quality)
For the Caramel Dulce de Leche Cream
- Ground walnuts
- Room temperature butter
- Sweetened condensed milk cans
Sweet Rum syrup
- White sugar
- Boiling water
- Dark rum
Decorating top of the cake
- Leftover from baked honey disks
- Ground walnuts
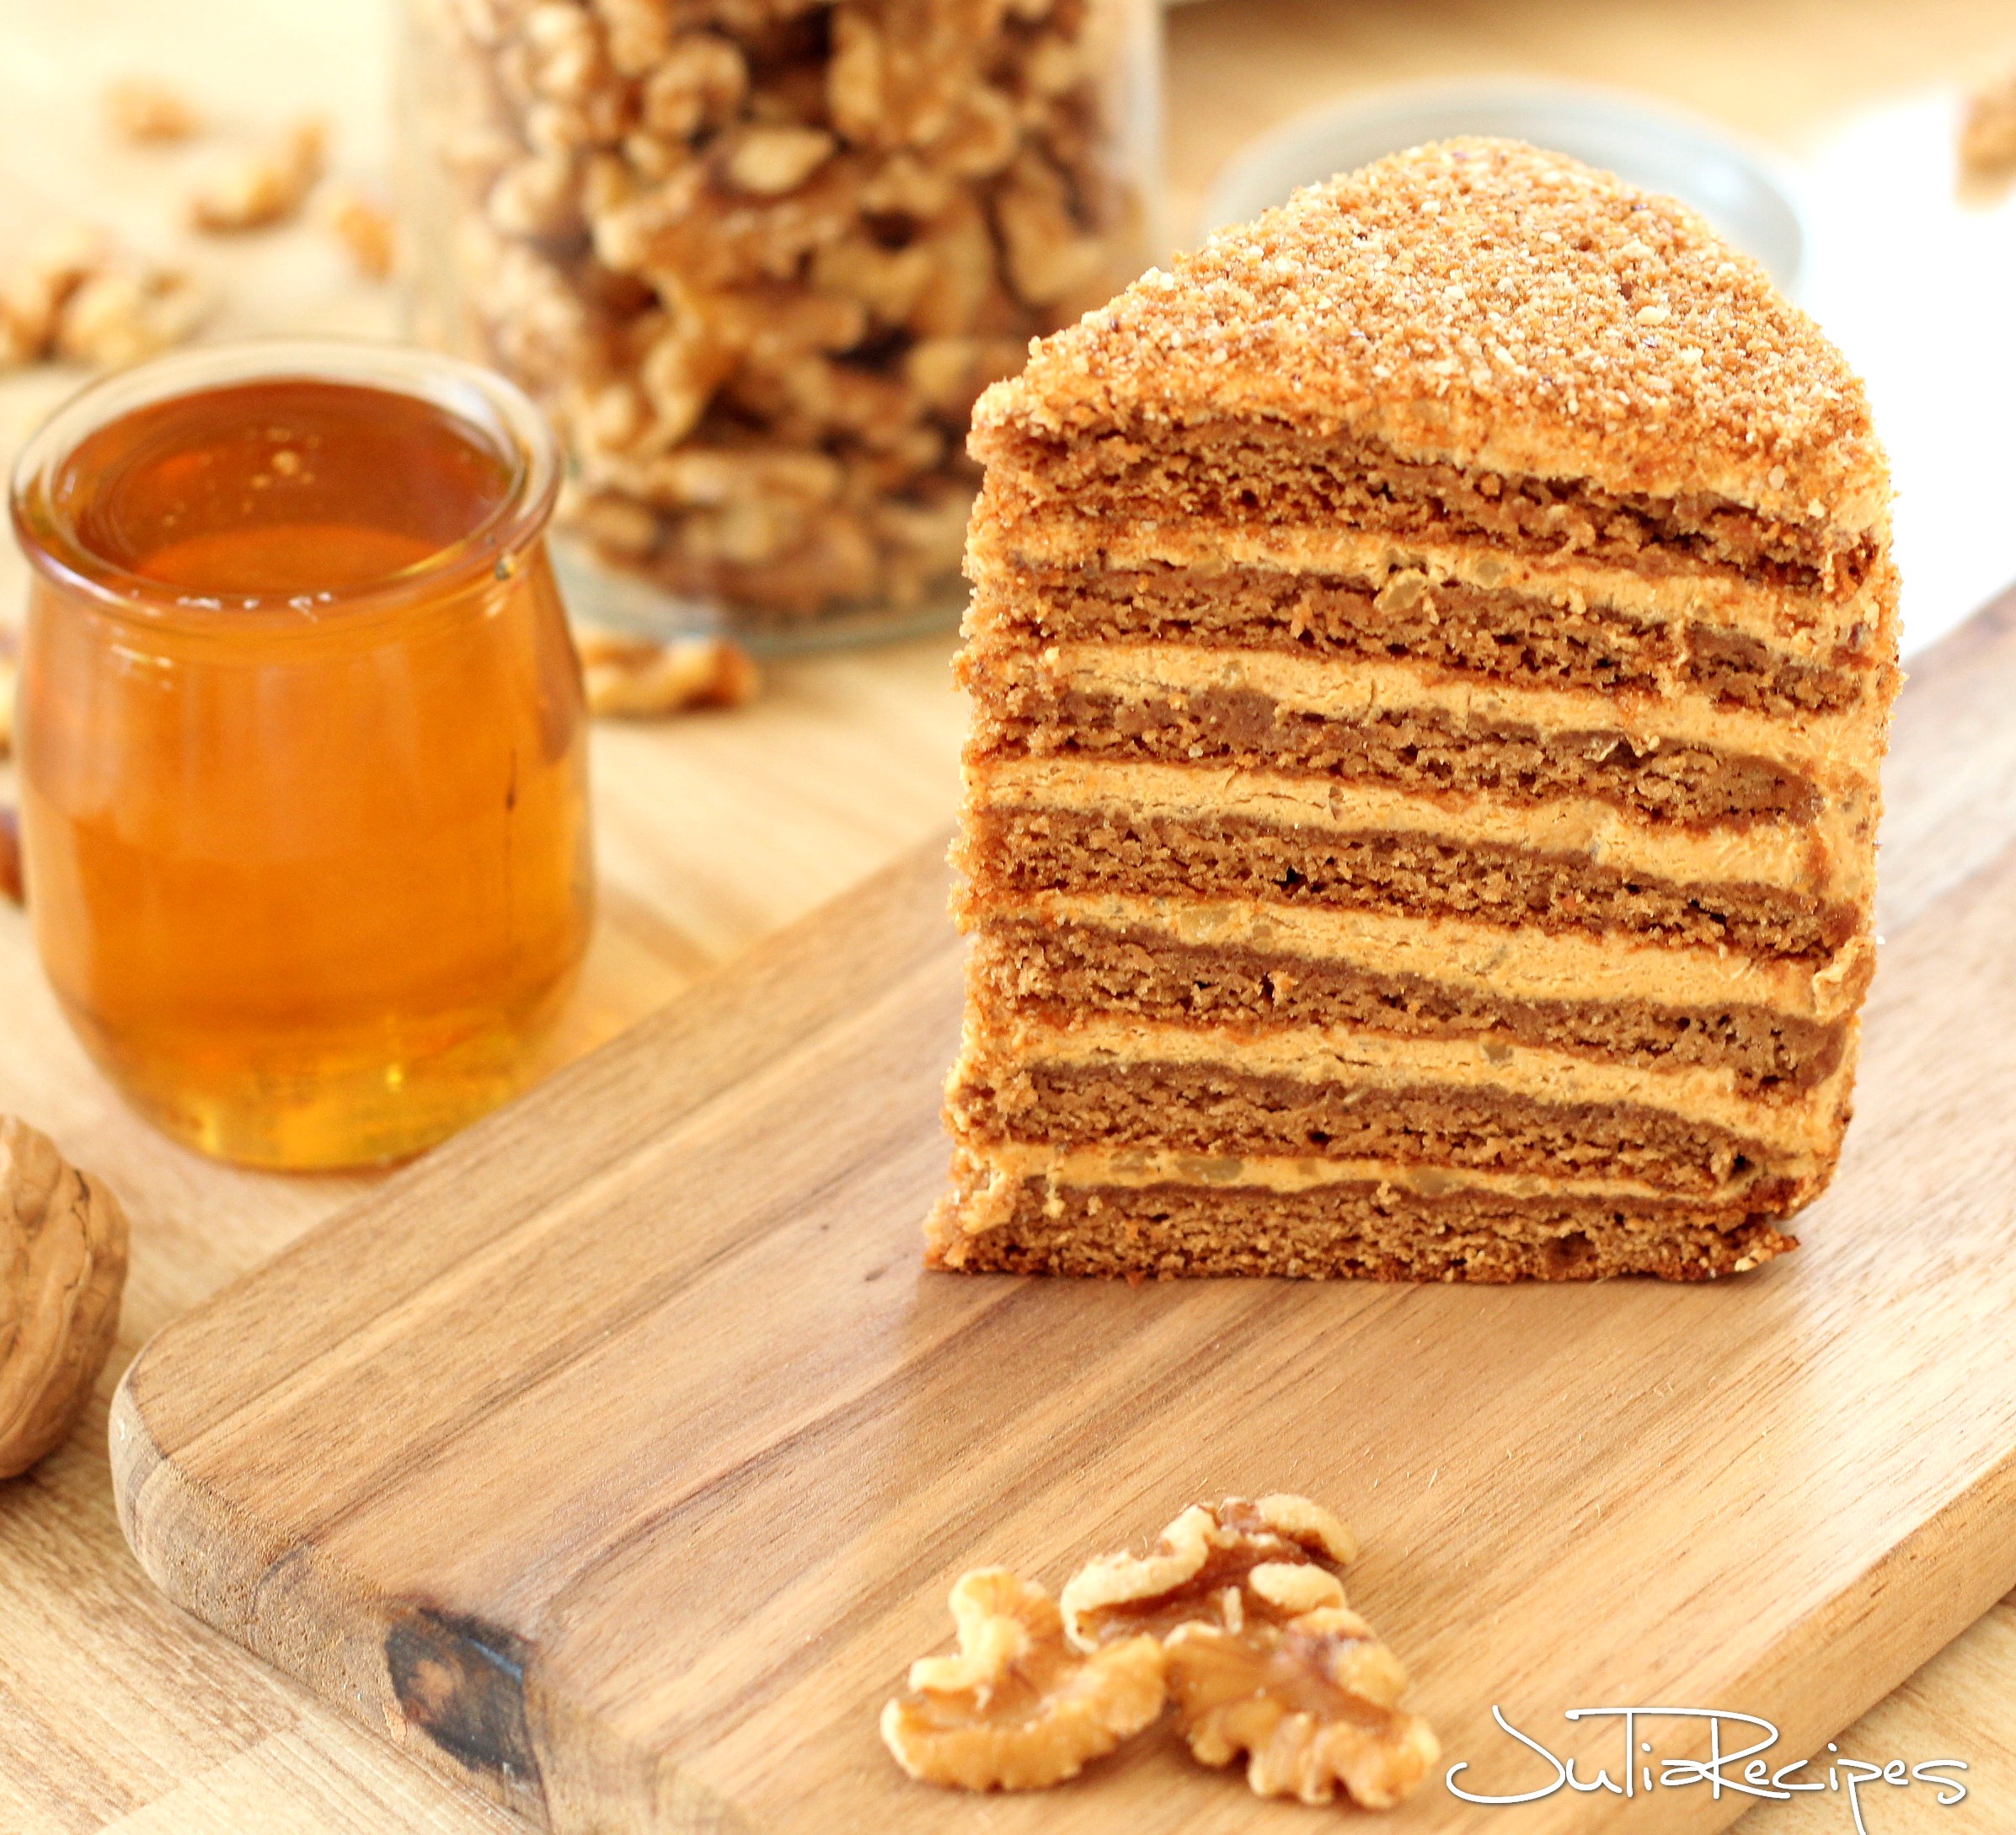
How to make the best honey cake
Honey cake disks
To start this cake, you must first bake honey cake disks which are made from these ingredients: All-purpose flour, white sugar, room temperature butter, egg, baking soda, raw honey, heavy cream and cocoa powder.
Step 1
Prepare a bain-marie (steam bath) with a smaller sauce pan filled with water until the half level and place a large glass kitchen bowl over it. Bring the sauce pan with water into a boil and reduce the heat to simmer. Place into the glass bowl all liquid ingredients and one solid ingredient: sugar, butter, egg, raw honey, heavy cream. Let the butter melt and then whisk well together all these ingredients. Continue to whisk with whisker if you are a strong whisker. I prefer using a hand mixer, and mix the mixture for 5 minutes, or until it becomes a white cream.
Step 2
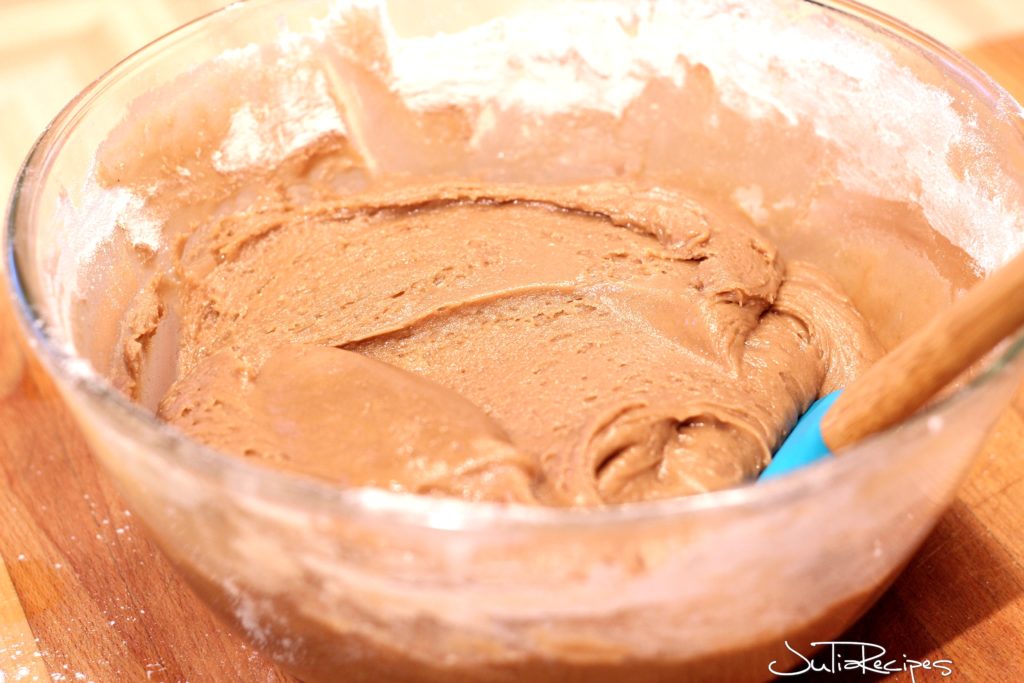
Remove the honey mixture from the heat and let aside. Take another large bowl and sift in the all-purpose flour, baking soda and cocoa powder. Use a spatula to mix the dry ingredients. Take the warm honey liquid mixture and add it to the dry ingredients. With a spatula, combine well until smooth dough comes together. Cover it with food foil and let the dough rest for 5 minutes.
Step 3
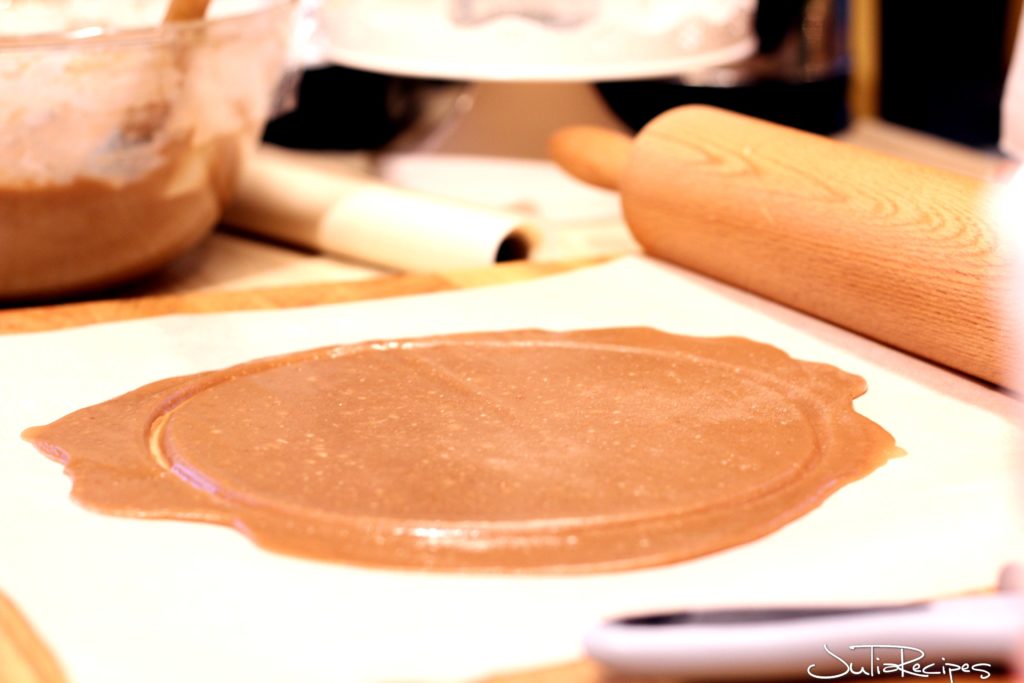
Now you will need to take out a kitchen scale of you want to have the perfectly equal shape of honey cake disks. Divide the dough into 7 equal pieces, or weigh approximately 130 g of each piece of the honey cake dough. Prepare 8 pieces of parchment paper. Take first parchment paper and place the first piece of the dough to roll out 2-3 millimeters thin disk. You will not need extra flour to sprinkle on the top of the dough. The dough keeps moist but not sticky. Keep the rest of the dough still covered with food foil, otherwise the dough would dry out.
Step 4
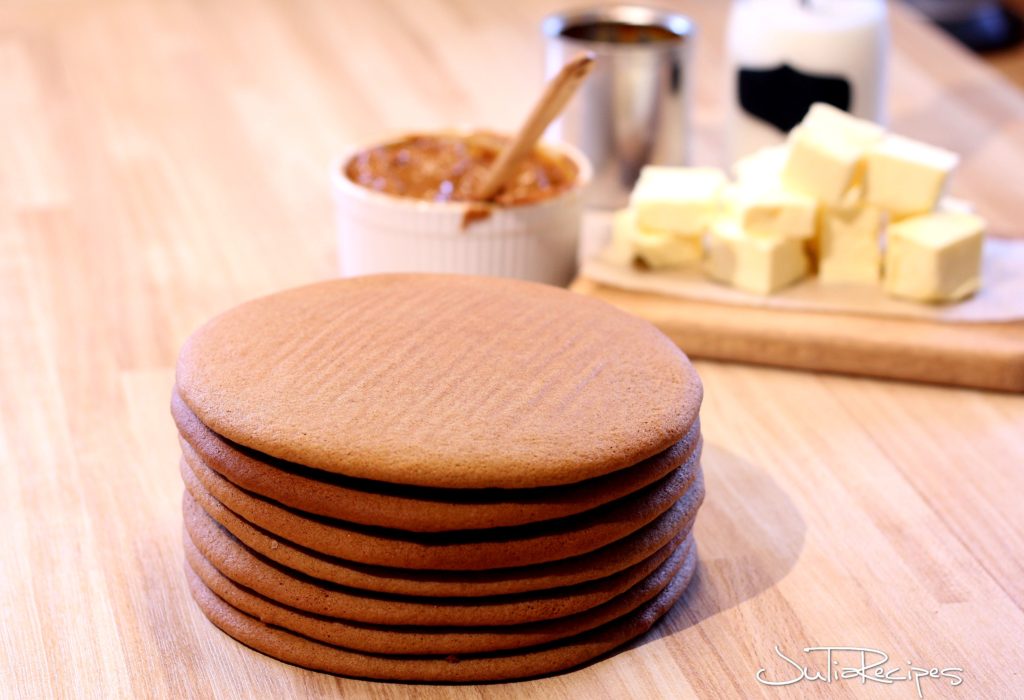
With a help of a cake mold 6 inches large, cut out a circle with knife or pizza roller and remove the remaining dough. Keep the remaining dough on the side covered with food foil, because we will bake it as well. And it will serve to decorate the cake top and the sides. Place the parchment paper with cut out circle and place it in preheated oven to bake. Repeat the same process with the remaining 6 pieces of well divided (weight out) dough.
Step 5
At the end, take the remaining pieces of a dough and knead it into one piece of a dough. Place it on the parchment paper and roll it out into 2-3 millimeters thin disk of any shape. It will be needed for the decoration part of the cake. Bake this disk the same way as the remaining disks and reserve for later.
Caramel Dulce de leche buttercream
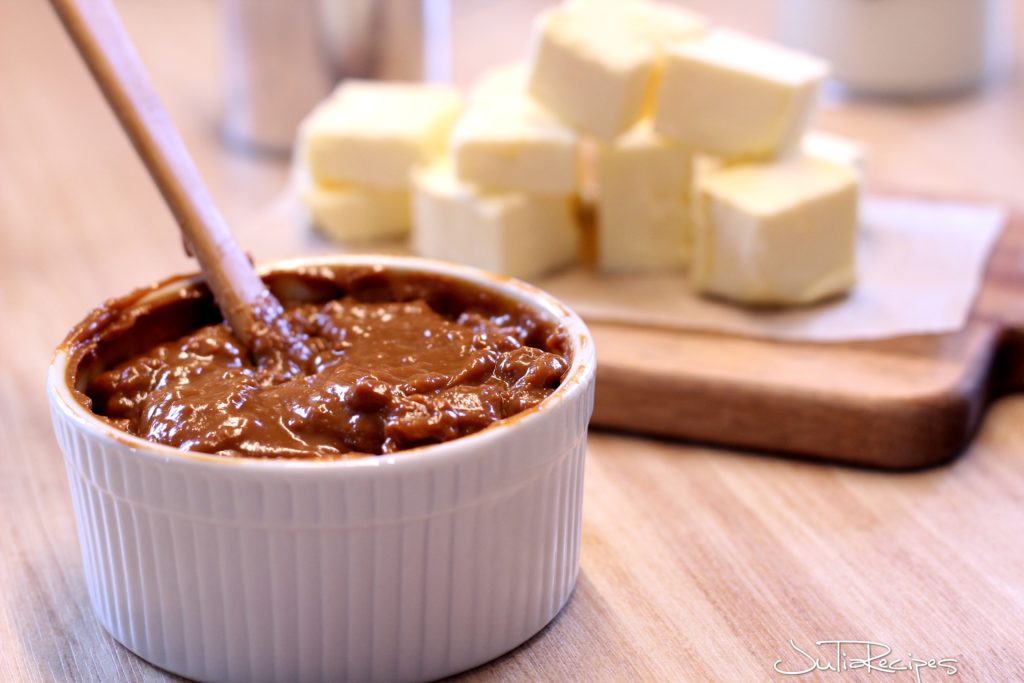
Caramel Dulce de leche buttercream takes a little longer to prepare, so I would recommend preparing this buttercream in advance. Best the night before (or 24 hours prior) you decide preparing the cake. I am using in this recipe a can of sweet condensed milk and cooking in the water for two hours to allow the sweet condensed milk to caramelize. You might be asking yourself question if this step could be substituted with sweet condensed milk already with Dulce de leche flavor. The answer is NO. And I will explain why.
Tip for best Dulce de leche buttercream
The sweet condensed milk needs to be cooked in water for a minimum of 2 hours to really thicken and caramelized. The bough Dulce de leche flavored sweet condensed milk isn’t thick enough to make tasty caramelized buttercream. You would have to be required to use more butter, thus the flavor of caramel will be reduced.
Step 1
Place two cans of sweet condensed milk (paper removed) into the deep sauce pan with a lid, filled with cold water. Make sure the cans are covered with water. Heat the water to boiling point, then reduce to simmer heat and cook for 2 hours with the lid on. After two hours of cooking, remove the lid and let the water cool down.
Step 2
Remove the cans from the sauce pan with a help of tongs and let the cans cool down for a minimum of 4 hours, best overnight on the kitchen counter. Once the cans are cooled, take a can opener and open the cans, set aside. In a large bowl of the stand mixer, cream the room temperature butter for 10 minutes, on medium speed. The butter needs to me creamy and white.
Next, add the content of caramelized sweet condensed milk and ground walnuts. Mix until well combined. Divide the cream with an icing spatula into 7 equal parts. Let the cream aside and prepare the sweet rum syrup.
Sweet Rum Syrup
This sweet rum syrup is very simple. Place white sugar and rum in a small cup and add boiling water. Stir with a spoon, so the sugar gets well dissolved. If you don’t like to use alcohol in this recipe, you can use rum essence.
Decoration for top of the cake
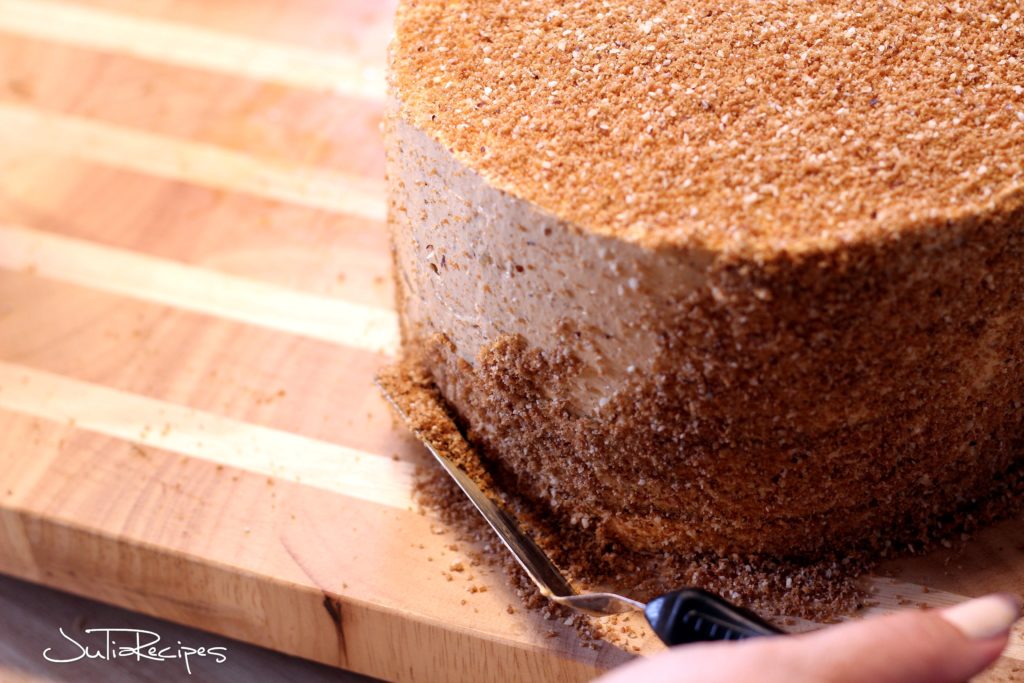
For the decorative crumbs that are all over the cake, you take walnuts and the leftover last honey cake disk baked and run them in the food processor until finely ground. Very easy!
Assembling the cake
Step 1
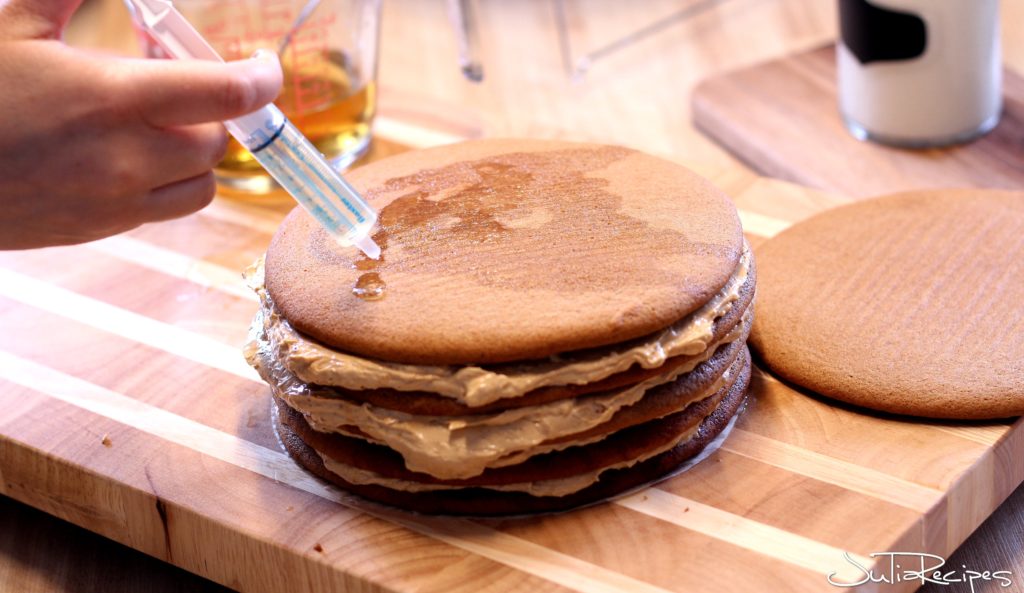
And we are at the finish line. Finally, we can assemble the cake. Prepare a plate and cut out round parchment paper, where you will be placing the honey cake. Take the first honey cake disk and place it onto the parchment paper. Use a syringe to measure exactly 30 ml on each disk. With a round motion, distribute the syrup all over the disk.
Step 2
Once the disk is well moistured with the syrup, take one part of the cream and spread it with a long icing spatula all over the disk. The layers of Dulche de leche buttercream will be very thin. It is absolutely normal, because we will be having many layers. Repeat all this with the remaining 6 honey cake disks.
Step 3
The last layer of buttercream will have to cover the whole cake, so make a very thin layer. Make sure to cover the sides as well. We need the cake to be covered with the buttercream just for the ground walnuts and the ground baked dough to stick to it. If you feel you won’t have enough of butter cream to cover, add to the last part of the buttercream 2 tablespoons of softened butter and mix them together to combine.
Step 4
Take the ground walnuts mixed with the ground baked honey cake disk and with a help of longer knife or long icing spatula, cover the sides and the top of the cake. Cover the cake with food foil or place it in a cake container and let it refrigerate for 24 hours. Cut the beautifully layered cake with dessert knife, about 2 inches large.
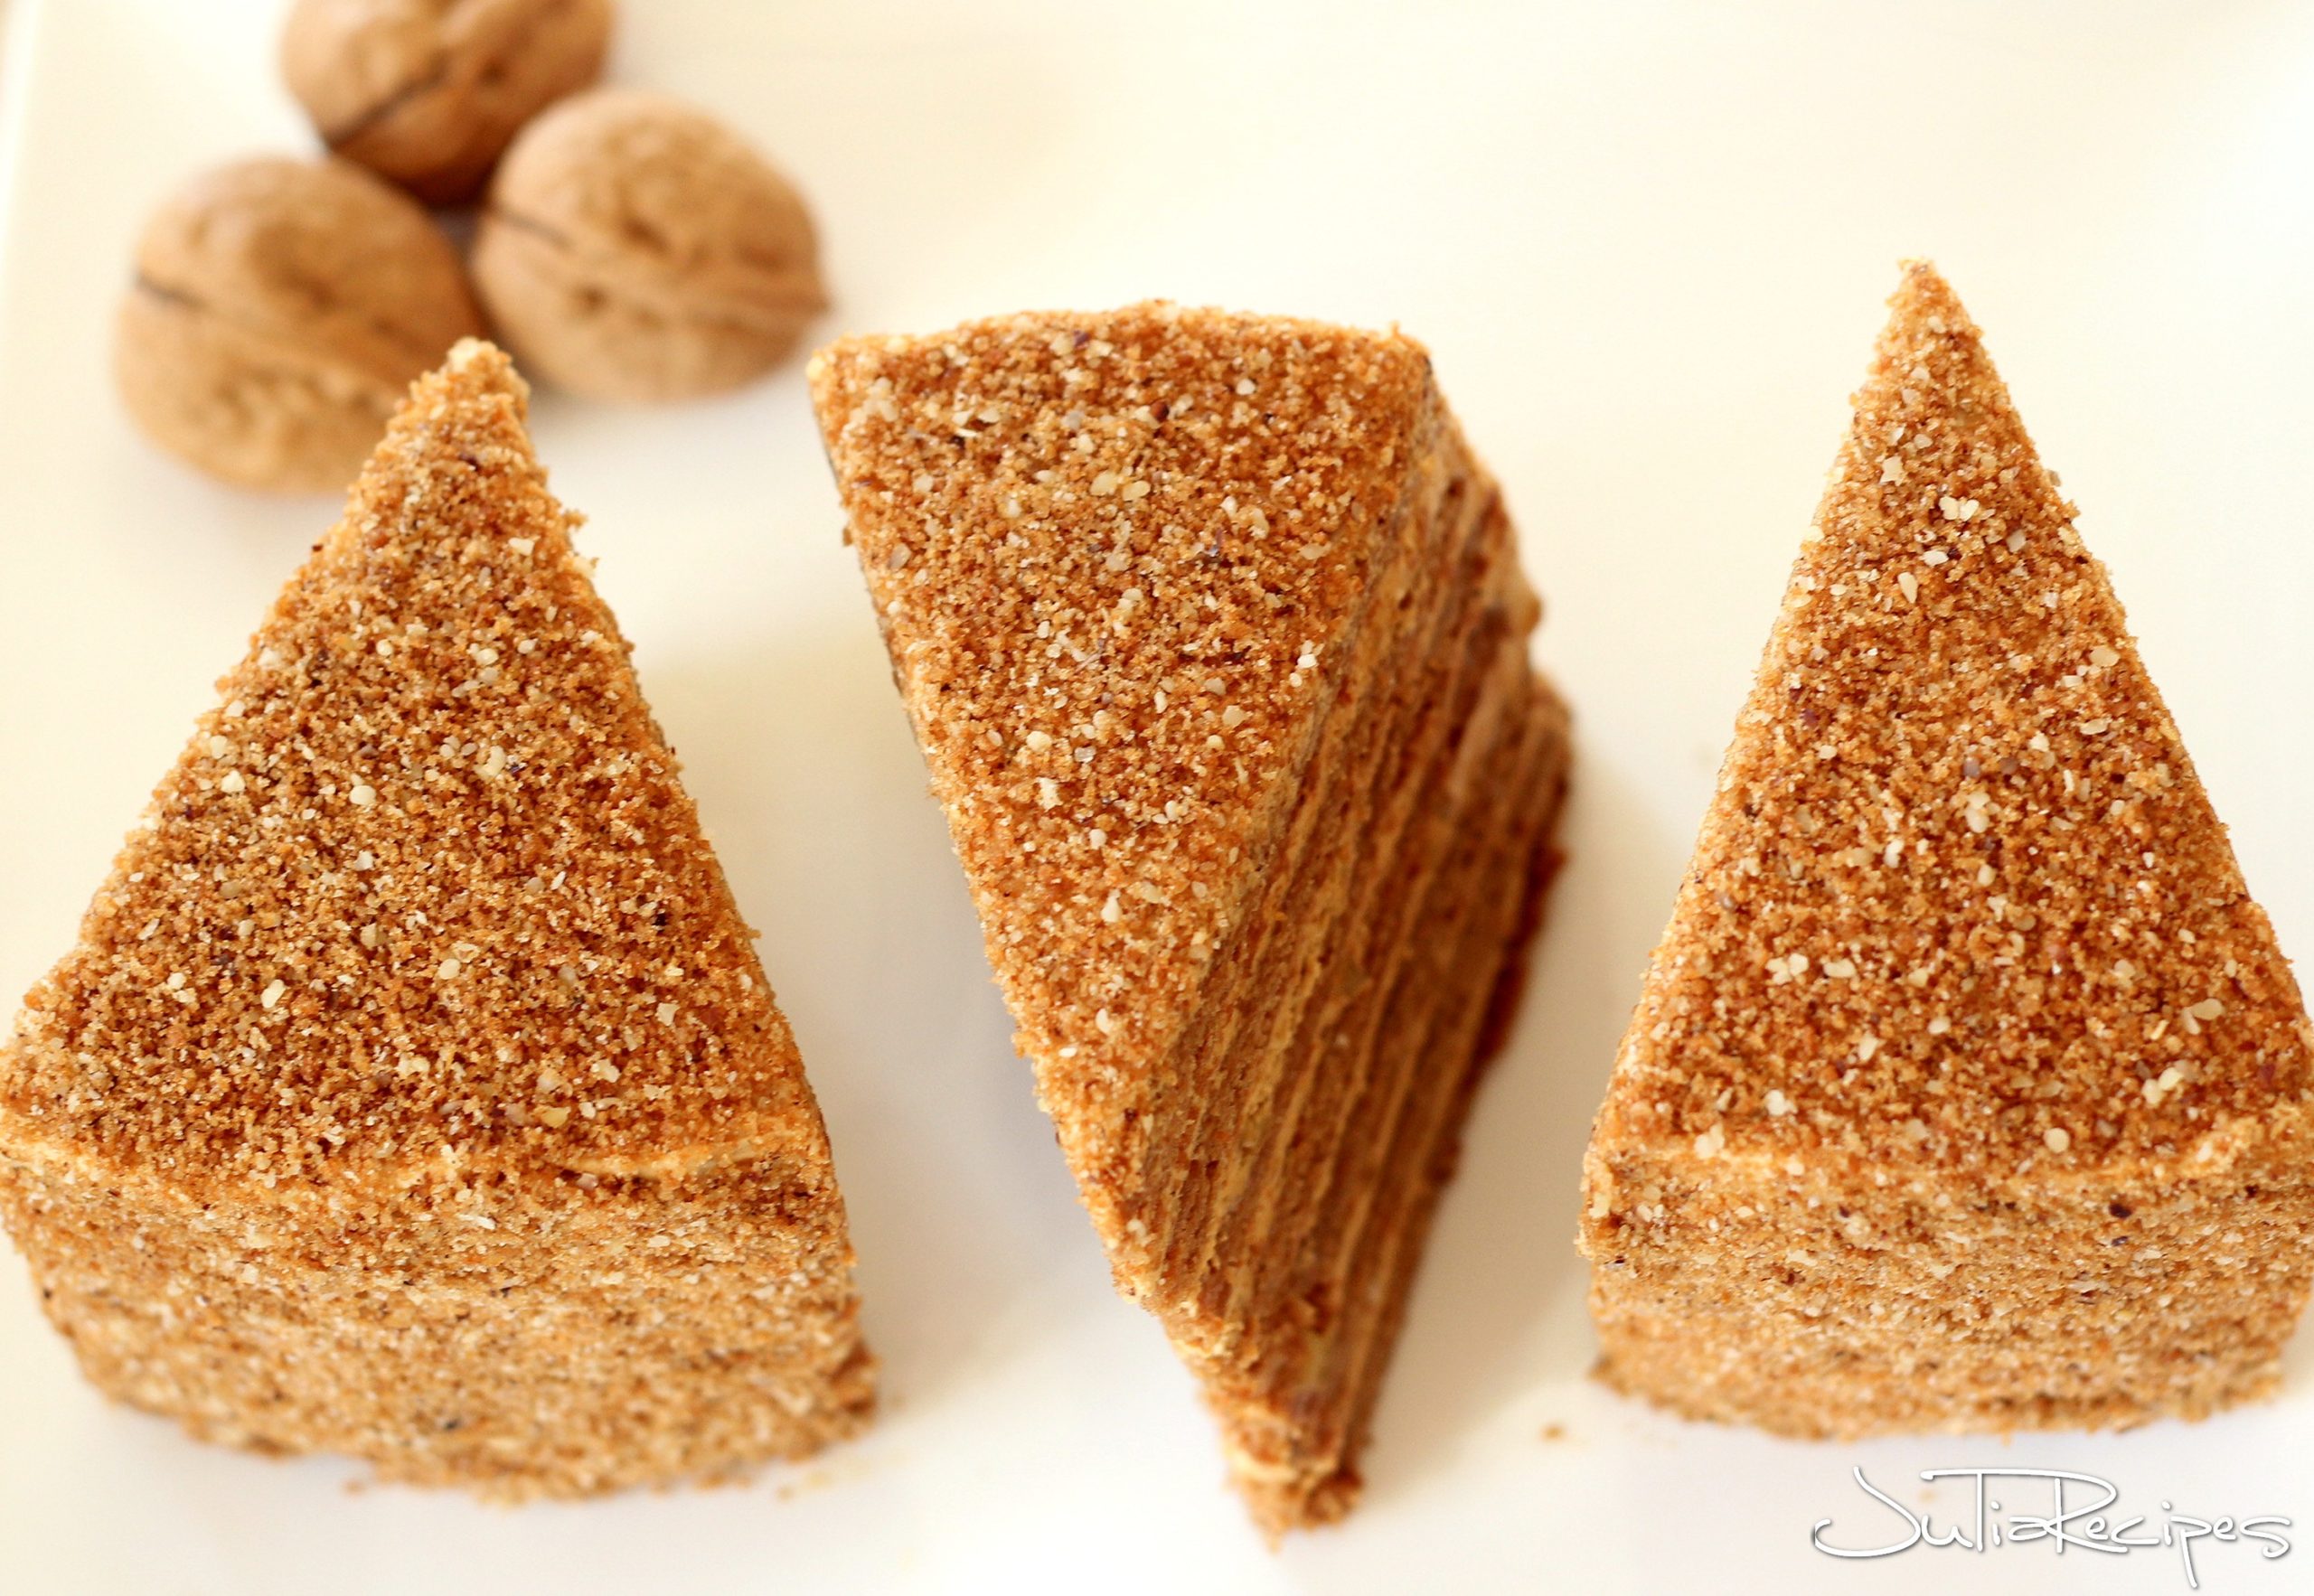
FAQ & TIPS
Make sure you prepare your caramel sauce one day before, because it is made out of condensed sweet milk, cooked in the water for 2 hours. The honey cake disks as well might be prepared a day before, to save some time.
Don’t substitute already flavored Dulce de leche sweet condensed milk, because it doesn’t have the same thick texture.
You can make two versions of this cake, round or rectangular. For the long rectangular version, I recommend double the ingredients. In this case, the cake would measure 14 inches x 9 inches (35 cm x 22 cm). The rectangular version is very demanded during the Christmastime in my household. The re This recipe is done in round version, and it is used with shape of 6 inch round mold.
This cake must be refrigerated for 24 hours to allow to all flavors to penetrate and most importantly, the cake disks will have time to soften with help of the buttercream and sweet syrup.
To store this cake, use a plastic cake cover, or an airtight container with lid big enough to fit the 6 inches round cake. You can also use simple food foil. But the ground walnuts might stick to it. Use toothpicks all around the cake to keep the distance from the food foil, so the ground walnuts won’t create static and won’t stick to the food foil.
You can freeze the cake in an airtight container with the lid for up to 3 months. To defrost, let the cake stand at room temperature for 6-8 hours. This cake is very well-preserved with honey and can be refrigerated for up to 21 days.
You can add 1 tablespoon of instant coffee into the buttercream to add more flavor to the buttercream.
If you end p with leftover of buttercream, place it in Ziploc and freeze for up to 3 months.
More sweet recipes
- THE BEST LEMON POUND CAKE
- LEMON CAKE WITH CHOCOLATE CHIPS
- HOMEMADE BELGIAN WAFFLES RECIPE
- WALNUT CRESCENTS
- GINGERBREAD SOFT COOKIES – (PERNICKY)
“THIS POST MAY CONTAIN AFFILIATE LINKS. PLEASE SEE DISCLOSURE PAGE FOR MORE INFORMATION.”
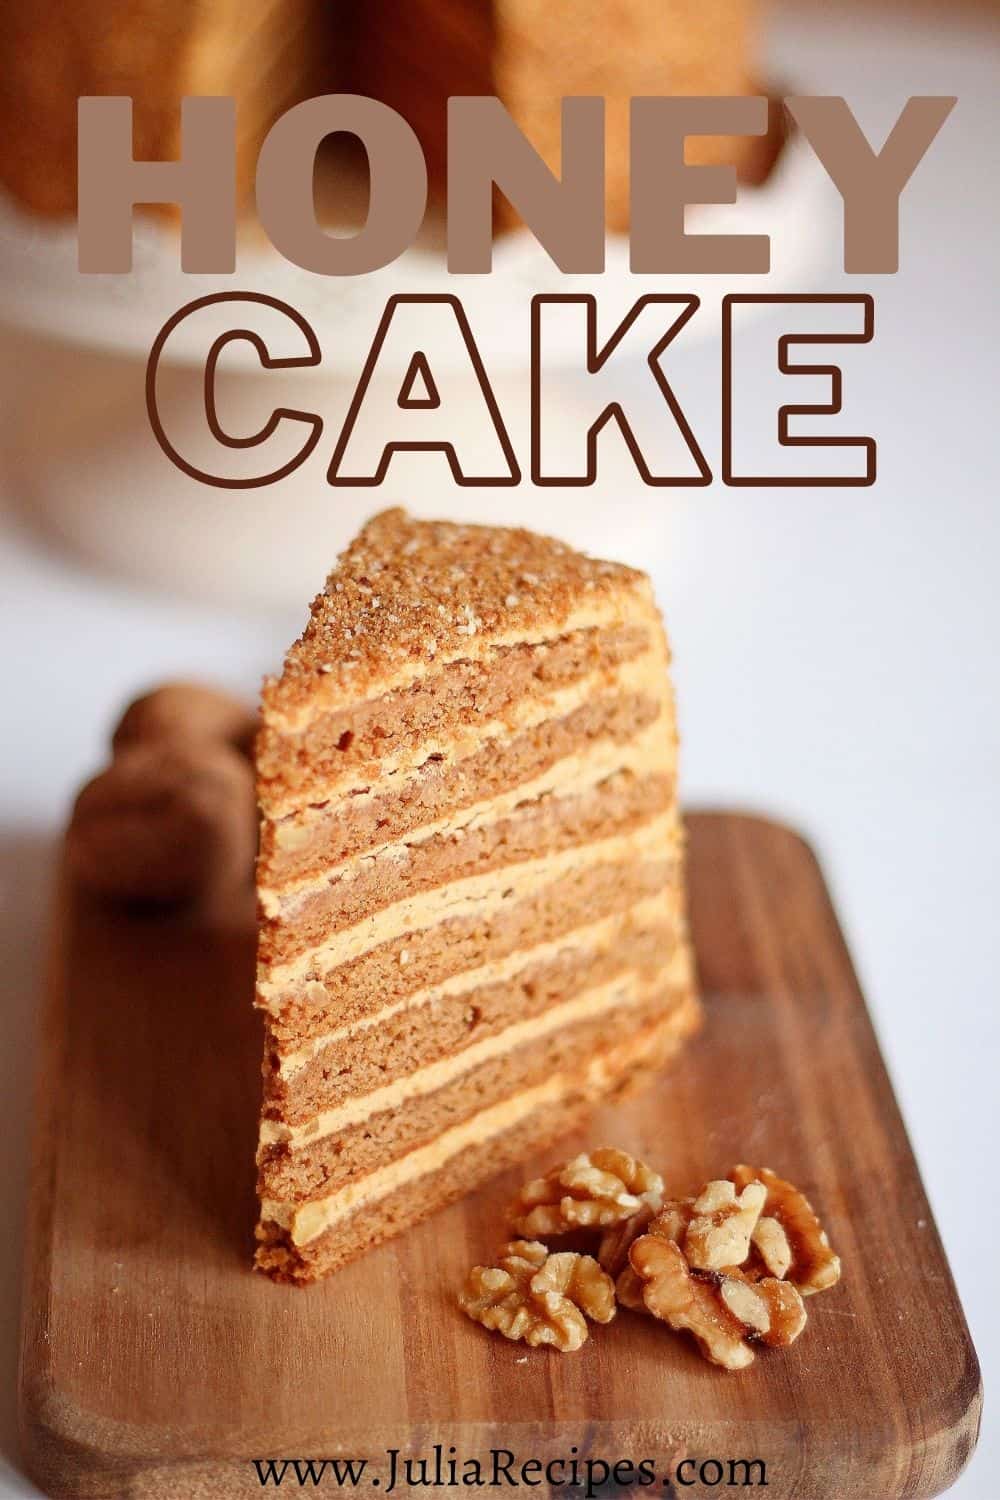
HONEY CAKE
Ingredients
Honey cake disks
- 450 grams ( 3 cups) all-purpose flour
- 180 grams (1 cup) sugar
- 180 grams ( 3/4 cup) unsalted butter room temperature
- 1 large egg
- 1 1/2 teaspoon baking soda
- 6 tablespoon honey
- 4 tablespoon heavy cream
- 1 tablespoon cocoa powder
Dulce de Leche buttercream:
- 70 g ground walnuts
- 450 g (2 ⅓ cup) unsalted butter
- 2 cans sweet condensed milk
Sweet Syrup
- 2 ½ tablespoon white sugar
- 50 milliliters hot water
- 150 milliliters dark rum
Decorating cover for cake
- 50 grams rest of the baked dough
- 30 grams ground walnuts
Instructions
Honey cake disks
- Prepare bain-marie (medium sauce pan filled with water) and bring the water to boil. Reduce the heat to simmer and add in a large bowl butter, sugar, eggs, honey and cream. Place the large bowl with all the ingredients over the simmering water. Whisk the mixture until creamy and white, about 5 minutes. Remove from the heat and set aside.
- In another large bowl of the stand mixer, sift in the flour, baking soda and cocoa powder. Add the warm cream into the dry ingredients and gently mix to combine with spatula.
- Divide the dough into 7 equal pieces (approx. 130 g/each). Cover the dough with food foil and let the dough rest for 5 minutes. (The dough needs to be always covered with foil not to dry out).
- Preheat the oven to 180 C/ 356 F, rack in the middle position. Place a parchment paper on a working surface and place the first piece of honey dough on it. Roll out the dough flat, approximately 2-3 mm thin and little larger than 6" pan. Place the 6" pan on the dough and push it in the dough.
- With a knife or pizza cutter, cut out the circle shape. Place the parchment paper with the dough on a baking sheet and bake for 4-5 minutes or until golden brown. Don't over bake it! It should be soft to touch.
- Repeat the baking process with the remaining 6 disks. Keep the leftover dough, and at the end roll it as well to 2-3 millimeters thin dough and bake the same way. Cool the cakes on a wired rack.
Dulce de leche buttercream
- Place two cans of sweet condensed milk (paper removed) into the deep sauce pan with a lid, filled with cold water. Make sure the cans are covered with water. Heat the water to boiling point, then reduce to simmer heat and cook for 2 hours with the lid on. After two hours of cooking, remove the lid and let the water to cool down.
- Remove the cans from the sauce pan with a help of tongs and let the cans cool down for a minimum of 4 hours, best overnight on the kitchen counter. NEVER OPEN HOT CANS OF SWEET CONDENSED MILK! YOU CAN GET BADLY INJURED! Once the cans are cooled, take a can opener and open the cans. Set aside.
- In a large bowl of the stand mixer, cream the room temperature butter for 10 minutes, on medium speed. The butter needs to be creamy and white.
- Next, add the content of caramelized sweet condensed milk and ground walnuts. Mix until well combined. Divide the cream with an icing spatula into 7 equal parts. Let the cream aside and prepare the sweet syrup.
Sweet Syrup
- Place white sugar and rum in a small cup and add boiling water. Stir with a spoon, so the sugar gets well dissolved.
Decorative cover
- For the decorative crumbs, take the walnuts and the leftover last honey cake baked disk and run them in the food processor until finely ground.
Assemble the cake
- Place cut out round parchment paper on a plat and place the first honey cake disk on it. Use a syringe to measure exactly 30 ml of sweet rum syrup on each disk. With a round motion, distribute the syrup all over the first disk.
- Once the disk is well moisture with the syrup, take one part of the Dulce de leche buttercream and spread it with a long icing spatula all over the disk. Repeat all this with the remaining 6 honey cake disks, while layering on each other.
- Cover the cake with the last layer of the buttercream and take the decorative cover made from ground walnuts and baked disk. With a help of a longer knife or icing spatula, cover the sides and the top of the cake with the decorative cover.
- Place the cake in the cake container and let it refrigerate for 24 hours. Cut the beautifully layered cake with dessert knife, about 2 inches large.
Notes
Pin this Honey cake to your Pinterest board for later use
Disclosure: Bear in mind that some of the links in this post are affiliate links and if you go through them to make a purchase I will earn a commission. Keep in mind that I link these companies and their products because of their quality and not because of the commission I receive from your purchases. The decision is yours, and whether or not you decide to buy something is completely up to you.”

juderivers
This looks amazing!! xx
juliarecipes
Thank you Jude, Hope you will have a chance to try it out! 🙂
dani
What temp do u bake the disks at?
Julia
Hi Dani, if you will be the diameter of 6″(inch) large disk & 2-3 mm (millimetres), it should be baked at 180C/356F for 4-5 minutes each. It is a quick bake, keep an eye on it, as the thickness of the disk also plays a big role on how long to bake it.
It should be soft to touch when you take it from the oven. But later on it will slightly harden. Don’t worry, it will soften again with the syrup and buttercream. Let me know how you liked it. Julia.
Amanda
Everytime I’ve made this it has turned out beautifully. So much so that I get people requesting it years before their special occasion! My only issue is when caramelising the condensed milk, I always end up with rings from the cans on the base of my saucepan. Is there a way to avoid this? Could I put a dishcloth under the cans?
Julia
Hi Amanda,
I am so happy to hear you are having so much success with this honey cake:) Concerning the can ring stains in the saucepan: I personally use old aluminum saucepan when making the caramel, so I have never noticed any stains from the cans.
But I can imagine, that having a brand-new saucepan stained from the cans, is not fun!
I haven’t tried this method yet, but would suggest you use rather a steamer basket or round steamer rack to preserve the saucepan (you can find these on Amazon).
Definitely don’t use a dishcloth under the cans, you might be risking a sort of burn of the bottom of the saucepan. And always make sure the cans are fully submerged in the water during the simmering process. If needed, add more water.
Let me know if this worked for you. Happy baking, Julia 🙂