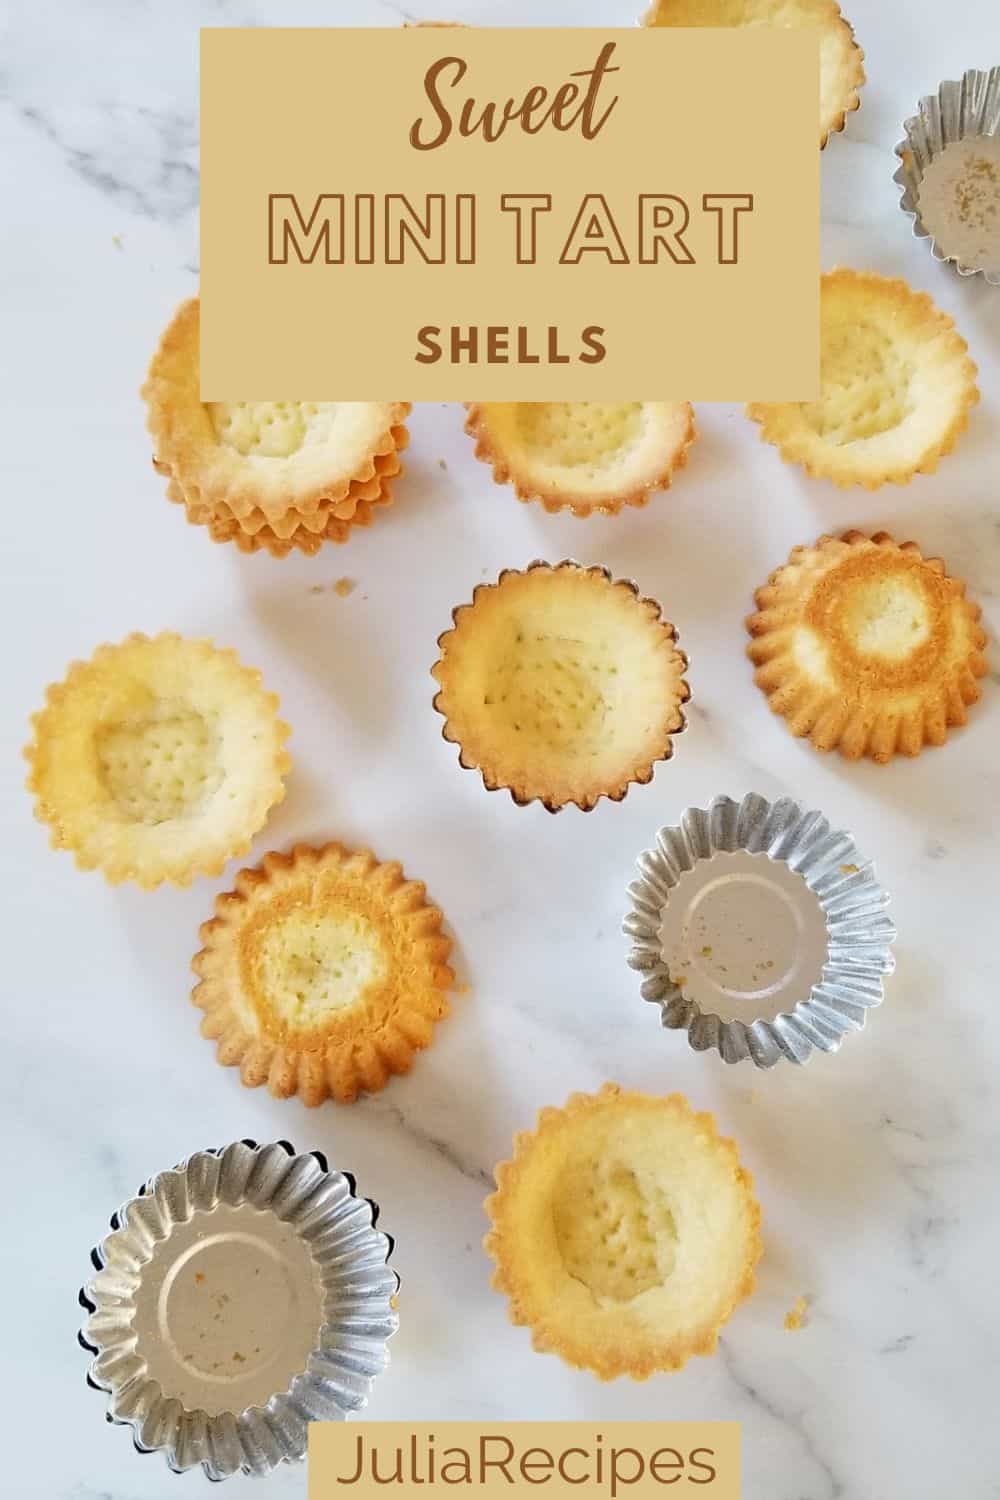
Indulge in the art of baking with these delightful mini tart shells made from scratch. With a buttery, tender crust designed to perfectly cradle your favorite fillings, these mini tart shells promise a delicious and personalized treat for any occasion.
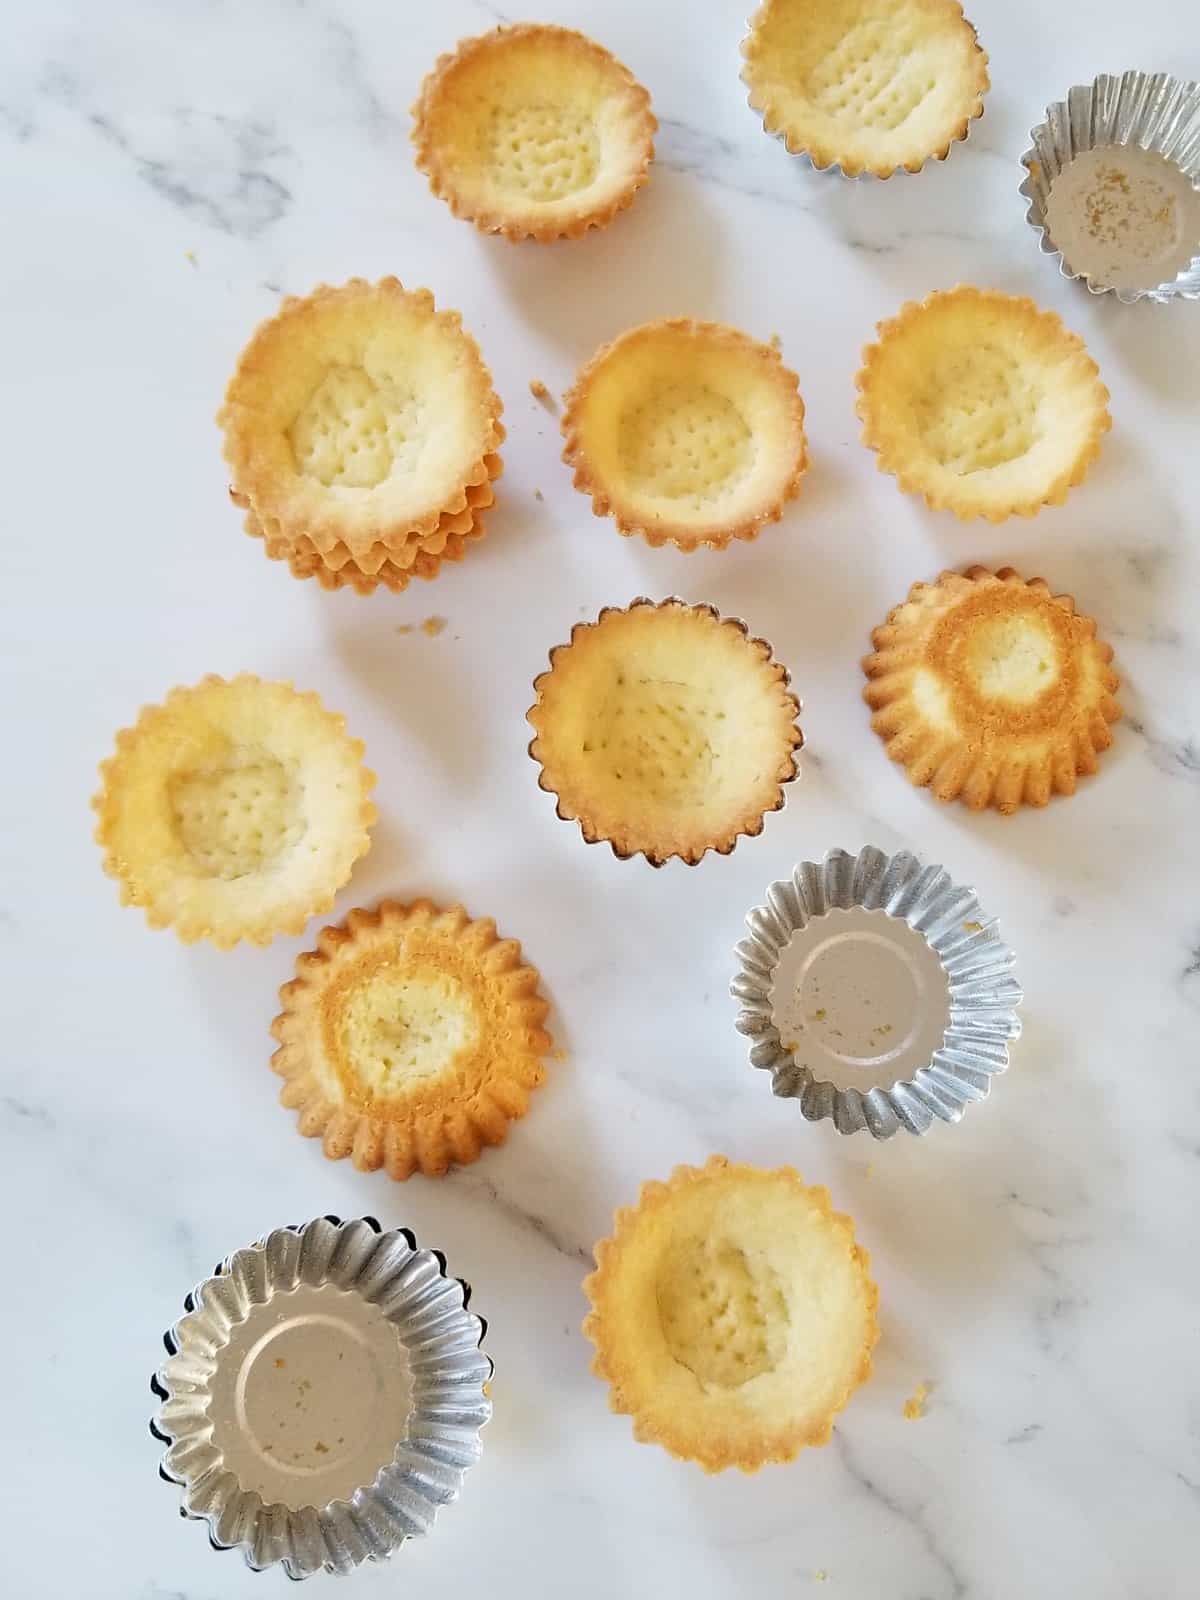
The perfect homemade mini tart shells recipe
Mini tart shells are the delightful bite-sized wonders that will captivate your taste buds with their delicate, flaky crusts and endless possibilities for delectable fillings. Whether you’re a seasoned baker looking to impress guests at your next gathering or a dessert enthusiast seeking a sweet treat to satisfy your cravings, these miniature delights offer a perfect balance of elegance and convenience.
Homemade tart shells also offer a distinct freshness and quality absent in pre-packaged alternatives, as they lack the preservatives common in store-bought options. Simply making tart shells from scratch will not only fulfill and satisfy your baking experience, but also foster a deeper connection to the culinary craft and allow you to add a personalized touch in every bite.

What is the difference between mini tarts and tartlets
Both are actually the same. Mini tarts or tattlers are made the same way as any traditional shortcrust pastry tart, but in a mini version. They are made from simple ingredients, such as flour, butter, sugar & egg yolk. The dough that we will be making is called pate sablee or sweet shortcrust pastry. This style of dough is very similar to cookie dough.
What pan to use for mini tarts
For mini tarts, you can use different kind of moulds, including the muffin pan. Usually, the most common mould used for tartlets are called egg tart moulds. And they come with the distinctive wavy sides. You can buy them in different sizes, such as 3-inch, 4-inch or 5-6-inch (these are mostly with removable bottom). For this recipe, you will need mini tart pans of the diameter around 3-inch, and they don’t need to be with removable bottom. I have bought mine on Amazon.
Ingredients
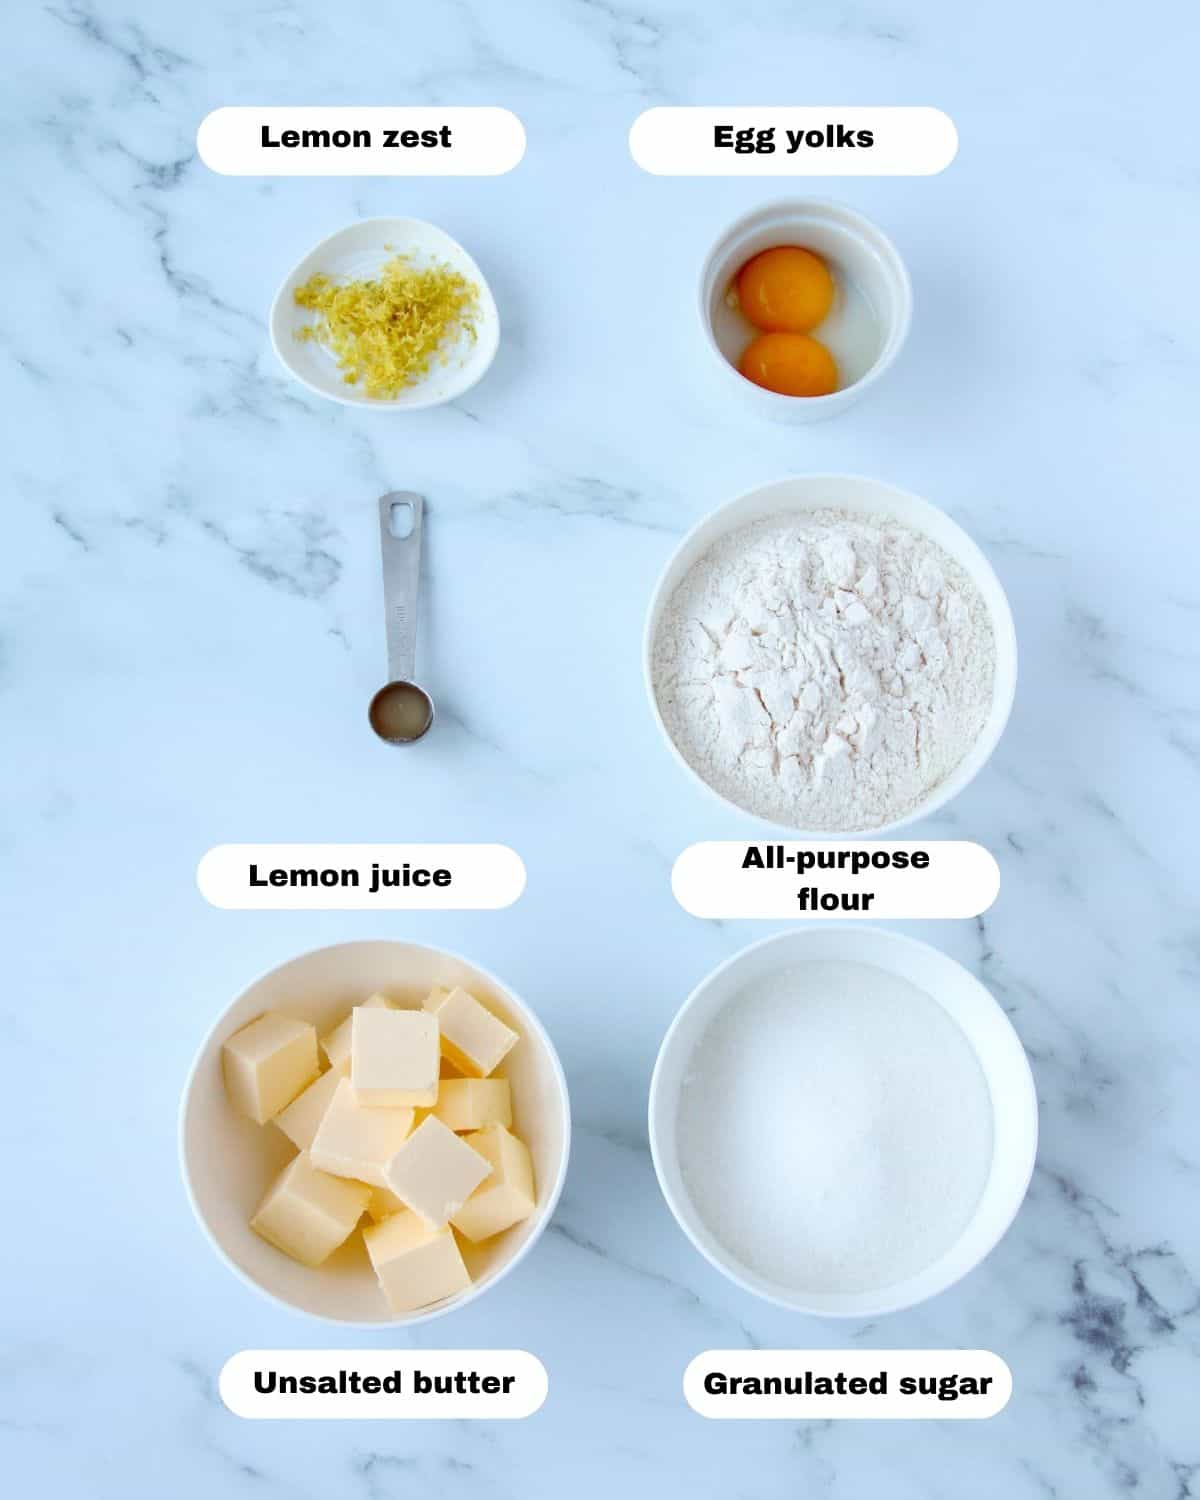
- All-purpose flour: The primary structure of the tart shell comes from the flour. It provides the necessary gluten formation to give the crust its structure and stability.
- Unsalted butter: Butter is crucial for creating a rich and flavourful crust. Butter in chilled dough creates pockets of fat that, when baked, result in a flaky texture. The buttery taste enhances the overall flavour of the tart shell.
- Fine granulated sugar: Sugar adds sweetness to the tart shell, balancing the flavours in the crust. It also contributes to the texture, providing a slight tenderness to contrast with the flakiness. Granulated sugar can be substiture with powdered sugar.
- Egg yolk: The egg yolk contributes to the richness and tenderness of the crust. It also acts as a binding agent, helping the dough come together and hold its shape.
- Lemon zest & juice: Make the dough moist and aromatic.
How to make mini tartlet shells from scratch
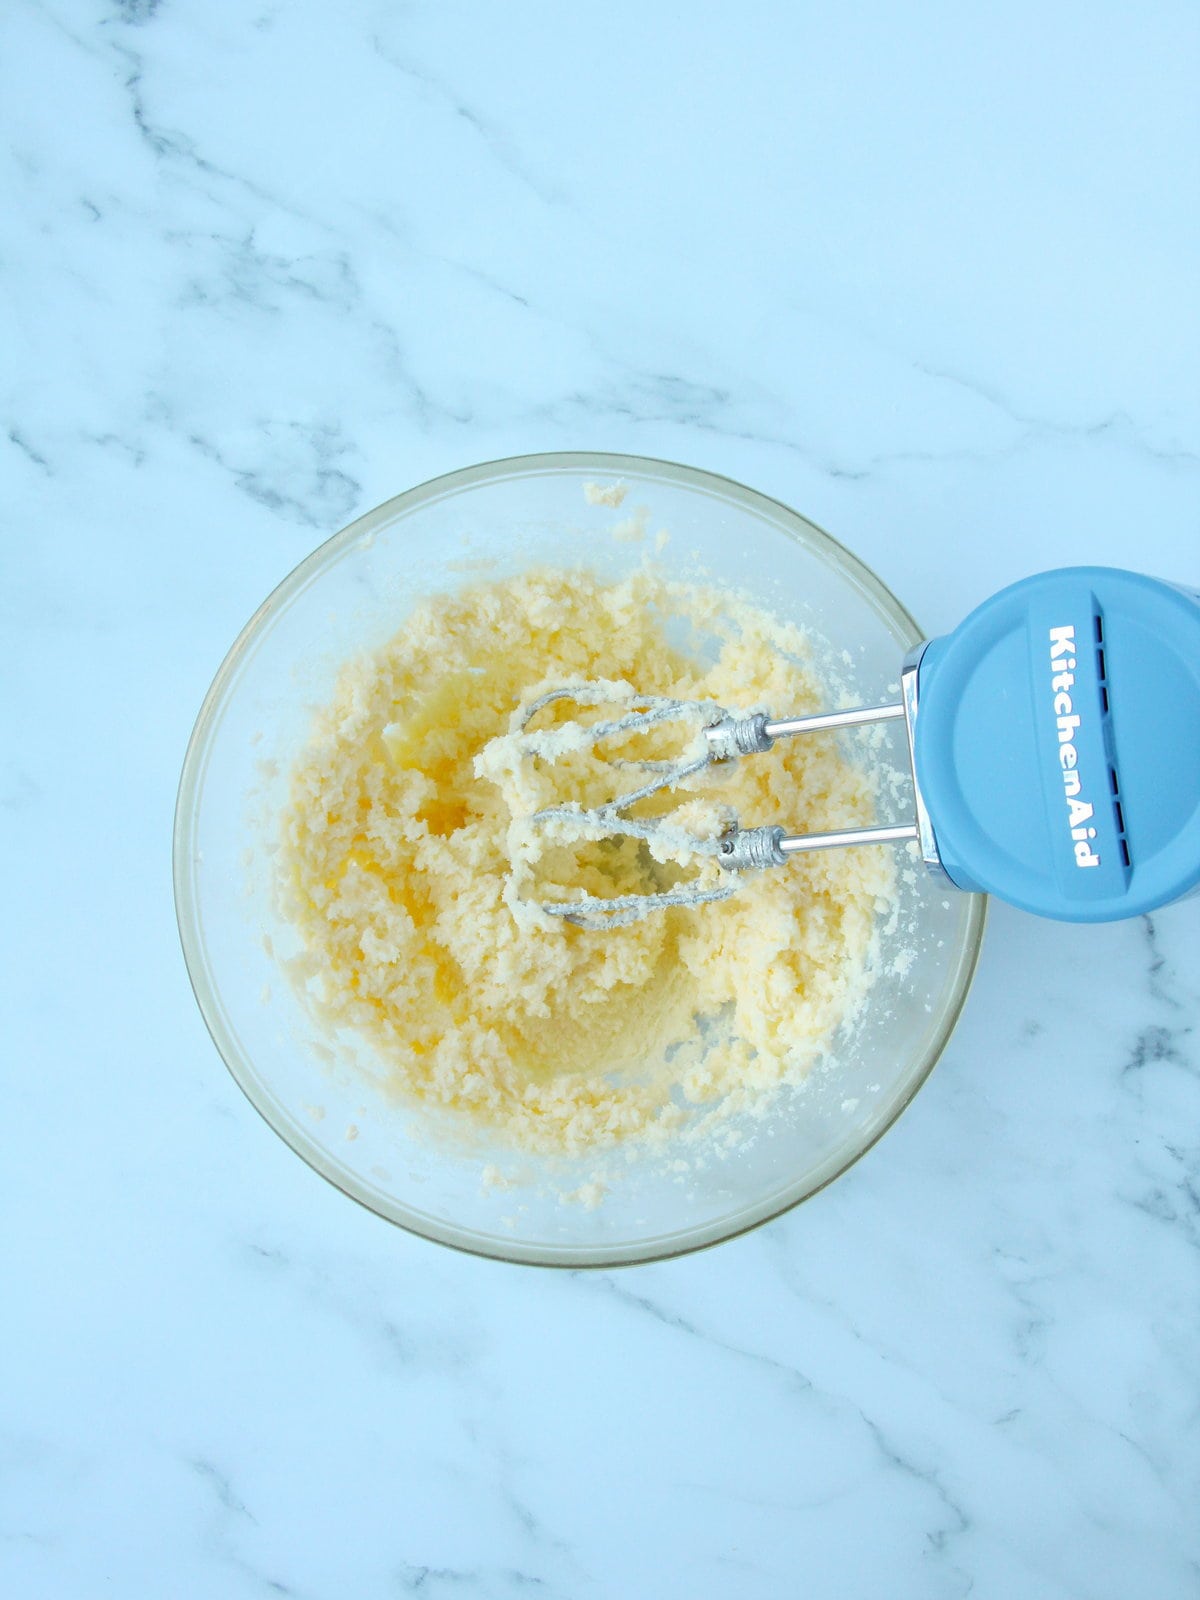
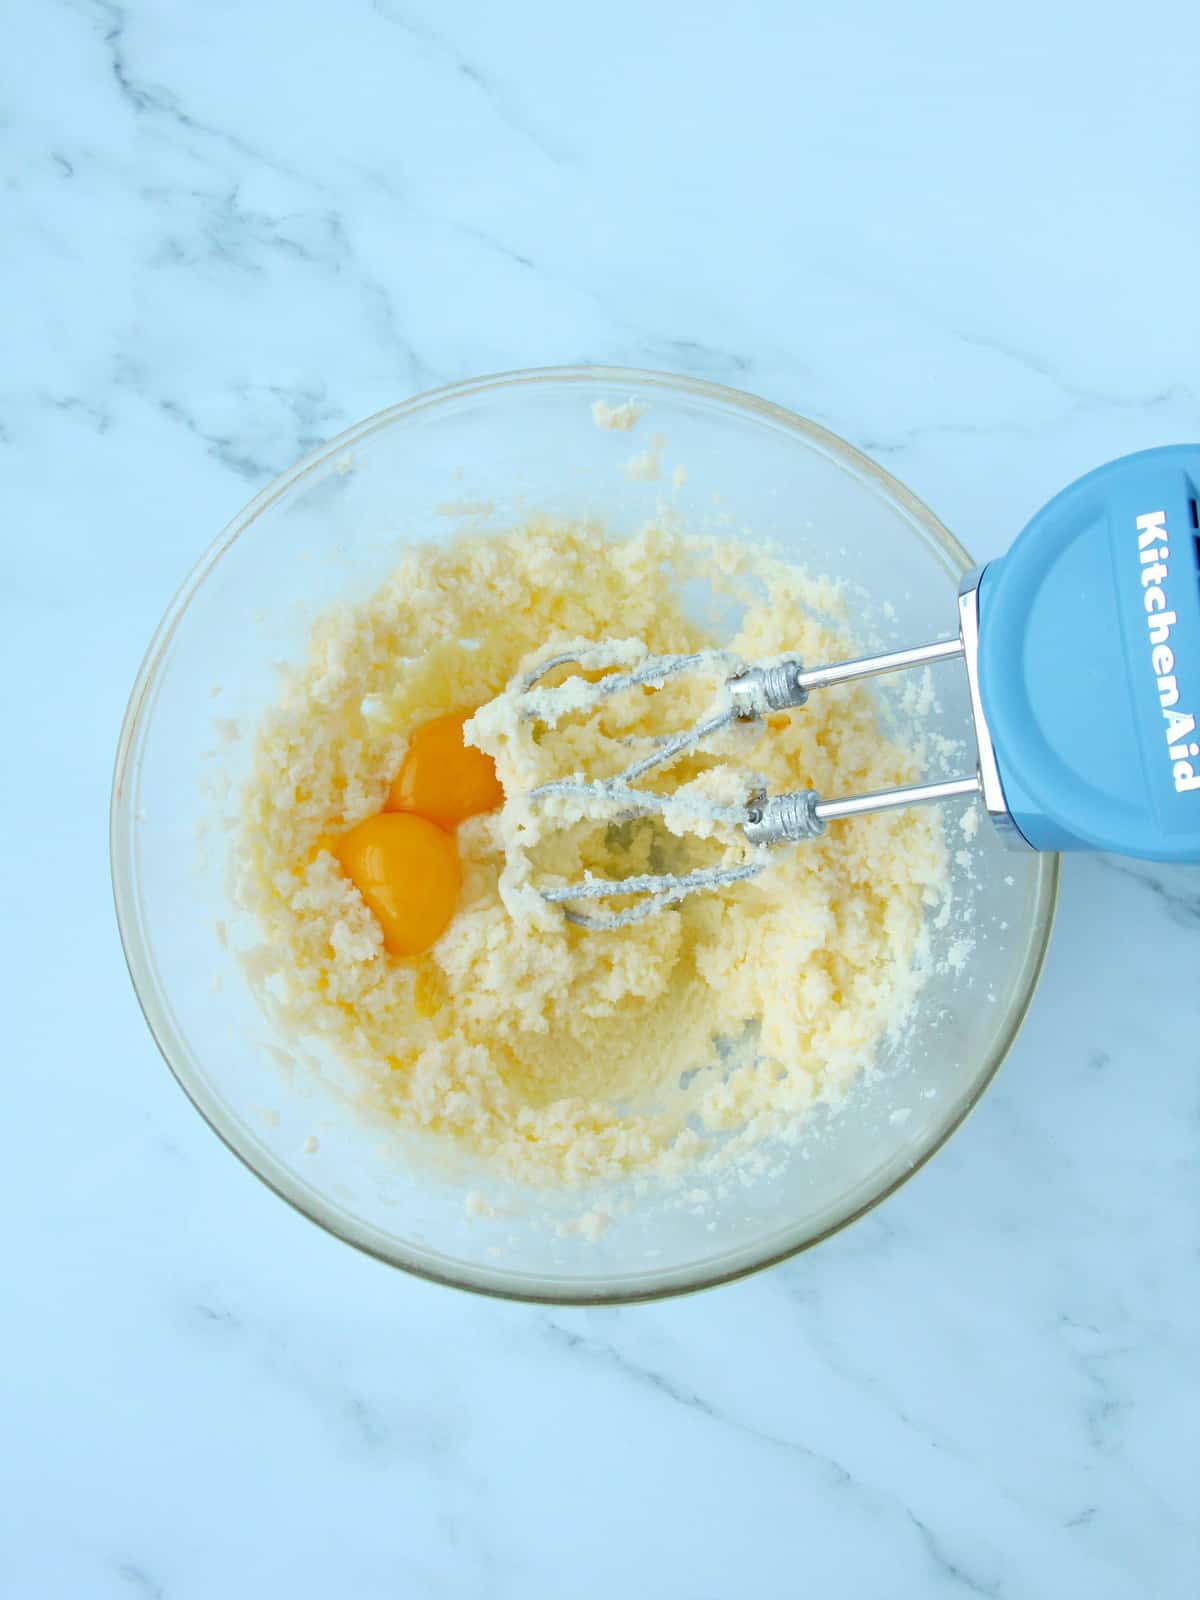
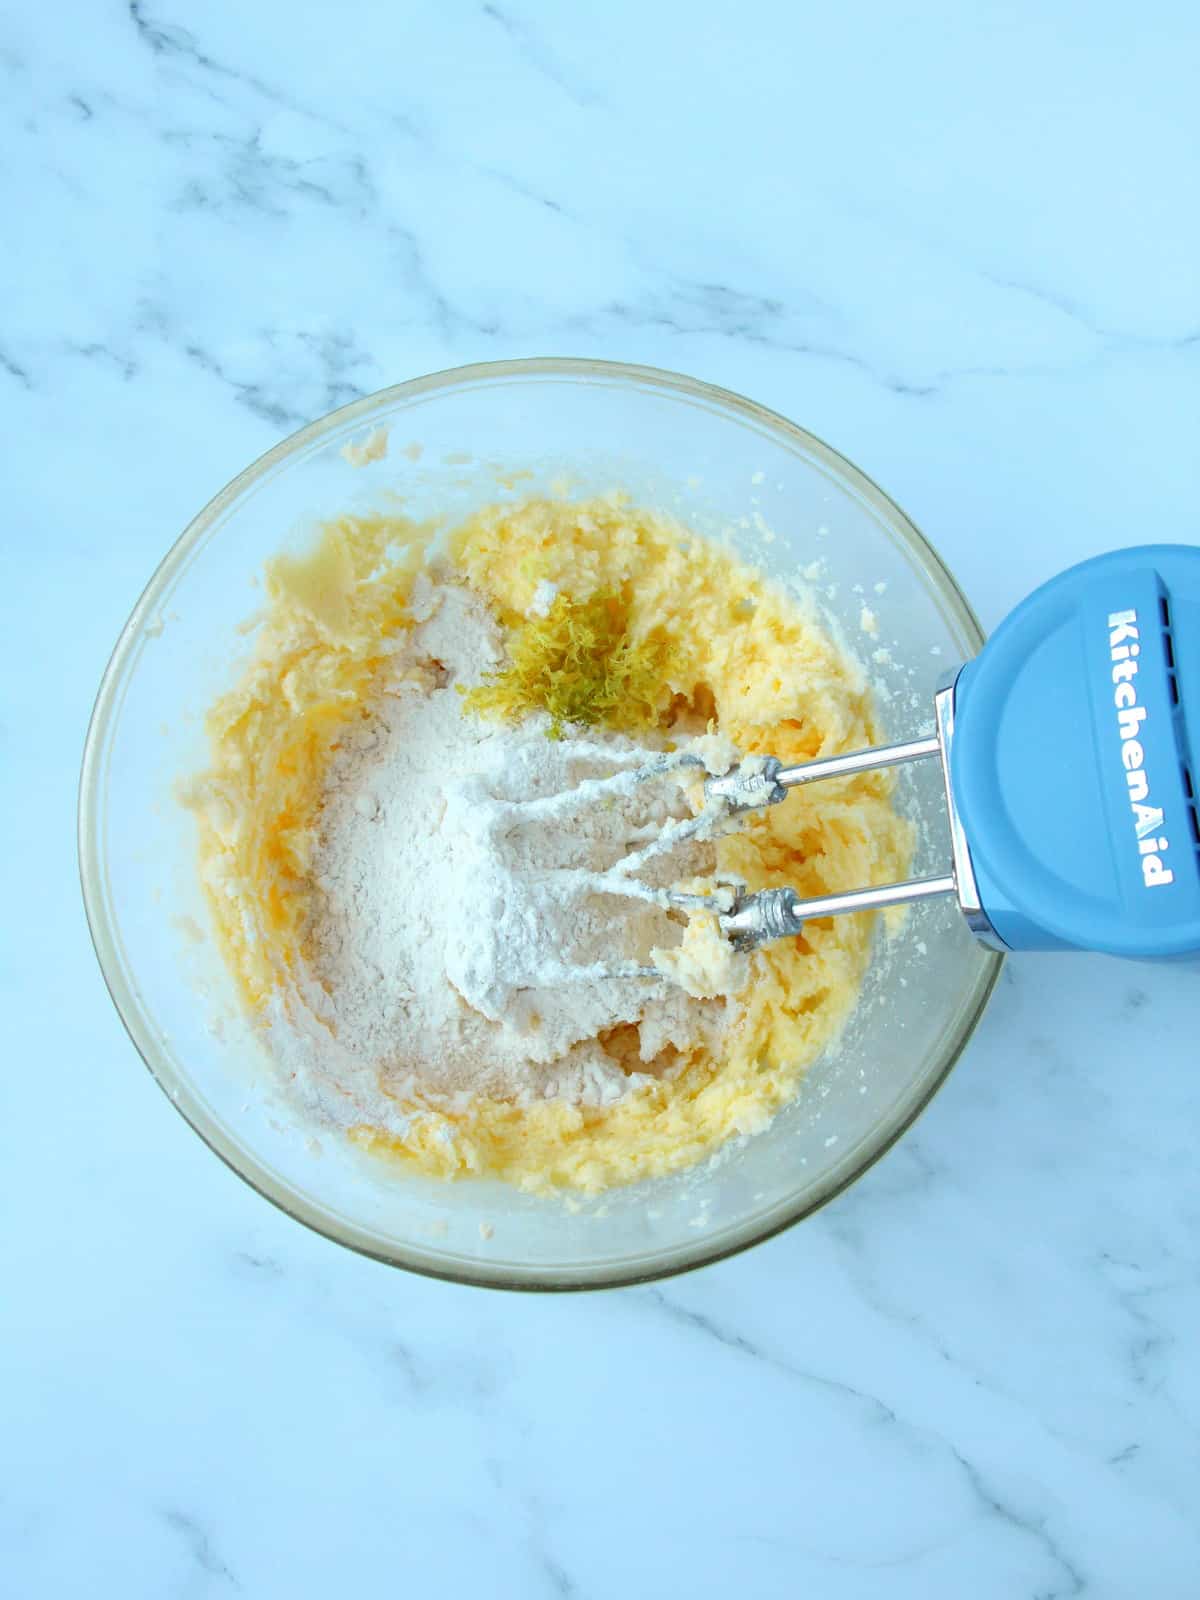
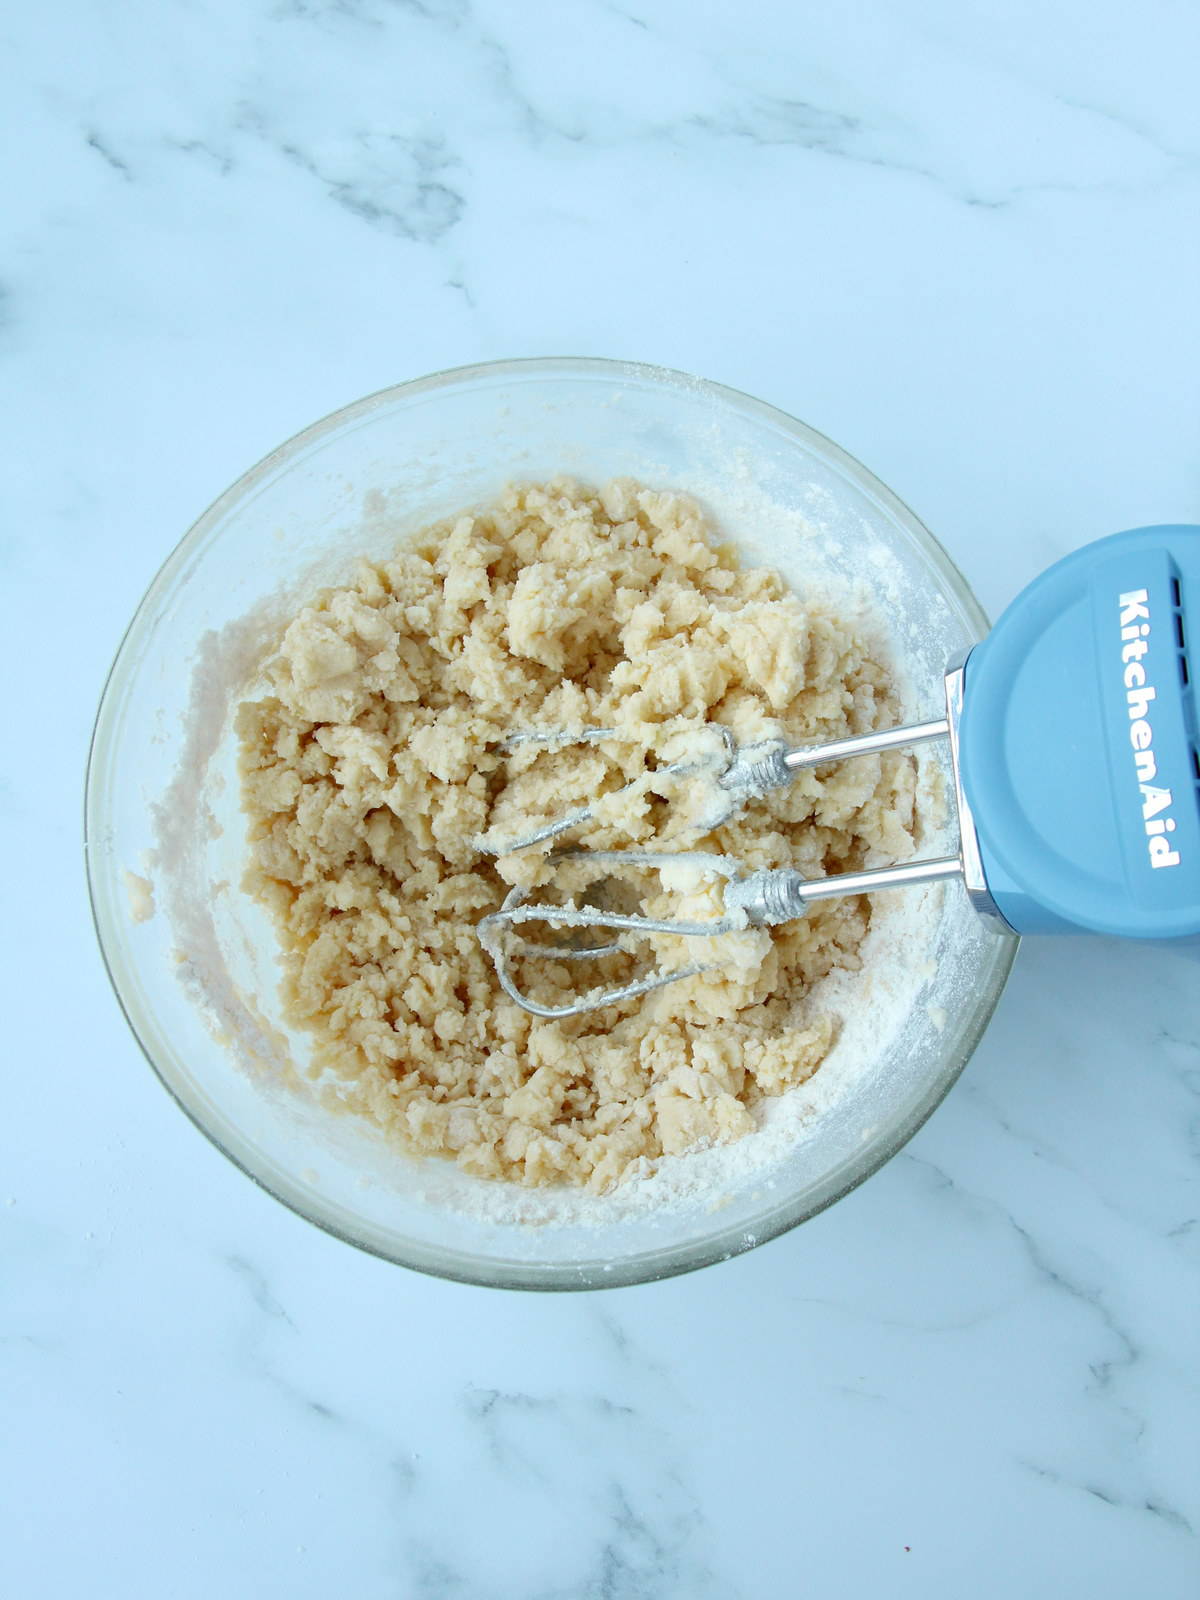
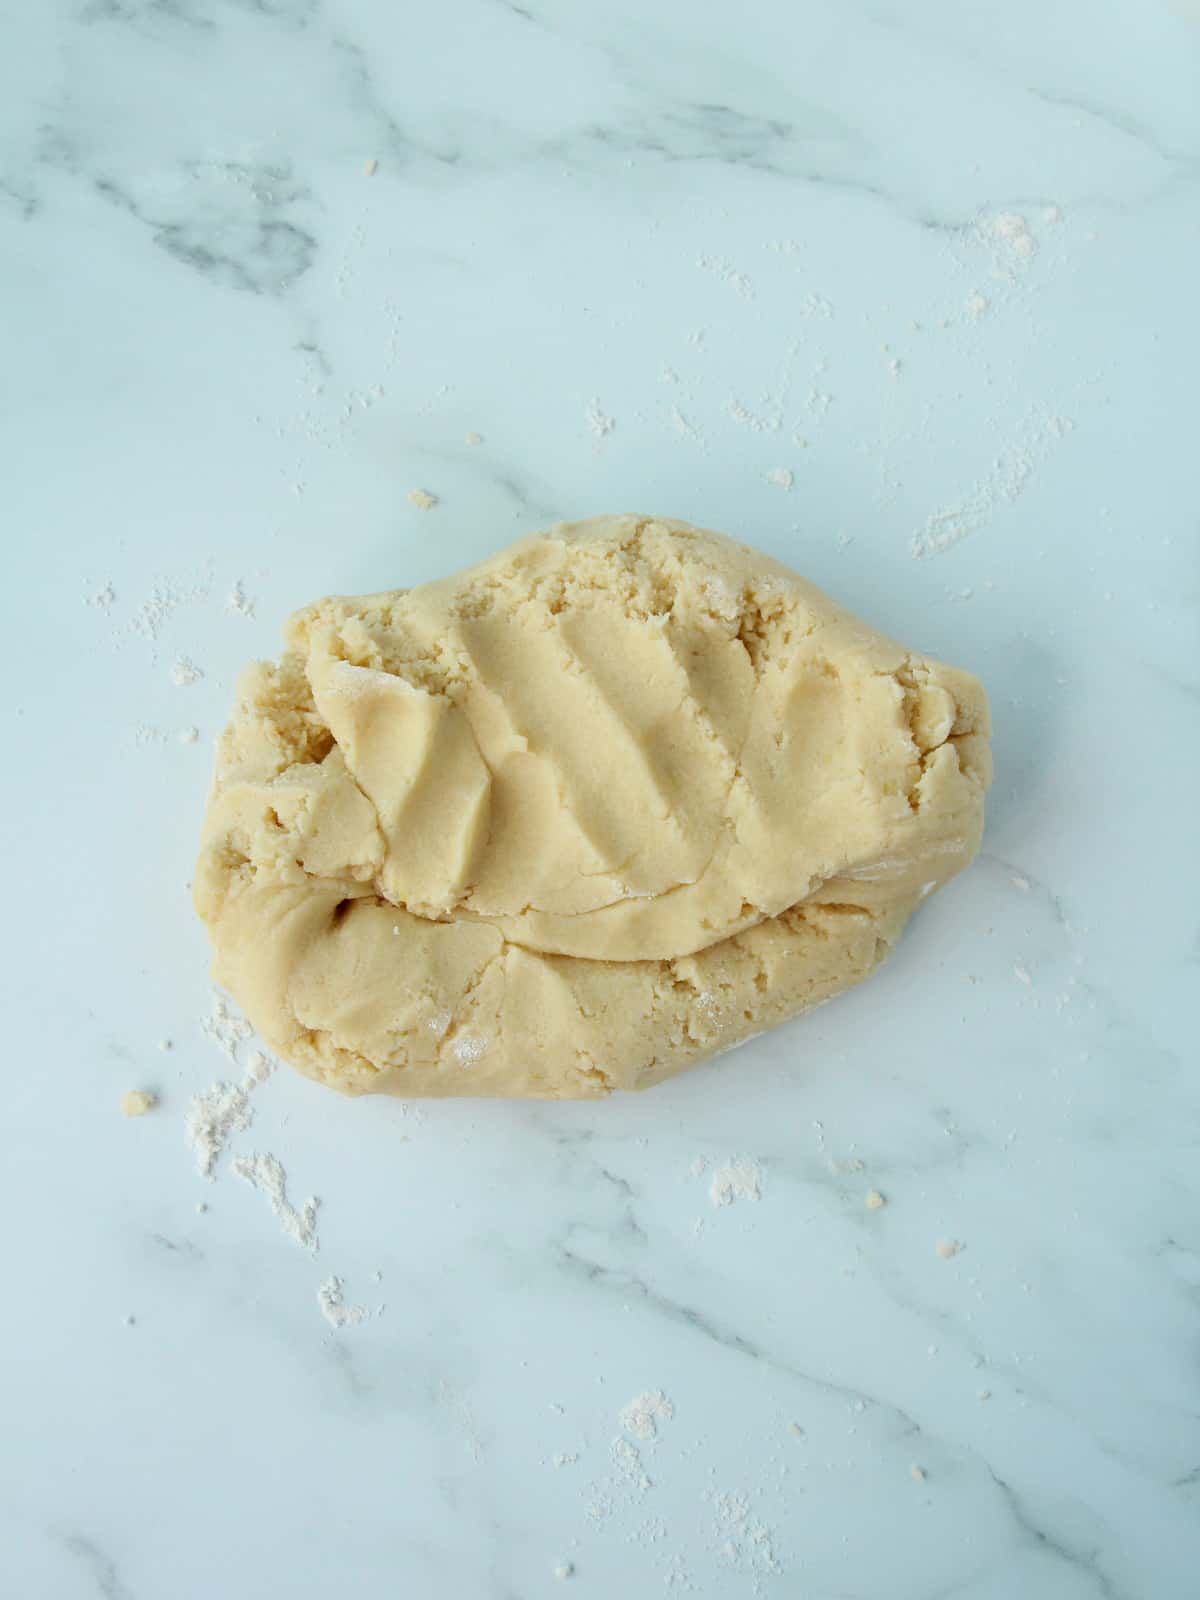
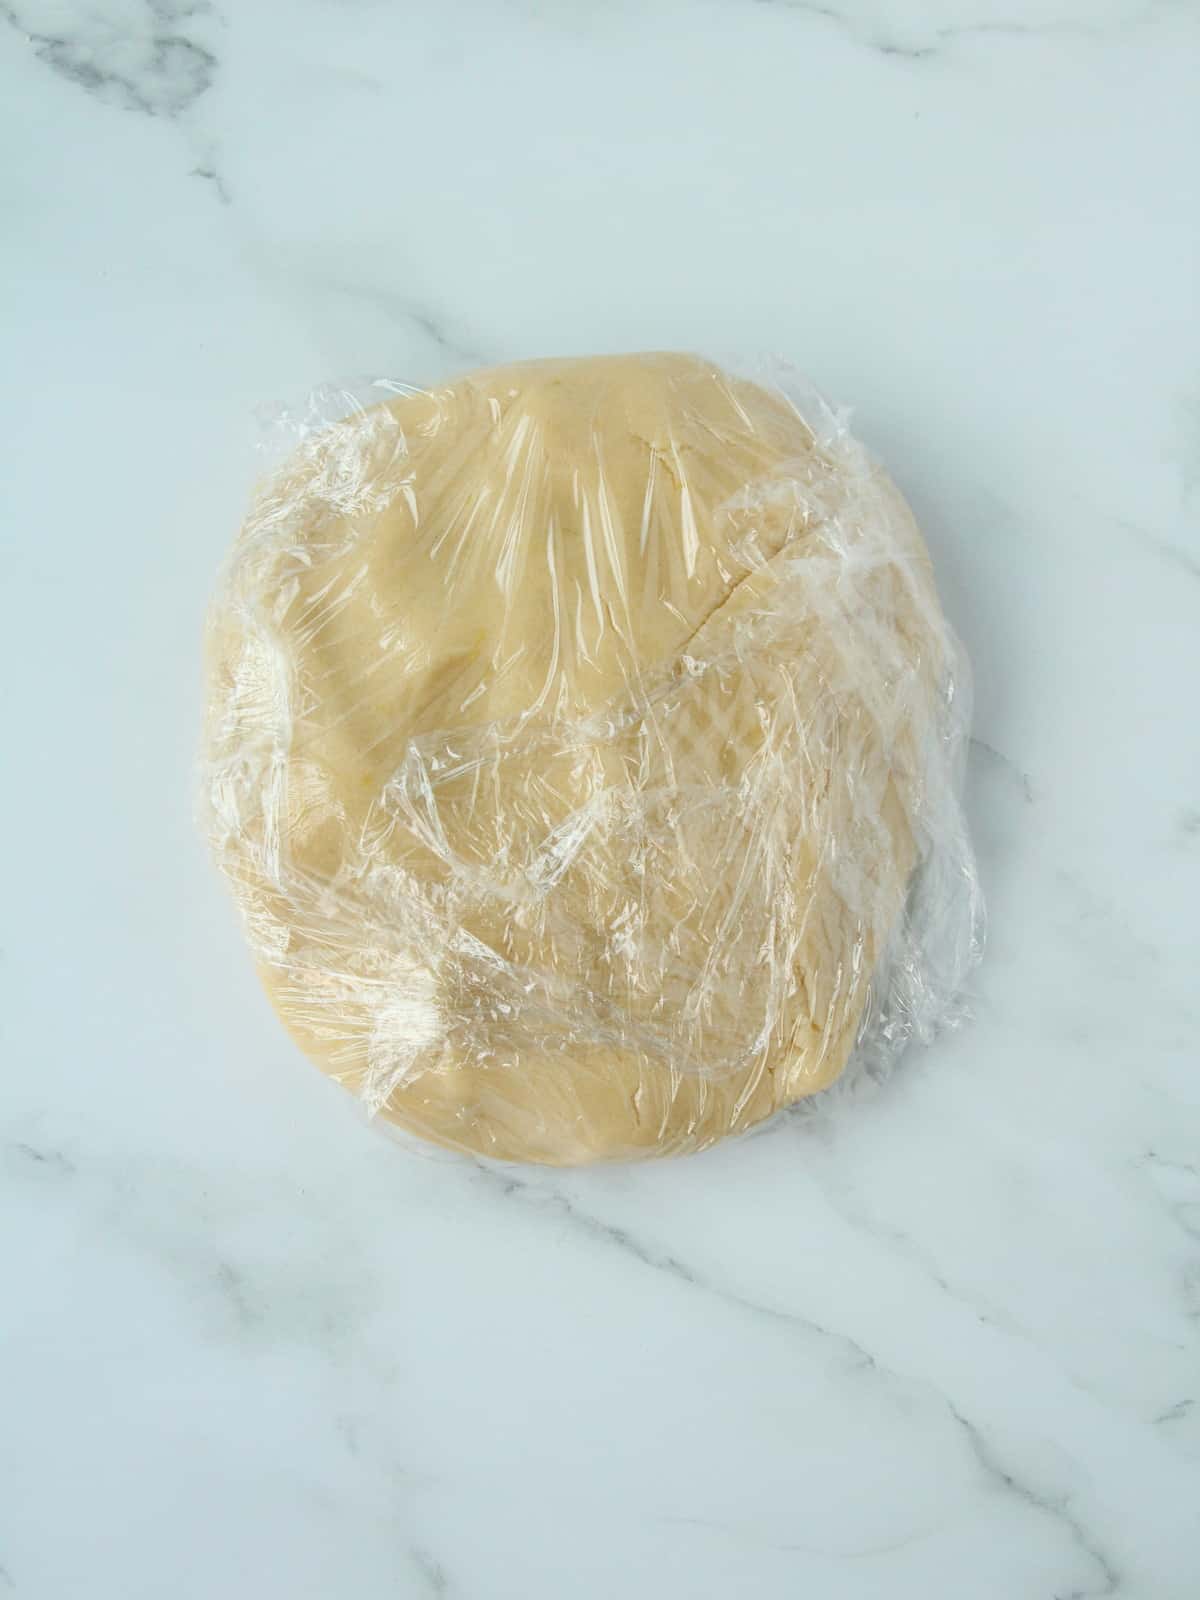
STEP 1 – Cream the butter and add wet ingredients
Start with creaming the softened butter and fine granulated sugar in a medium kitchen bowl. Use electric mixer or stand mixer with a paddle attachment. Scrape down the sides of the bowl, using a rubber spatula. Mix in the egg yolks and lemon juice. Mix on low speed until the consistency is homogenous.
STEP 2 – Mix in the flour and lemon zest
Keep the mixer on low speed and add sifted flour and lemon zest. Mix until the dough comes together.
STEP 3 – Form the dough
Turn the dough out onto a lightly floured surface and gently knead it for a few times to bring it completely together. For the dough into a disc, wrap it in a plastic food wrap and refrigerate for two hours.
STEP 4 – Roll out the dough
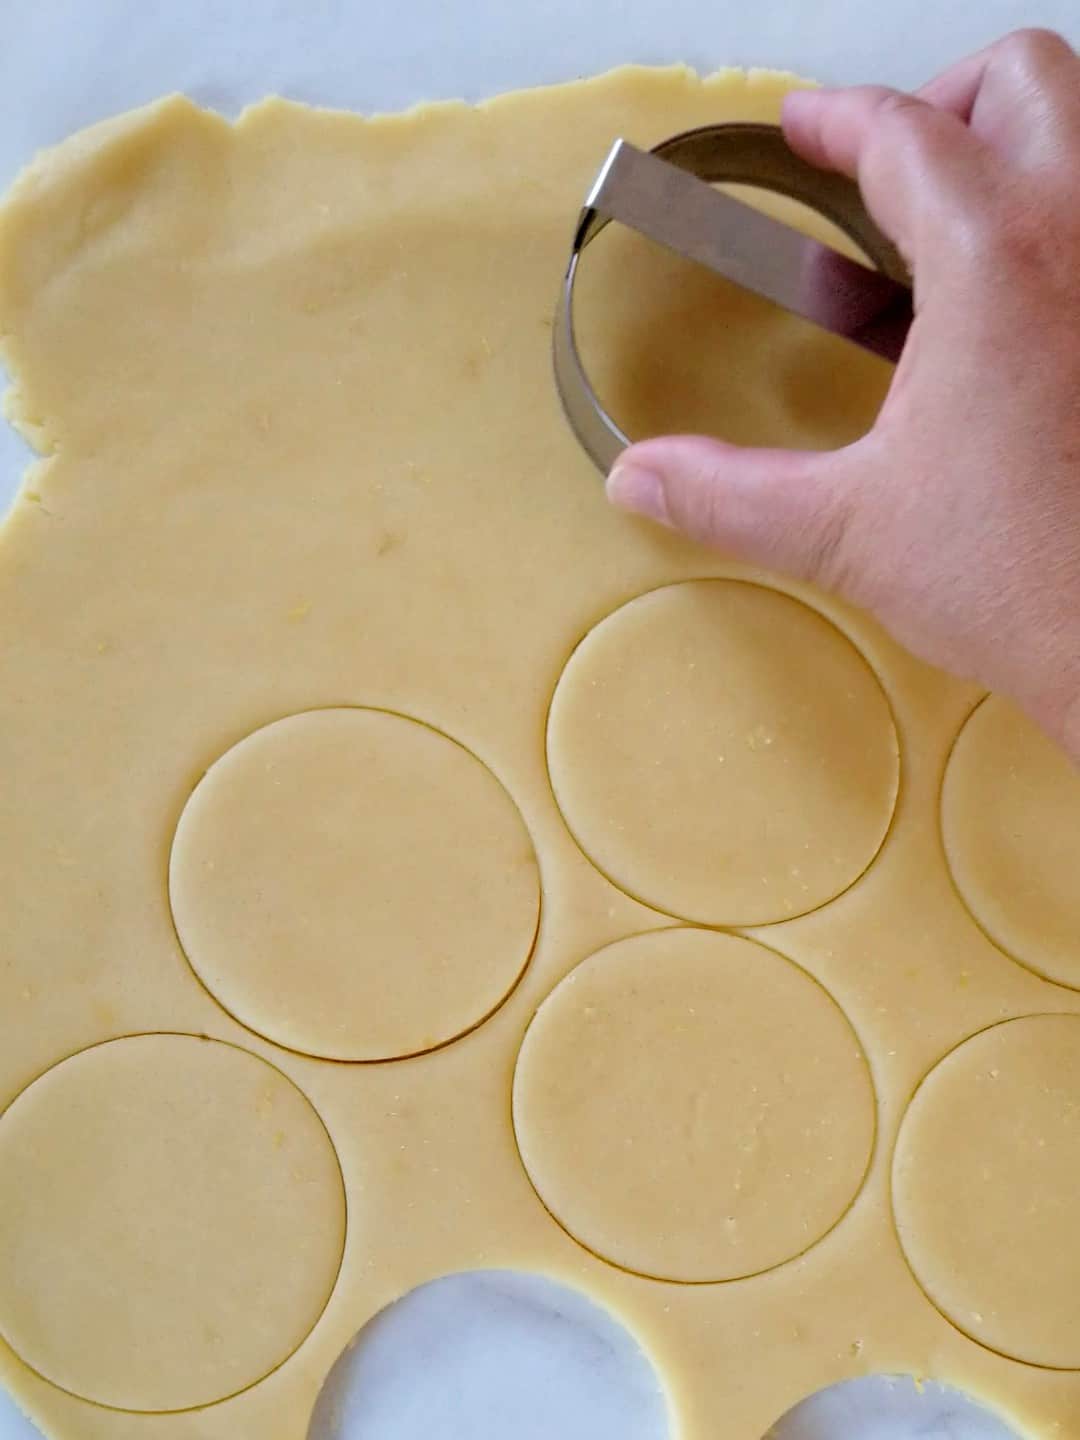
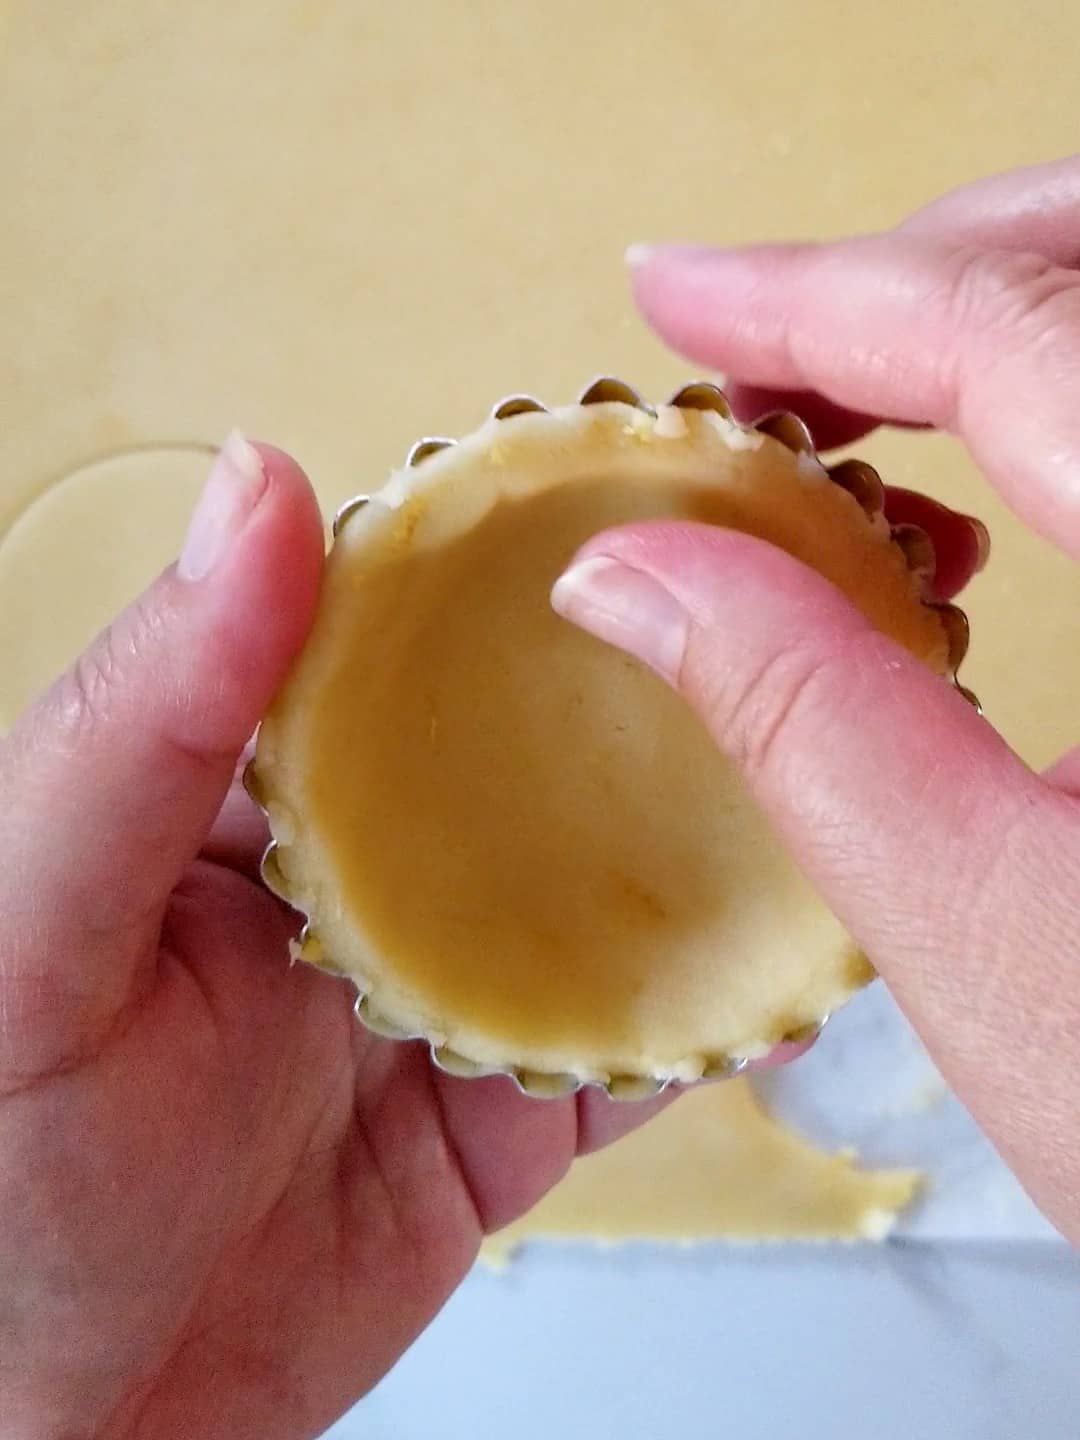
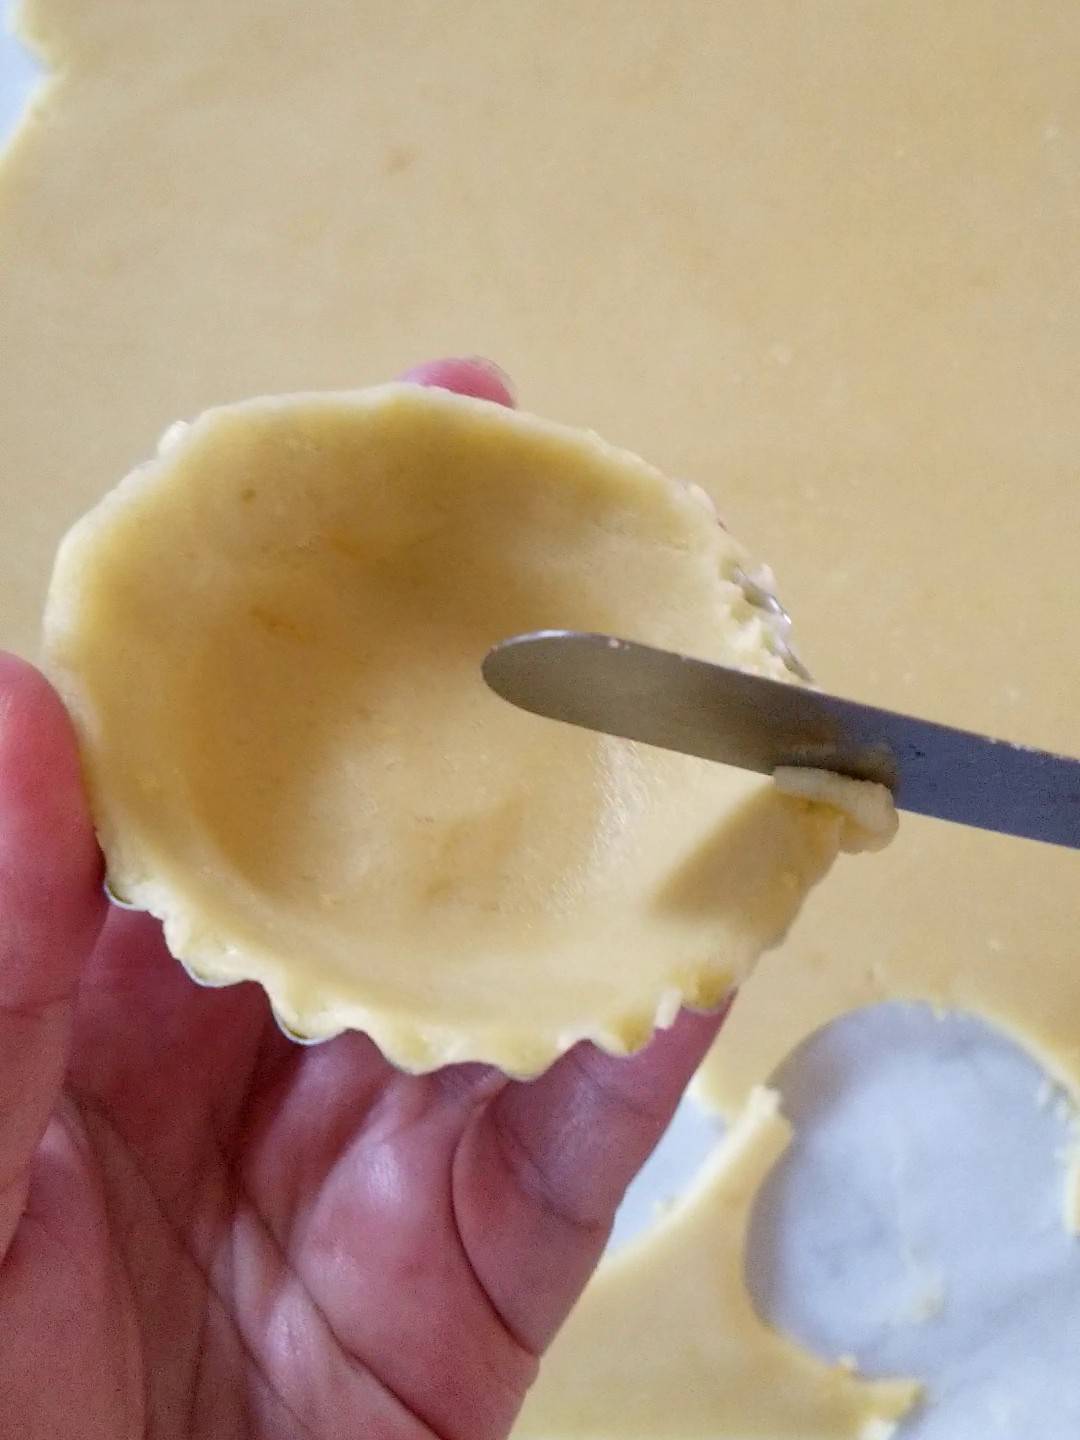
In between two parchment papers, roll out the chilled dough to a rectangular shape & 1/8-inch thick (3 milimeters). Cut out circles with a cookie cutter of 4-inch, and place the piece of the dough inside the tart mould. Lightly press the dough into the tart mould and remove excess dough on top with a butter knife or spatula. Repeat until all dough is used.
STEP 5 – Chill the dough tart moulds
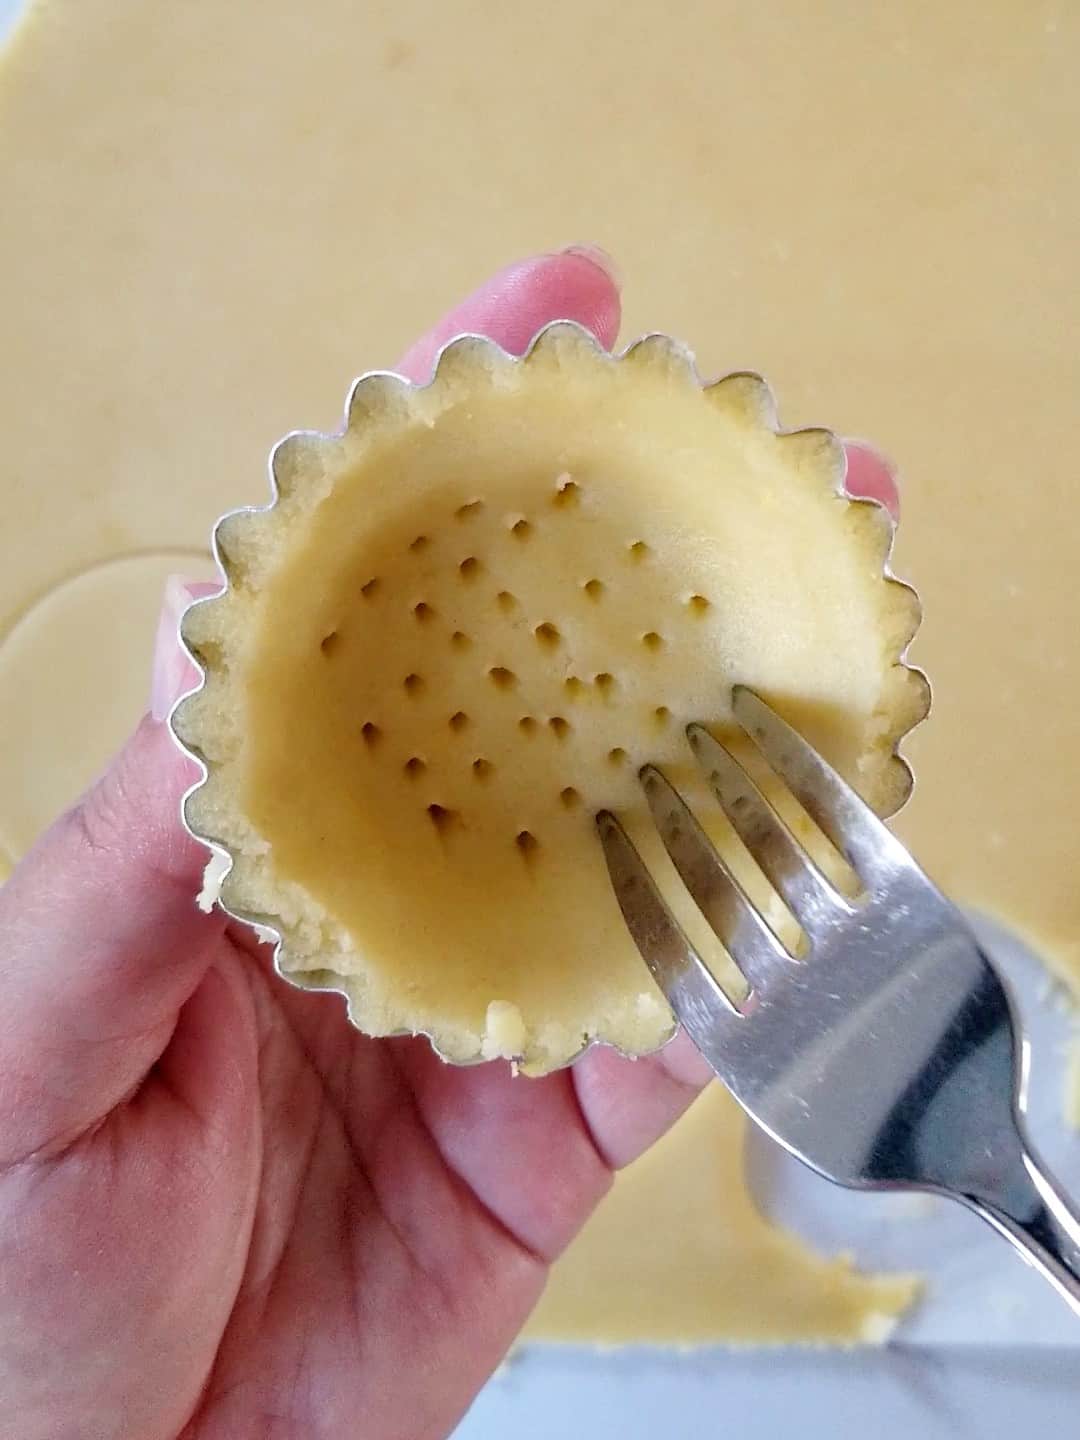
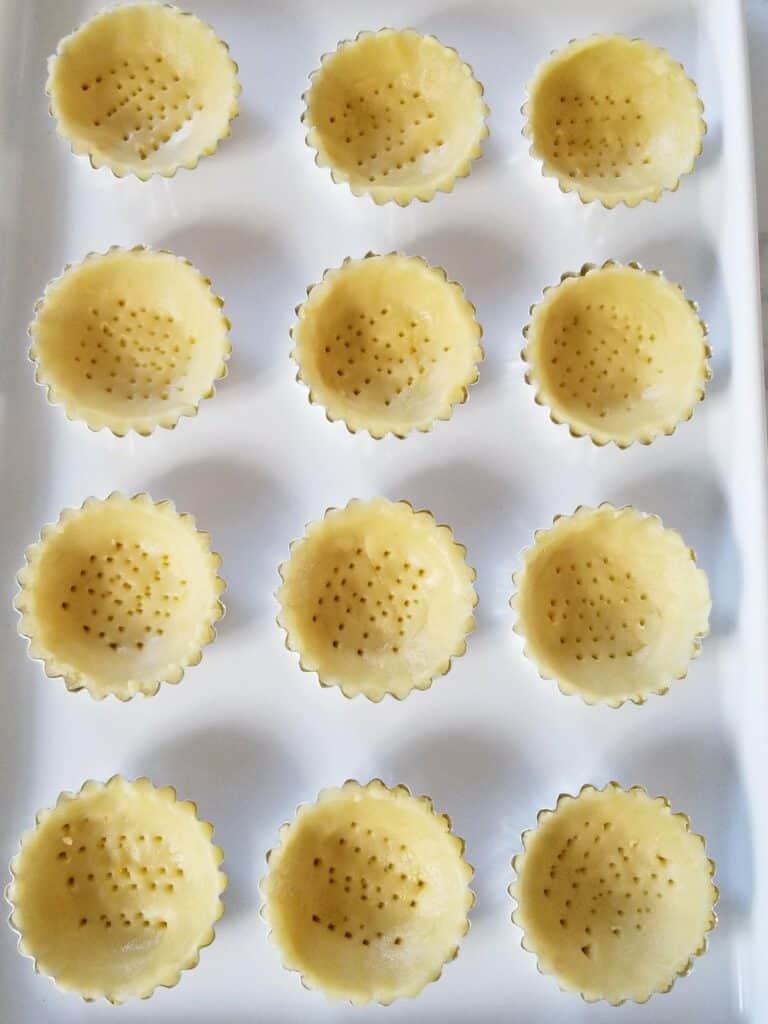
Place the filled tart moulds with the dough onto a baking sheet and gently prick the bottoms of the tarts with a fork, about 4–5 times. Place the baking sheet in the refrigerator for 20 minutes. This will prevent the shrinking of the tarts, while baking.
STEP 6 – Preheat oven
Preheat the oven to 350 F / 177 C, middle rack.
STEP 7 – Bake the mini tarts
Place the baking sheet into a preheated oven to 350 F / 177 C and bake for 10–12 minutes. Once the tarts are baked, remove them from the oven and let them sit at room temperature for 15 minutes.
STEP 8 – Remove the tarts from the moulds
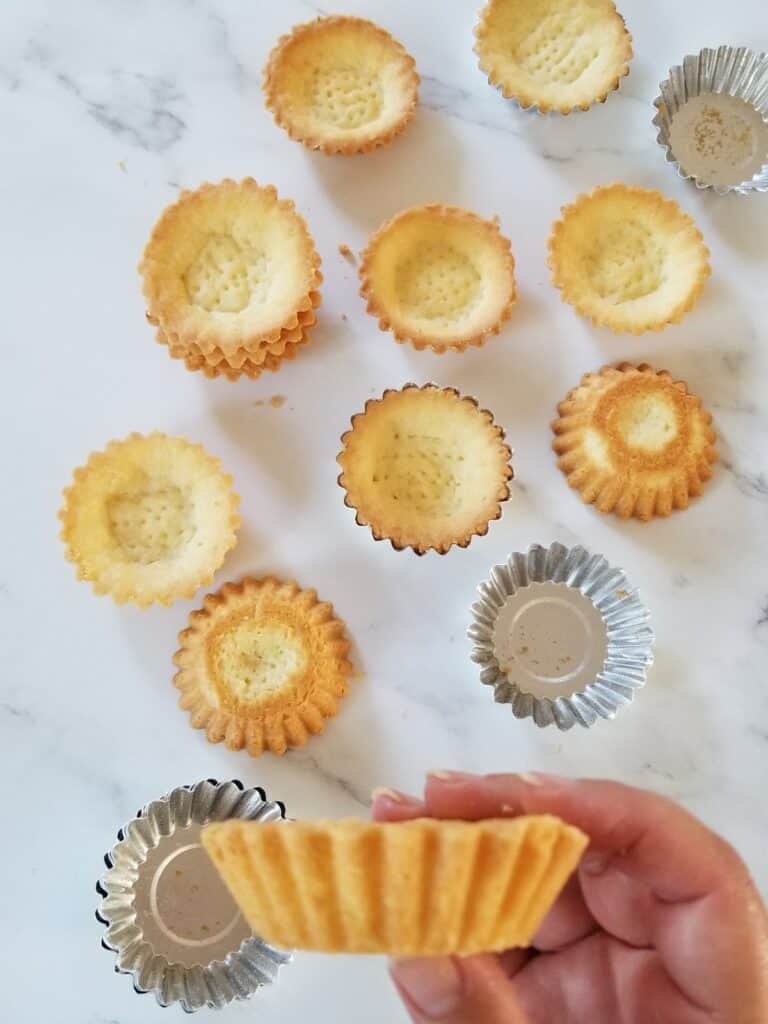
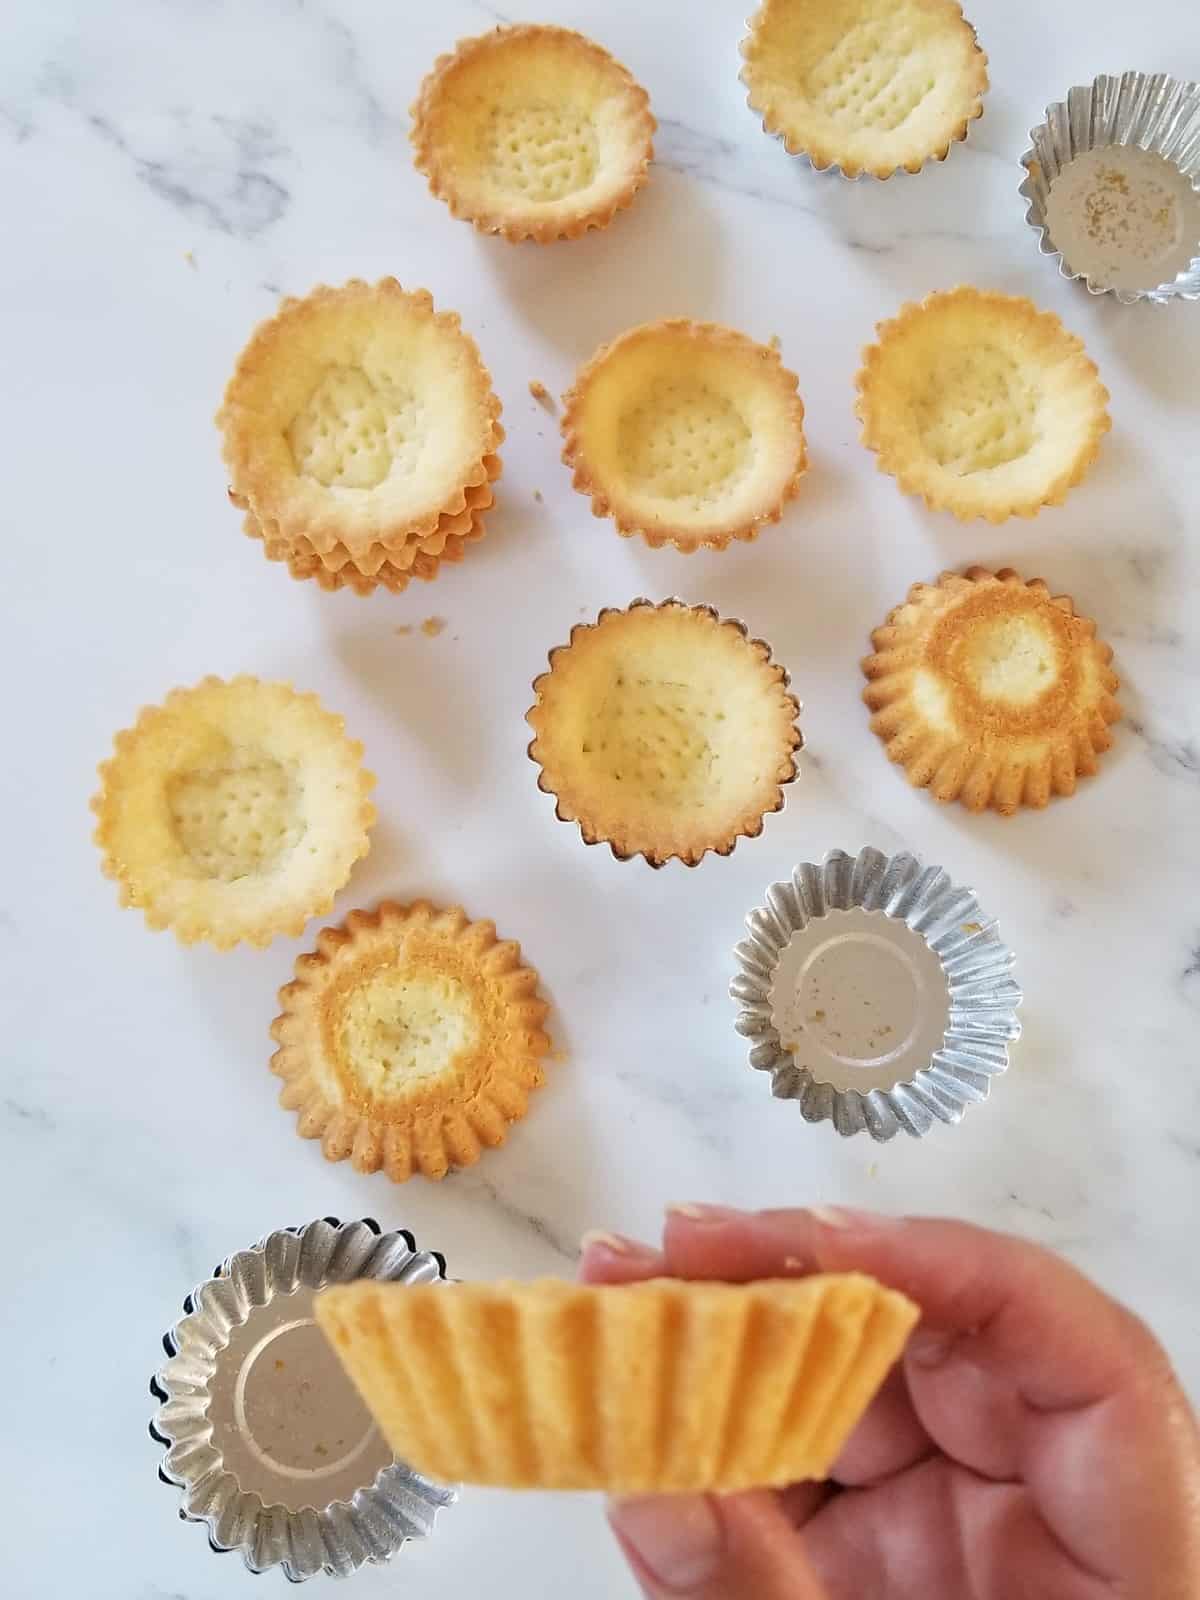
Remove the tart shells by gently tapping on the table with the mould. The mini tart shell should come out easily. Fill the tartlet shells with your desired filling.

Baking times for mini tart shells
Baking time for mini tart shells can vary. All depends on what size, colour or material of mini tart moulds you will use. This is a general baking time of mini tartlets of different sizes.
- 3-inch mini tarts: 10-12 minutes
- 4-inch mini tarts: 13-15 minutes
- 6-inch mini tarts: 14-16 minutes
Always keep an eye on the tarts, because every oven bakes differently. The mini tarts should be done when golden brown.
Creative fillings for mini tart shells
The possibilities of fillings for mini tarts are endless. One of the most common and popular fillings for sweet mini tarts is fruit-based fillings in combination with a pastry cream. Vanilla pastry cream is smooth custard cream, used as a base of the mini tart and topped with sliced fruit & berries. These are called mini fruit tarts.
Baked tart shells are also delightful when filled with chocolate ganache, lemon curd, salted caramel or this delicious blueberry mascarpone cream.
Storage
Store at room temperature: Before storing unfilled mini tart shells, make sure they are completely cool after baking. This helps to prevent condensation, which could make the crust soggy.
If you plan using tart shells within a day or two, you can store them at room temperature in an airtight container or wrapped in plastic food wrap. Place a piece of parchment paper between the layers to prevent sticking.
Freezing instructions: You may also freeze the tart shells for long-term storage. You can freeze unfilled tarts for up to 2 months. Make sure you transfer them into a freezer-safe bag or airtight container, placing parchment paper between layers. Label the bag or container with the date for easy reference.
Thawing: When you are ready to use the tart shells, simply remove them from the freeze and let them thaw in room temperature for about 15–30 minutes before filling.
Expert tips
- Keep the dough cold & chill before baking: Make sure to chill the dough for 2 hours prior to rolling it out and 20 minutes before baking the dough in the tart moulds. Cold dough helps create a crispy and tender crust & it prevents the shrinkage during baking process.
- Use Proper Mixing Technique: Use room temperature butter to achieve proper creaming butter with sugar. This creates tender dough, contributing to crispy texture. Avoid over mixing the dough, as this can lead to a tougher crust. Mix until just combined.
- Prick the Bottoms: Before baking, use a fork to prick the bottoms of the tart shells. This helps release any trapped air and prevents the crust from puffing up excessively during baking. For added insurance against puffing, you can also line the tart shells with parchment paper and fill them with pie weights or dried beans.
- Monitor Baking Time: Keep a close eye on the baking time, as mini tart shells can cook quickly. They should be golden brown when done. Over baking can lead to a dry and crumbly crust.
FAQ’s
While you can use salted butter, it’s generally recommended to use unsalted butter in pastry dough. This allows you better control over the salt content in your recipe.
Chilling the dough is essential for several reasons. It helps relax the gluten, preventing a tough crust. It also allows the fats (butter) to firm up, which contributes to a crispier texture. Chilled dough is easier to handle and is less likely to shrink during baking.
Yes, you can make mini tart shells in advance and freeze them. Cool the tarts to room temperature after baking. Then, transfer them to a freezer-safe container with parchment paper between layers. Thaw before baking or fill and bake directly from the freezer.
To prevent mini tart shells from getting soggy when filled, consider brushing the bottom with a thin layer of melted chocolate or egg white before adding wet fillings. This creates a barrier between the crust and the filling. Alternatively, you can bake the tart shells for a few extra minutes to ensure they are well-cooked and less prone to absorbing moisture.
Yes, you can prepare the dough in advance and keep it refrigerated for 24 hours, until it’s ready to bake.
More recipes
- MINI LEMON TARTS WITH PUFF PASTRY
- MINI EASTER TARTS WITH CHEESECAKE FILLING
- APRICOT TART WITH ALMOND FILLING
- FRENCH STYLE LEMON TART
- LEMON BLUEBERRY MUFFINS
SWEET MINI TART SHELLS
Equipment
- 12 mini tart molds 3-inch
- 1 cookie cutter 4-inch
Ingredients
- 2 ½ cup (300 g) all-purpose flour
- ½ cup (100 g) fine granulated sugar
- ¾ cup (200 g) softened butter
- 2 large egg yolks
- 1 teaspoon lemon zest
- 1 teaspoon lemon juice
Instructions
- In the bowl of an electric mixer, cream together the butter and sugar until they are well combined. Scrape down the sides of the bowl using a rubber spatula. Mix in the egg yolk and lemon juice. Mix on low speed until the consistency is homogenous.
- Keep the mixer on low speed and add sifted flour and lemon zest. Mix until the dough comes together.
- Turn the dough out onto a lightly floured surface and gently knead it for a few moments to bring it together. Form the dough into a disc and wrap it in a plastic food wrapper and refrigerate for 2 hours.
- Roll the dough in between two parchment papers into a ⅛ inch thick (3 milimeters). Cut out circles with a cookie dough of 4-inch and place the piece of the dough inside the tart mould. Lightly press the sough into the tart mould and remove excess dough if necessary with a butter knife. Repeat until all 24 tart pans are filled.
- Gently prick the bottoms of the tarts with a fork, about 4–5 times, and then place the baking sheet with filled moulds for 20 minutes in the refrigerator. In the meanwhile, preheat the oven to 350 F/ 177 C & place the rack in the middle.
- Remove the baking sheet with mini tarts and place them in the preheated oven. Bake the mini tarts for 10- 12 minutes.
- Once the tarts are baked, remove them from the oven a let them sit at room temperature for 15 minutes. Remove the tart shells by gently tapping on the table with the side of the mould. The mini tart shell should come out easily. Fill the tarts shells with your desired filling.
Notes
- Always cut out the dough 1-inch larger than the outer opening of the mini tart mould is.
- If you decide to use a muffin pan as the mould for the mini tart, butter slightly the bottom of the muffin pan for easier release.
- To avoid shrinkage of the tart, always refrigerate the filled mini tart moulds, at least 20 minutes prior to baking.
- This recipe makes 12-15 mini tarts with mould size of 3 inch.
Pin these mini tart shells for later!

Leave a Reply