Easy Halloween treat to make with the kids and have fun at the same time! This simple and eerie-sistible recipe combines creamy white chocolate with colourful spooky sprinkles, perfect for a delightful sweet snack or festive party favour. Melt, spread, sprinkle, and chill – a wickedly easy way to satisfy your sweet tooth.
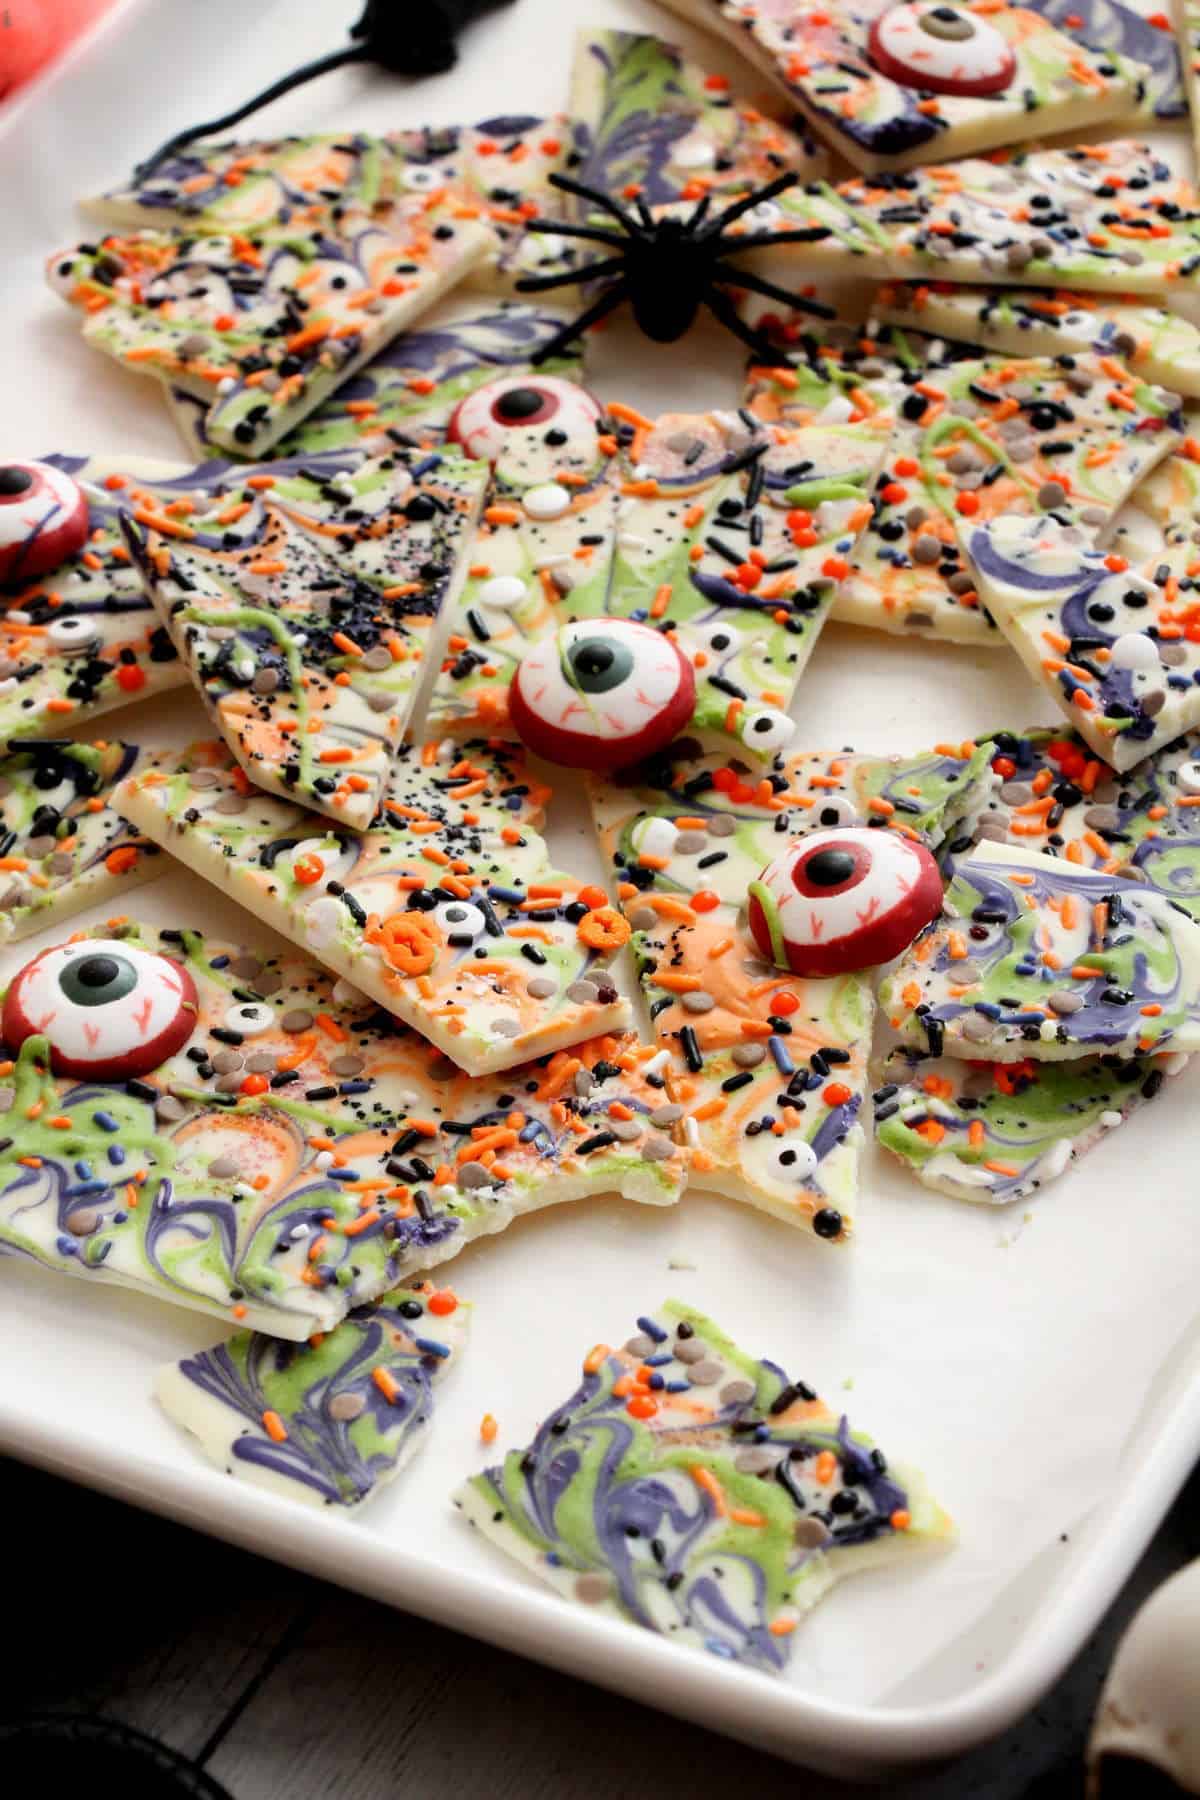
Why you will love this Halloween bark made with white chocolate
We are all looking forward to this time of the year, when the sweets are all around us, and we can’t resist, but eat a chocolate or two. This white chocolate bark is a perfect excuse to embrace the Halloween spirit and get into the holiday mood.
Halloween’s barks are so much fun to create and enjoyable activity to celebrate the spooky season. It is quick and easy to make for both beginners and experienced bakers. All you need is a microwave or stove top for melting, a baking sheet with parchment paper, and your favourite Halloween colours and sprinkles.
Personalize your white chocolate bark with different varieties of Halloween sprinkles, with your favourite colours, shapes and spooky designs to match your Halloween theme.
Ingredients & substitutes
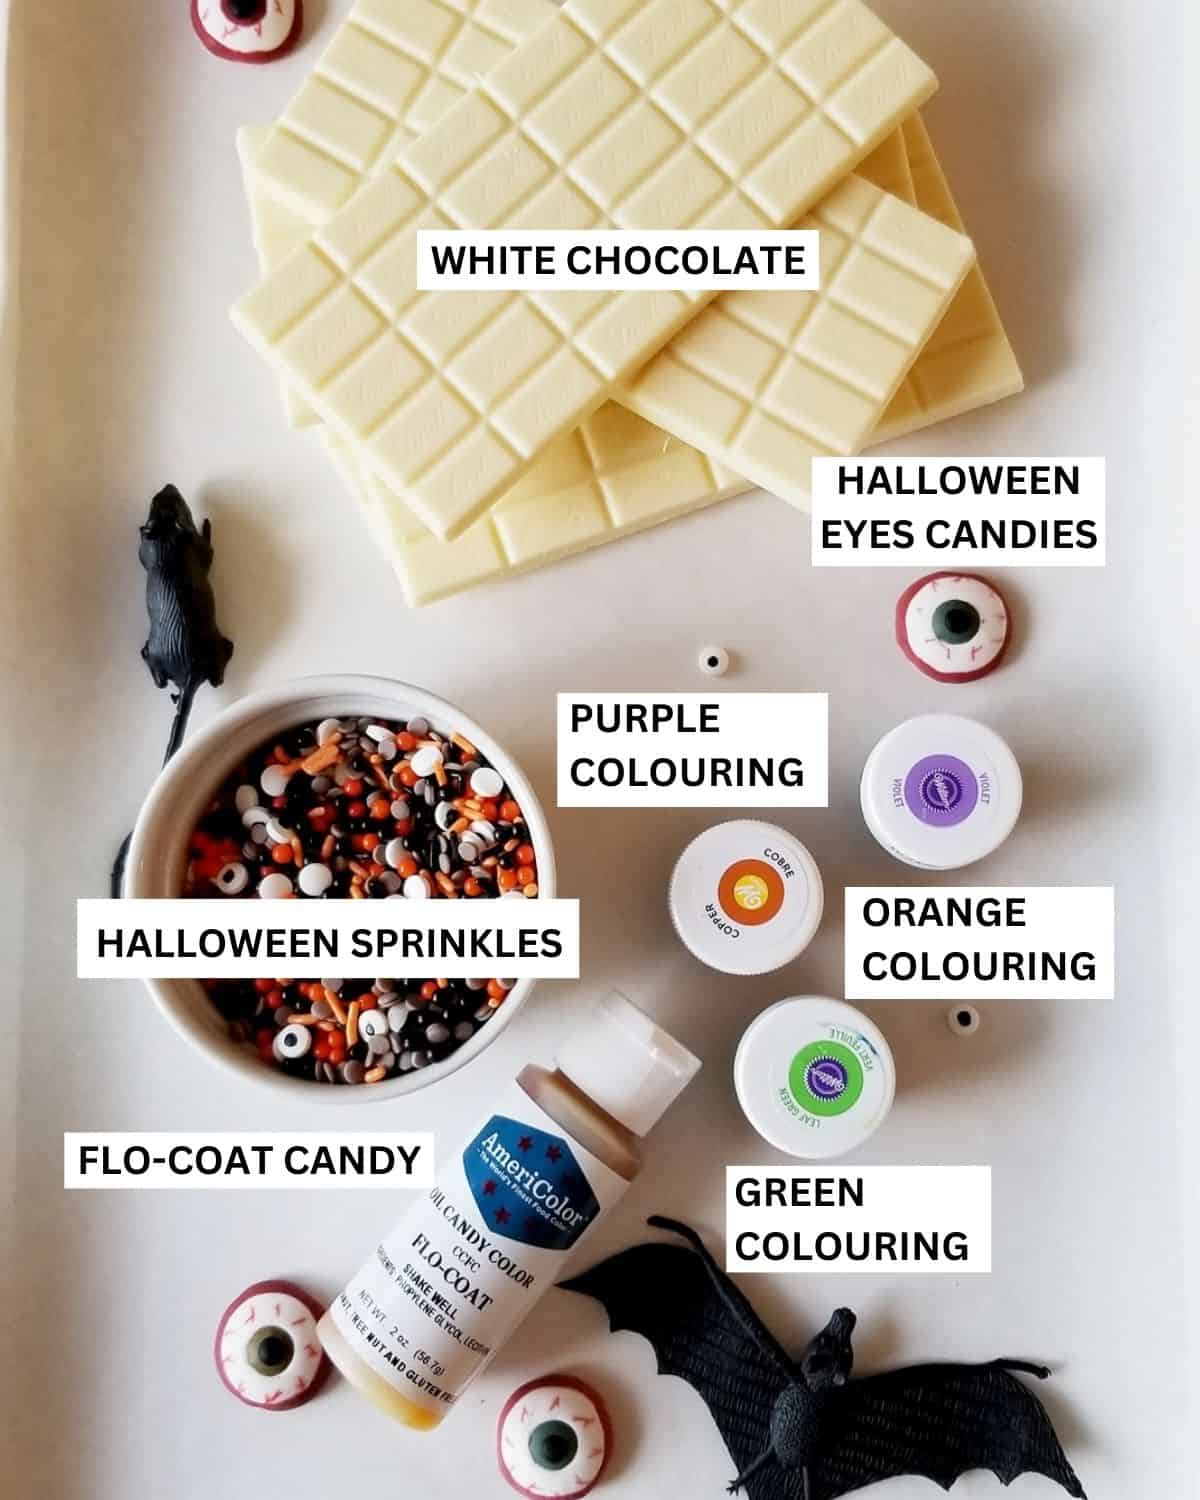
- White chocolate bars are the base of the bark. Use good quality white chocolate. I used Lindt white chocolate and it tasted great. You can also use white chocolate chips of good quality. Avoid using white chocolate wafers or candy melts. They do not taste as good as real white chocolate.
- Purple food colouring, is one of the main Halloween theme colours and I loved that dark tint of purple on the white chocolate canvas.
- Green food colouring, for this white chocolate bark, use vibrant green food colour. Darker green hues won’t be pop up as well as the lighter hue of green.
- Orange food colouring, one of my favourite colours for Halloween is orange. To be specific, vivid orange food colouring is recommended for this white chocolate bark to match perfectly the vivid Halloween theme. You can always go with different colours of your liking.
- Flo–Coat candy coating, this is a very important ingredient, especially when playing with chocolate and food colouring. Flo-coat candy emulsion must be added to the white chocolate before the food colouring to prevent the chocolate from seizing. More info about Flo-Coat Candy bellow.
- Halloween sprinkles and eye candies, the second important ingredients are sprinkles and eye candies. They add an extra creepy and playful element to the bark. Without Halloween sprinkles and eye candies, it wouldn’t be a Halloween bark.
How to make white chocolate Halloween bark
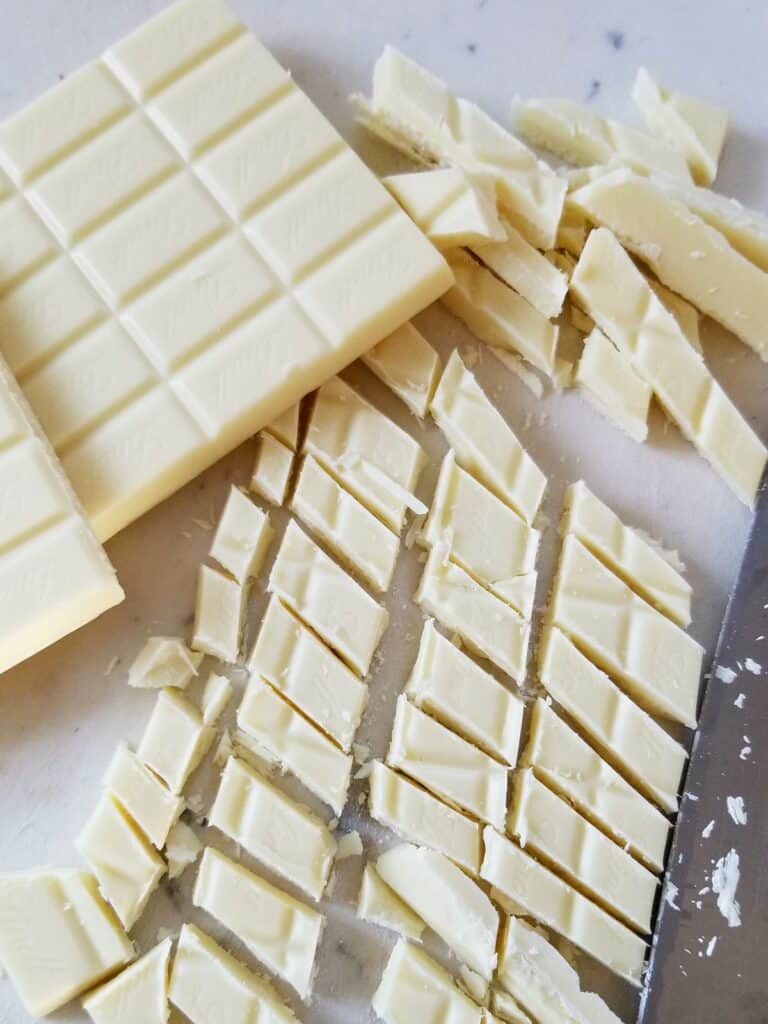
Step 1 – Cut the white chocolate
Line a baking sheet with parchment paper, this will prevent the chocolate from sticking and make it easier to remove the bark from the baking sheet once it has set. Cut the white chocolate into small pieces with a large knife. For the best results on cutting the white chocolate bar, is to use large and long knife and to cut the white chocolate diagonally. This will make it easier to manipulate the knife over the chocolate.
Step 2 – Melt the white chocolate
You have two options to melt the white chocolate.
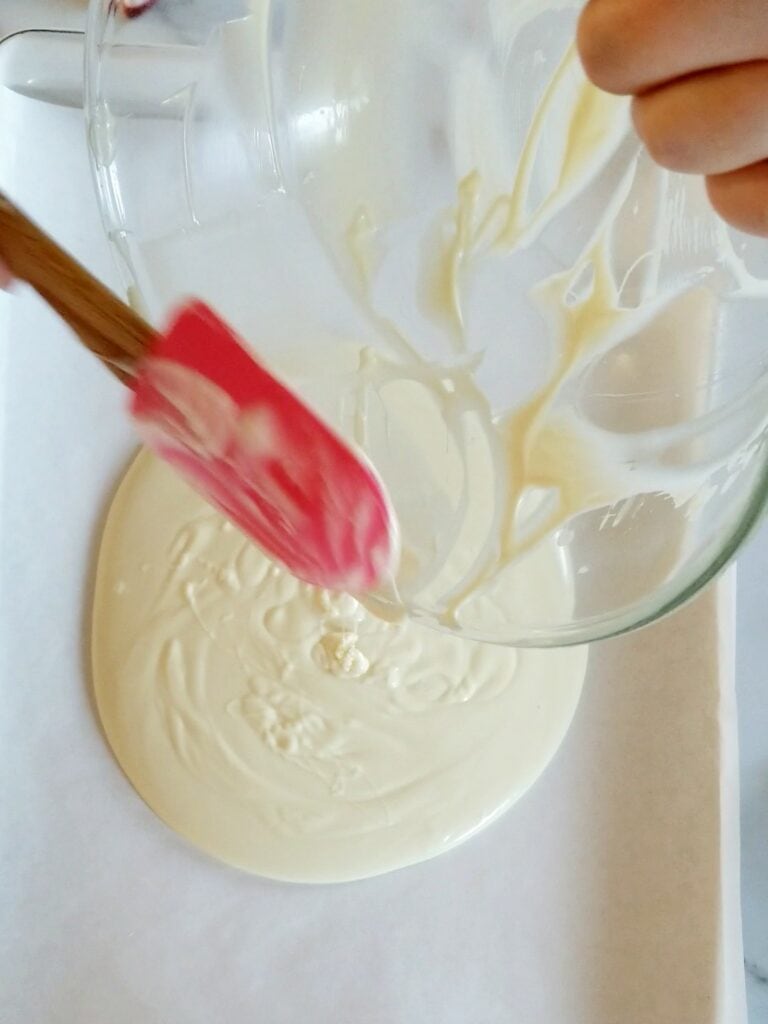
To melt the white chocolate in the microwave, simply place the cut white chocolate into a microwave-safe bowl and heat the chocolate in 30-seconds intervals, stiring after each interval until it’s completely melted and smooth. Be careful not to overheat, as white chocolate can scorch easily.
To melt the white chocolate on the stove top, use a double boiler or a heatproof bowl and place it over a pot of simmering water. Stir the white chocolate constantly until the chocolate is fully melted and smooth.
Step 3 – Add food colouring
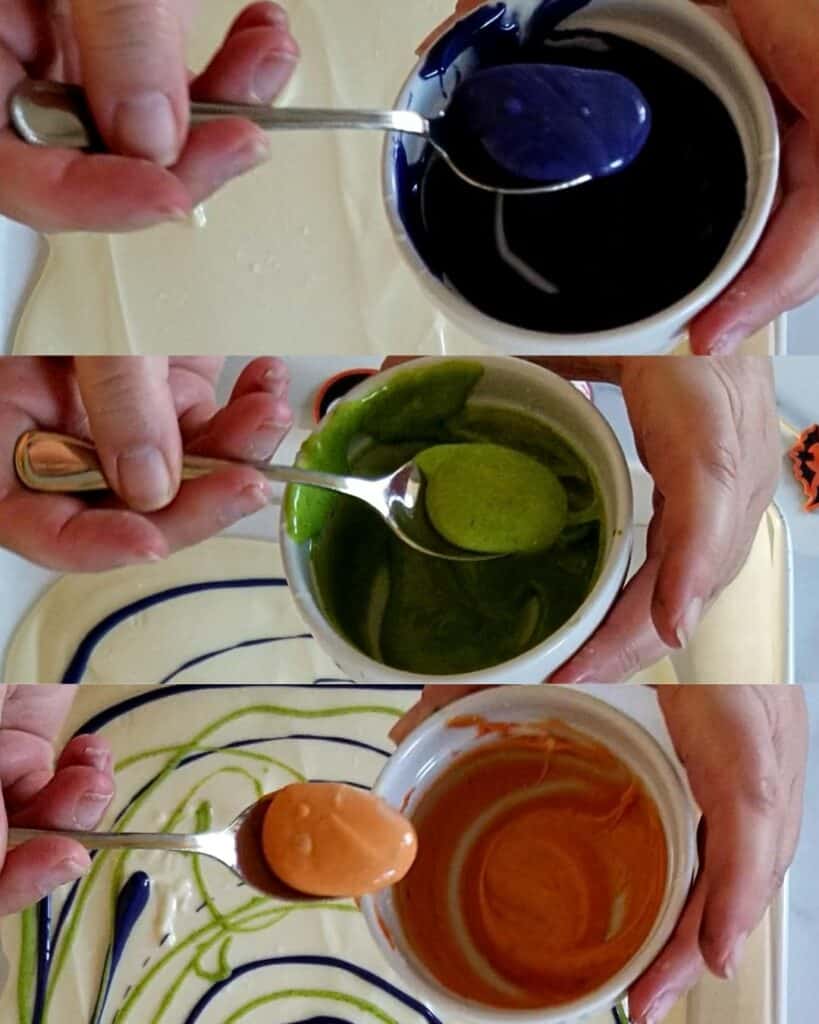
Important step to colour one part of the white chocolate. Take 3 small bowls and add 3 tablespoons of melted white chocolate in each bowl. In each bowl, add 5 drops of Flo-Coat candy emulsion and stir it well with a spatula. Now you can add into each bowl the purple, green and orange food colouring. Stir the colouring in, until it’s evenly distributed. Add more colouring to achieve the desired colour, if needed. Work fast in this step, as the white chocolate is hardening faster with the smaller amount of chocolate.
Step 4 – Spread the white chocolate
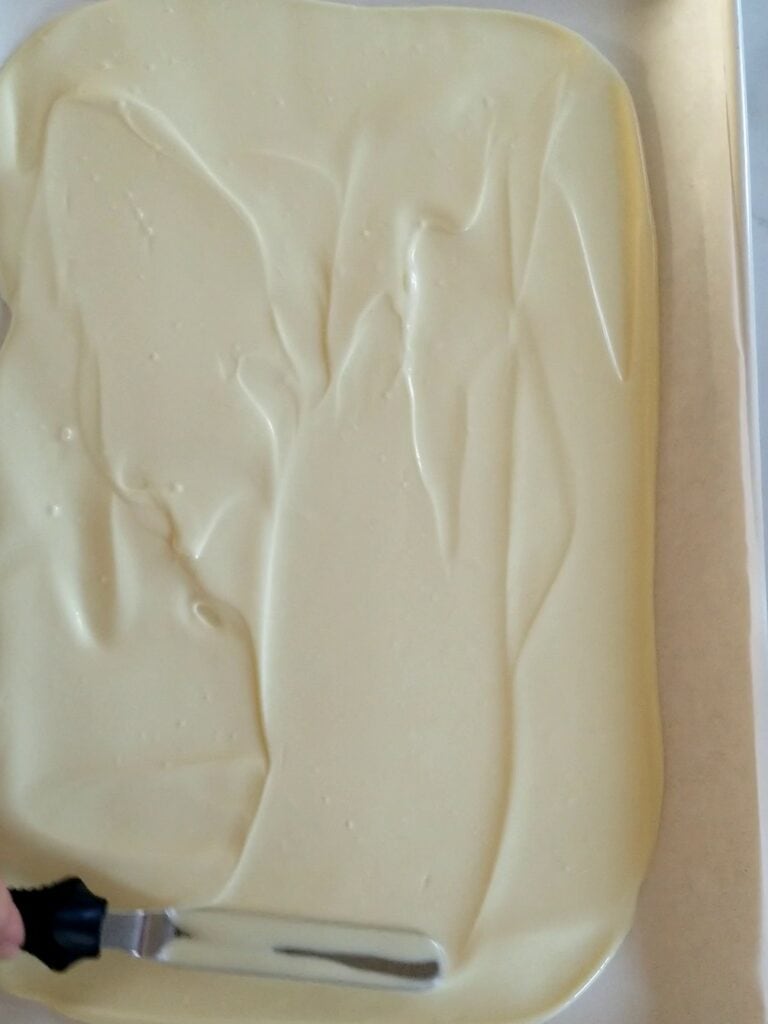
Working quickly, pour the baste white chocolate onto the prepared baking sheet. Using an offset spatula, spread the chocolate in each corner of the baking sheet and even on top.
Step 5 – Swirl and decorate
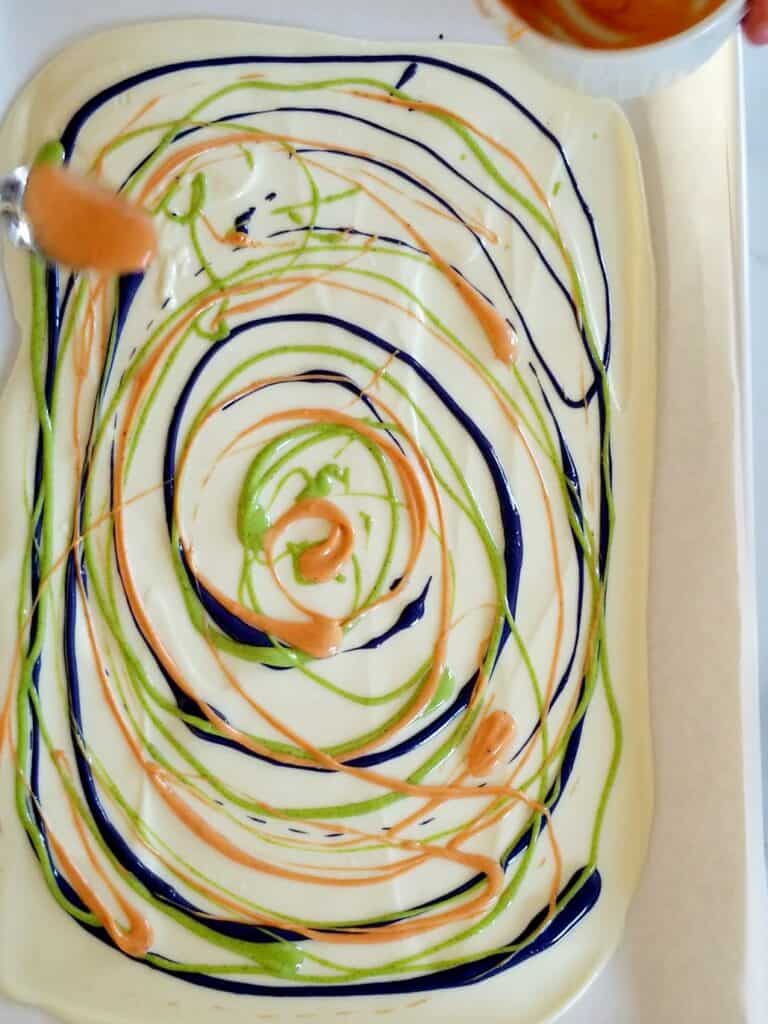
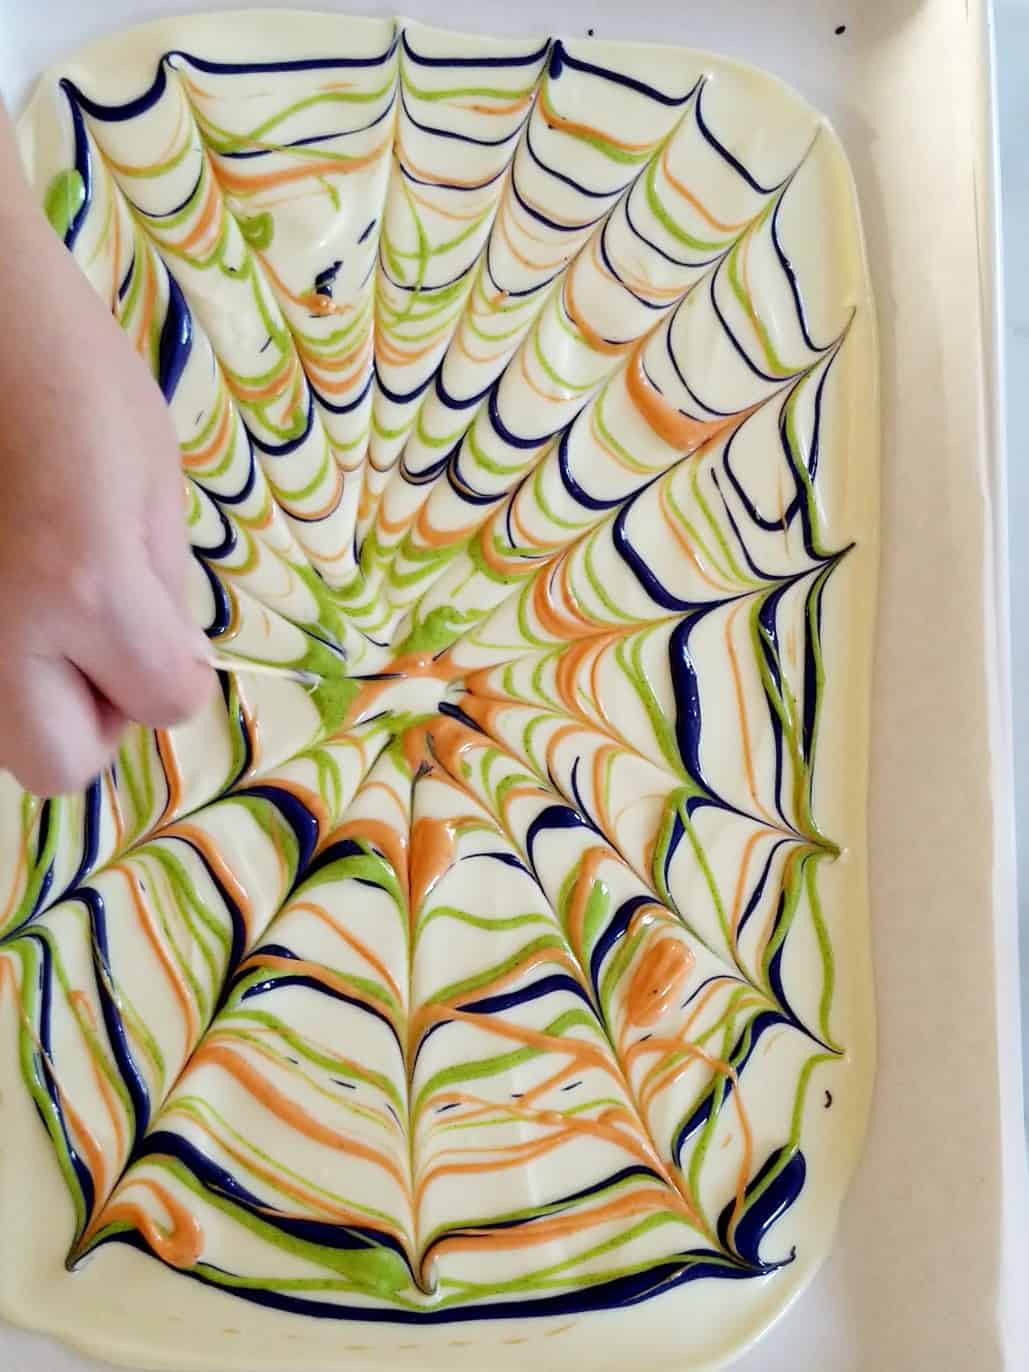
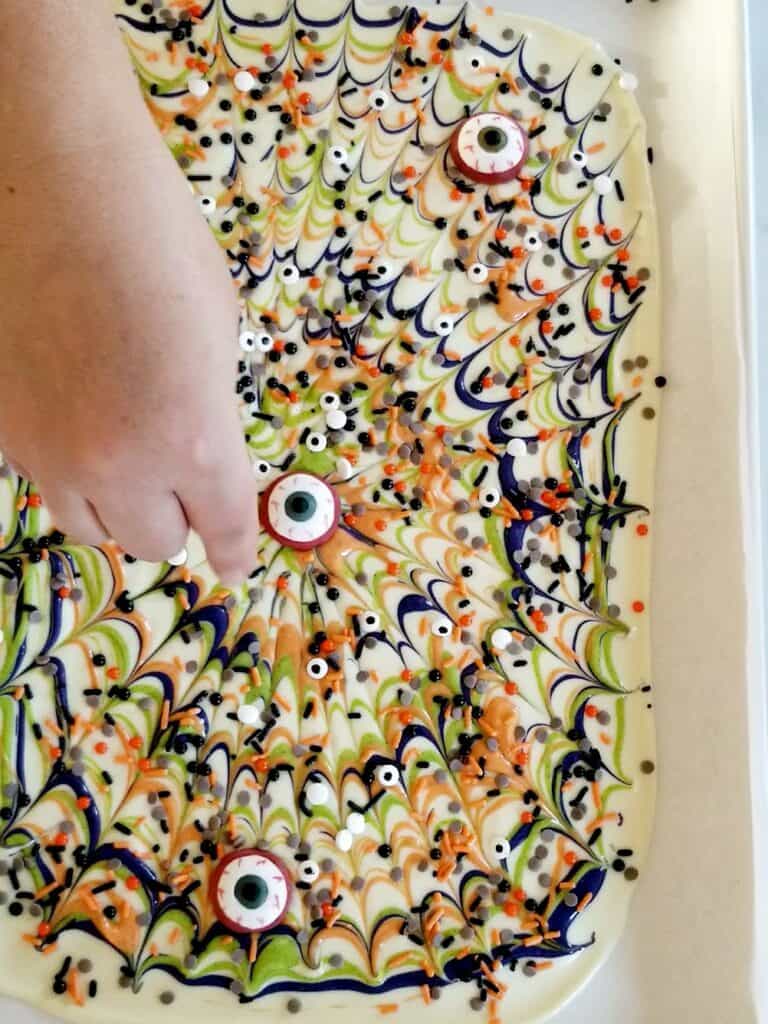
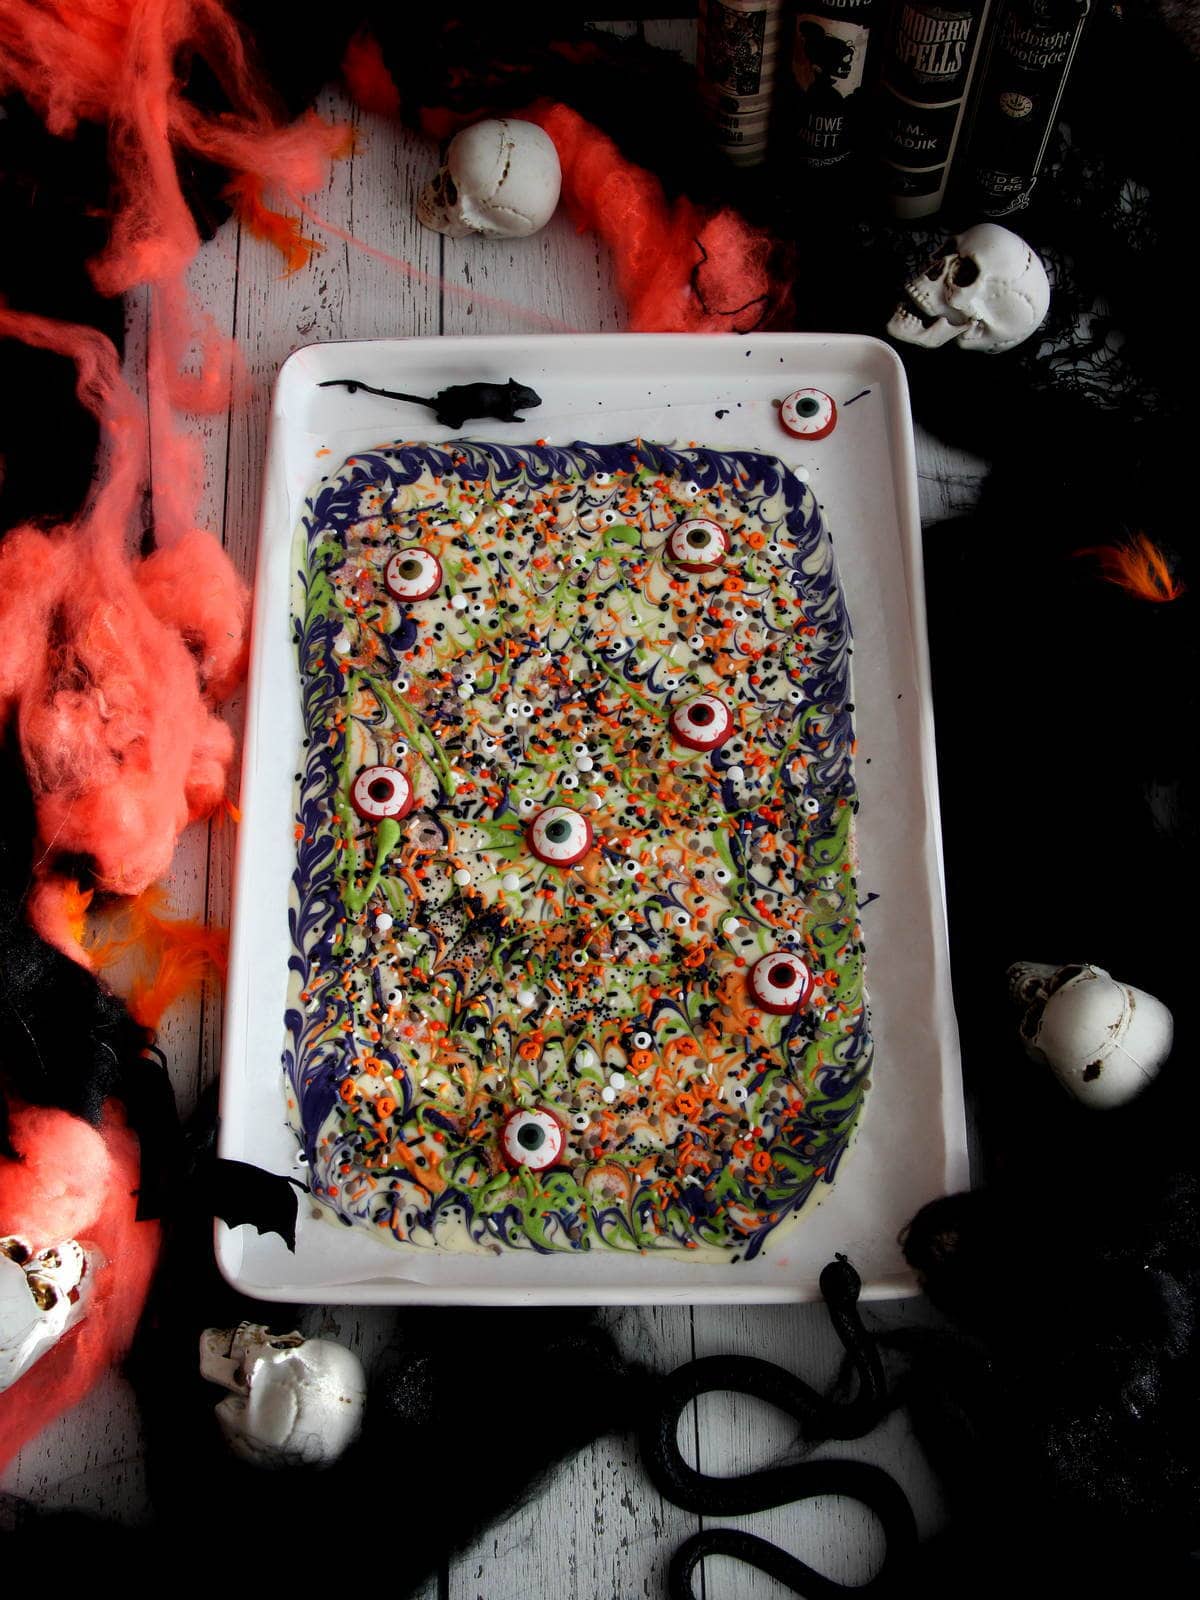
Take the three bowls with coloured white chocolate and pour each coloured chocolate onto the white chocolate base in circular motion (create circles). With a toothpick, swirl the colours together, creating a marbled or spider web look like effect. While the chocolate is still wet, place the eye candies in different places of the bark and sprinkle generously with Halloween sprinkles over the entire surface.
Step 6 – Chill and set
Place the baking sheet in the refrigerator for at least 2 hours, or until the chocolate has completely set.
Step 7 – Break into pieces and enjoy
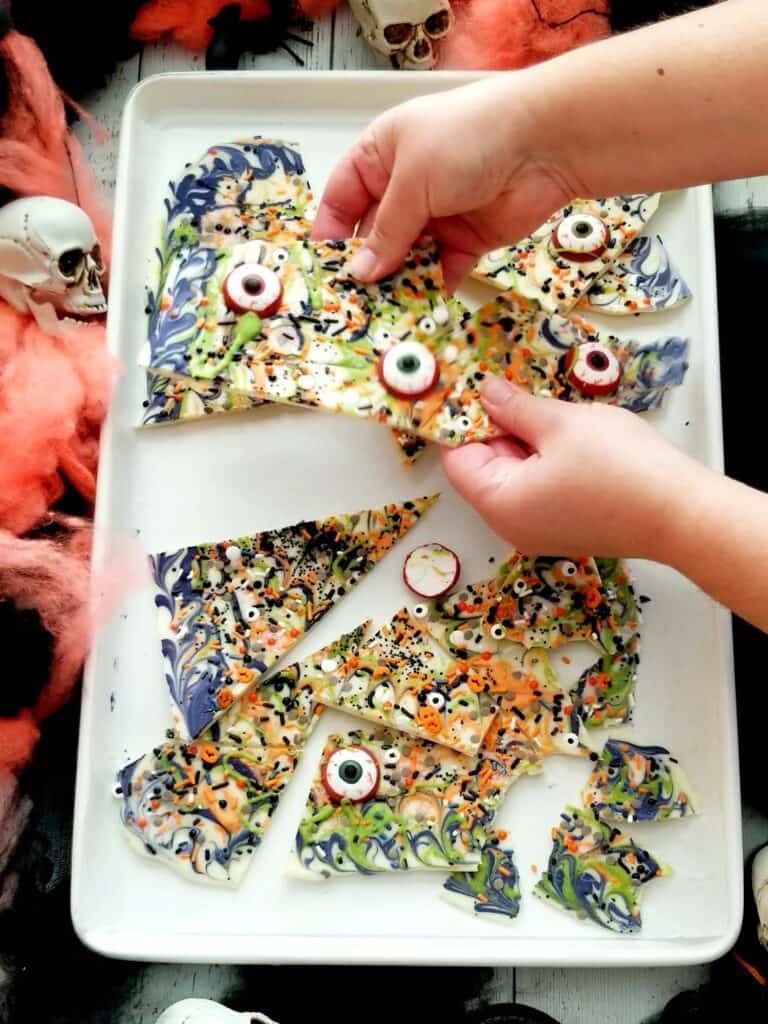
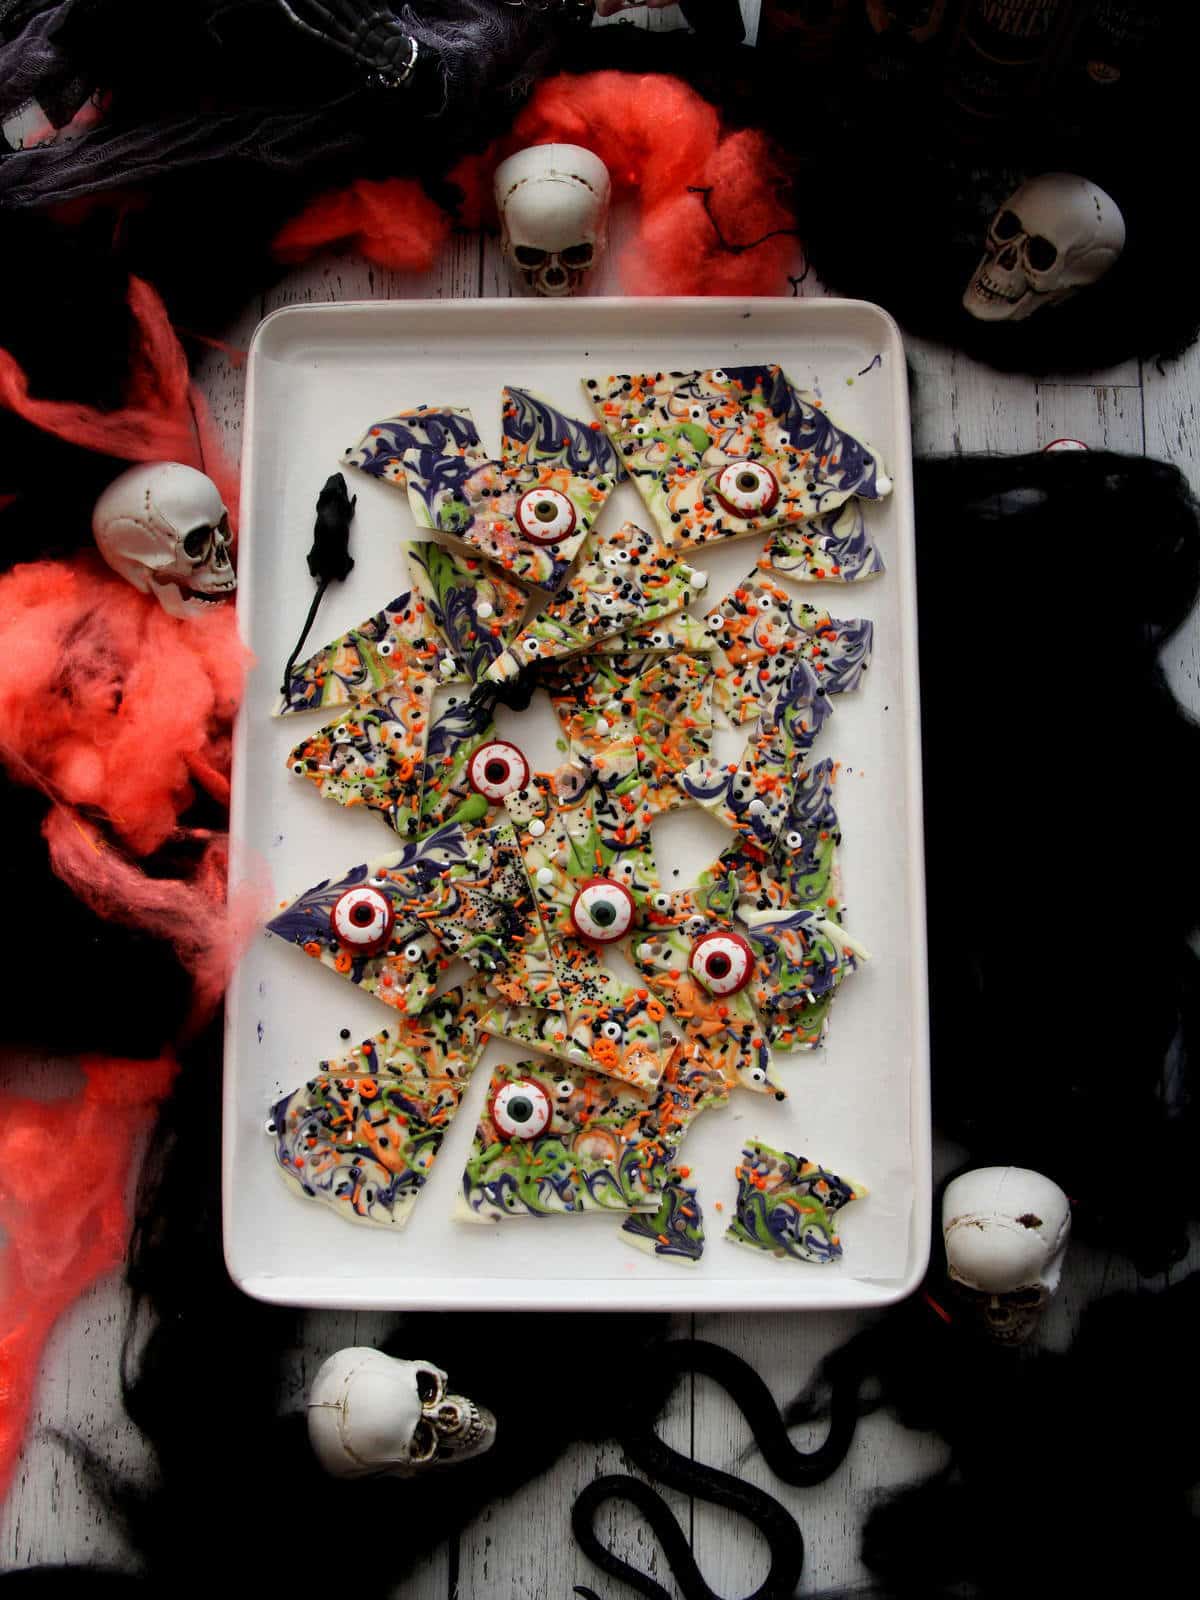
Remove the chocolate bark from the refrigerator once it’s firm and set. Break the bark into irregular pieces with your hands or large knife.
Expert Tips
- Use good quality chocolate: Start with high-quality chocolate, whether it’s white, milk or dark chocolate
- Melt the chocolate properly: Follow the instructions properly on how to melt the white chocolate, not to burn it. White chocolate tends to burn fasted than milk or dark chocolate.
- Use Flo-Coat candy emulsion (oil): To add colour to the white chocolate is only possible with this special Flo-Coat candy emulsion. Don’t try to colour white chocolate just with the food colouring. Follow precisely the instruction on how to colour white chocolate.
- Sprinkle the Halloween sprinkles while the chocolate is wet: Add all the decoration, while the chocolate is still wet. This ensures they adhere properly.
- Break into irregular pieces: For a fun look, when it’s fully set, break the chocolate bark into irregular pieces.
- Chill for best results: Make sure you let the chocolate bark to set for at least 2 hours. This ensures it hardens properly and has a glossy finish.
Variations
Let your imagination flow. Make a different kind of chocolate barks. Use different chocolate, milk or dark chocolate, or use all three chocolates together. Use different candies or food colouring. Sweet and salty options like pretzels or Oreo cookies are also a great idea to create fun chocolate bark. Here are a few variations you may try for chocolate bark:
- Monster Mash Bark: Use green and orange food colouring for the base white chocolate. Mix in mini marshmallow and candy corn for a colourful twist. Add more googly eyes or candy eyes for playful monster effect.
- Witch’s Brew Bark: Use green and purple food colouring to give a witchy look. Add crushed Oreo cookies, gummy warm, candy eyes and Halloween sprinkles for extra spooky appeal.
- Mummy Wrap Bark: Drizzle melted dark chocolate over the white chocolate base to create bandages. Place candy eyes over the dark chocolate to resemble mummy eyes.
- Vampire’s Bite Bark: Colour the white chocolate with deep red food colouring for bloody effect. Add red-coloured candies and finish with white fangs made from white chocolate or marshmallows.
- Spooky Forest Bark: Use dark chocolate as the base and create a spooky forest effect with a toothpick. Sprinkle crashed graham crackers to represent a forest floor. Add ghost and tree edible decoration.
Storage
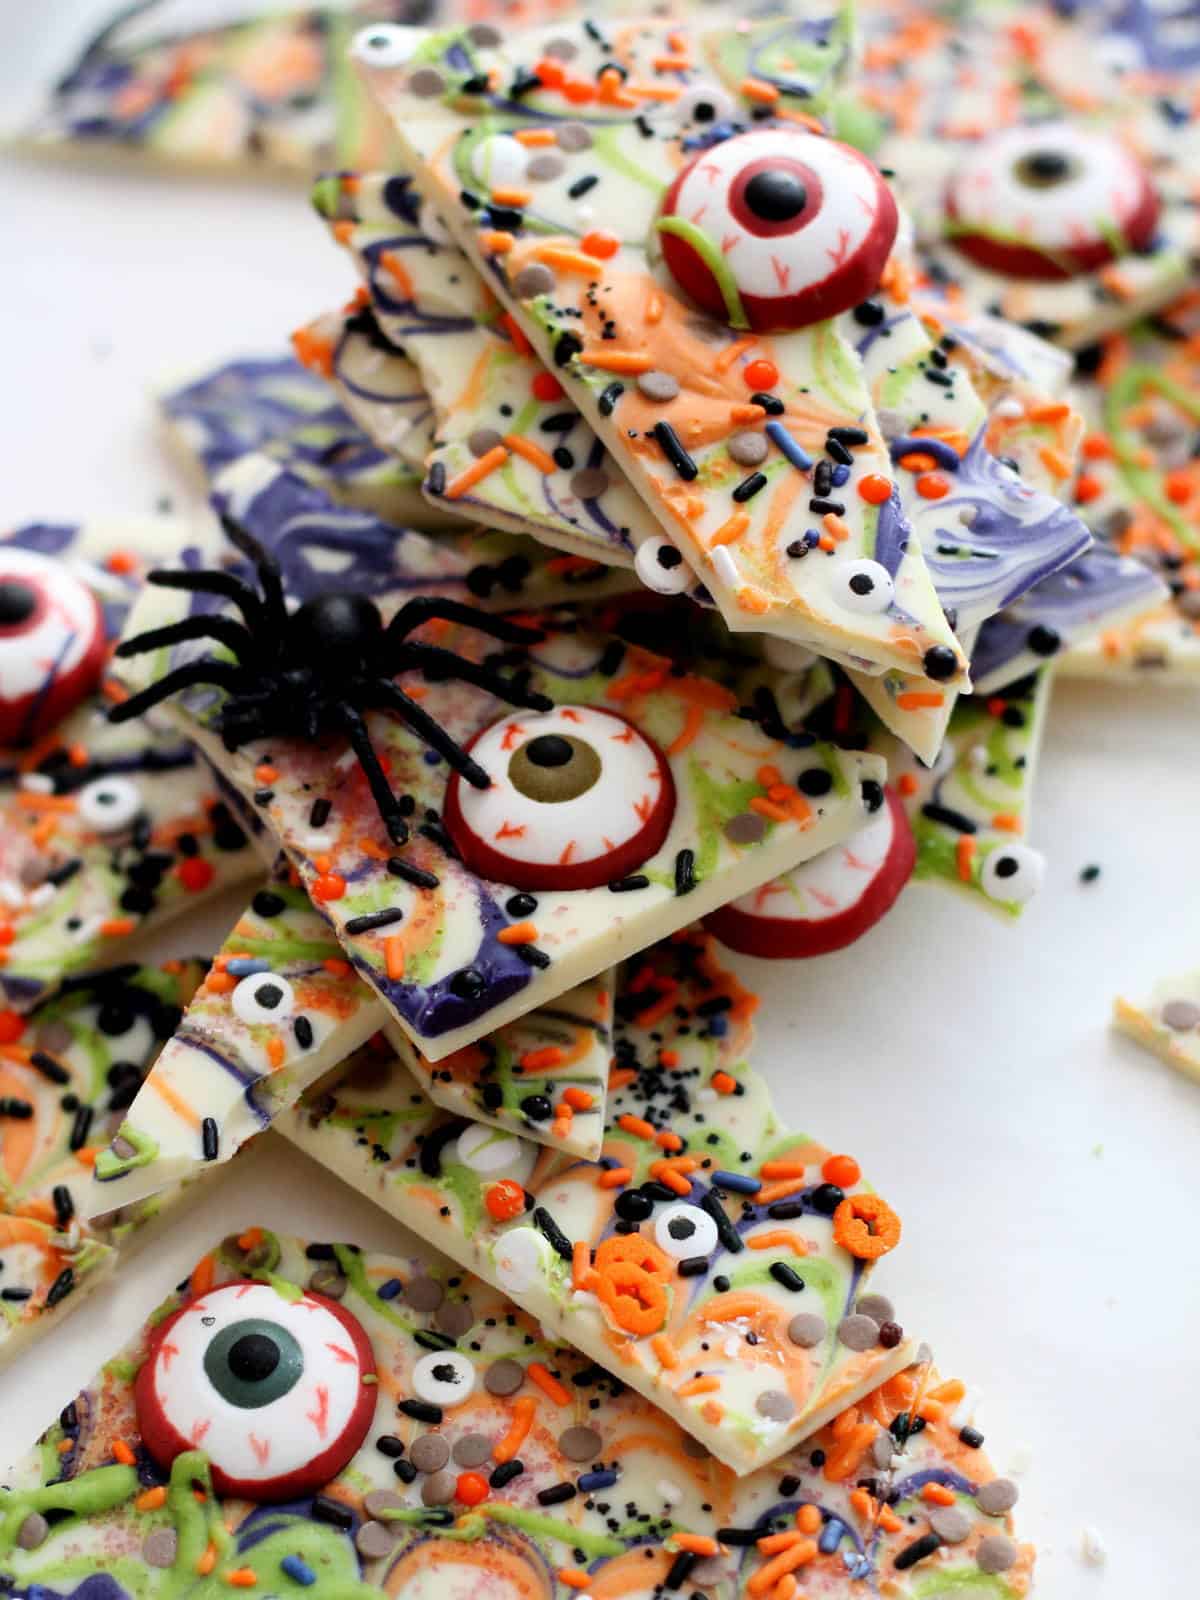
Store the chocolate bark in an airtight container in a cool place or in the refrigerator. It usually lasts for weeks if well stored, but best is to enjoy it fresh.
FAQ
Yes, you can use milk or dark chocolate as a base. The choice of chocolate depends on you personal preferences.
When you will store the chocolate bark properly, it can stay fresh for up to two to three weeks. However it’s best to enjoy the bark with the first few days.
White chocolate is a type of chocolate made from cocoa butter, sugar, and milk solids. Bark is a type of confection or treat that is made by melting chocolate and spreaing it thinly on a surface before adding various toppings. Like nuts, candies, or sprinkles.
Yes, good quality white chocolate chips can be used for making white chocolate bark. White chocolate chips are possibly even easier to melt then white chocolate cut into pieces.
Yes, you can make it in advance. Just store properly in an airtigh container and keep it at room temperature or in the refrigerator until you are ready to enjoy it.
More recipes
- WITCHES FINGERS FROM PIZZA DOUGH
- BLACK FOREST CUPCAKES
- HALLOWEEN VANILLA CUPCAKES
- MARSHMALLOW POPS FRANKENSTEINS
- PUMPKIN SPICE CHEESECAKE TART
Halloween bark with white chocolate
Ingredients
- 3 bars (300 g) white chocolate Lindt chopped
- 1 drop green food colouring
- 1 drop purple food colouring
- 1 drop orange food colouring
- 15 drops Flo-Coat Candy Coating
- 7 large Halloween eye candies
- 2-3 tablespoon Halloween shaped and coloured sprinkles
Instructions
- Line a baking sheet with parchment paper and cut the white chocolate into small pieces.
- To melt the white chocolate in the microwave, simply place the cut white chocolate into a microwave-safe bowl and heat the chocolate in 30-seconds intervals, stirring after each interval until it's completely melted and smooth. Be careful not to overheat, as white chocolate can scorch easily. Stir well with the spatula after each interval of heating the chocolate.
- Into three separate small bowls, divide 3 tablespoons of melted white chocolate into the bowl. The remaining white chocolate, set aside. Add five drops of Flo-Coat Candy Coating and one drop of coloured food colouring to each bowl with the white chocolate. Stir the colours to combine.
- Pour the remaining melted white chocolate onto a baking sheet lined with parchment paper. Using an offset spatula, spread the chocolate into the corners of the baking sheet, until the thickness is 1/8".
- Drizzle in circular motion the coloured chocolates on top. With a toothpick, create a spider web. Place the Halloween eye candies on the top of the white chocolate and sprinkle with your favourite Halloween sprinkles.
- Transfer the baking sheet with white chocolate bark to the refrigerator to set, for 2 hours.
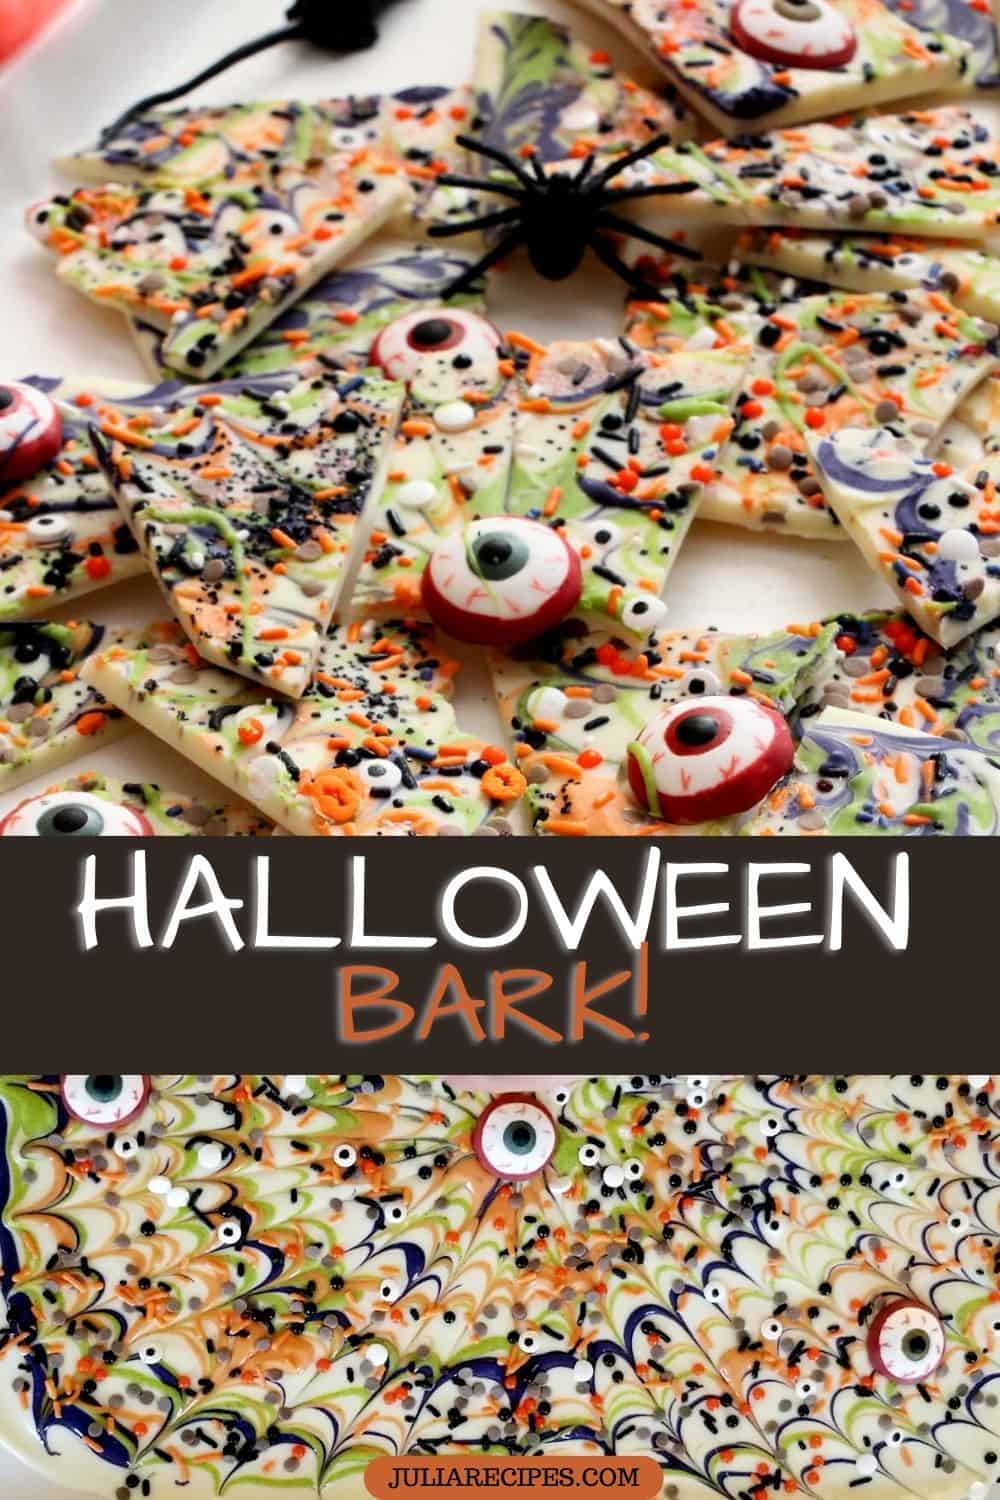
- Remove the chocolate bark from the refrigerator once it's firm and set. Break the bark into irregular pieces with your hands or large knife. Enjoy!
Pin this Halloween bark to try later!
Disclosure: Bear in mind that some of the links in this post are affiliate links and if you go through them to make a purchase I will earn a commission. Keep in mind that I link these companies and their products because of their quality and not because of the commission I receive from your purchases. The decision is yours, and whether or not you decide to buy something is completely up to you.”

Leave a Reply