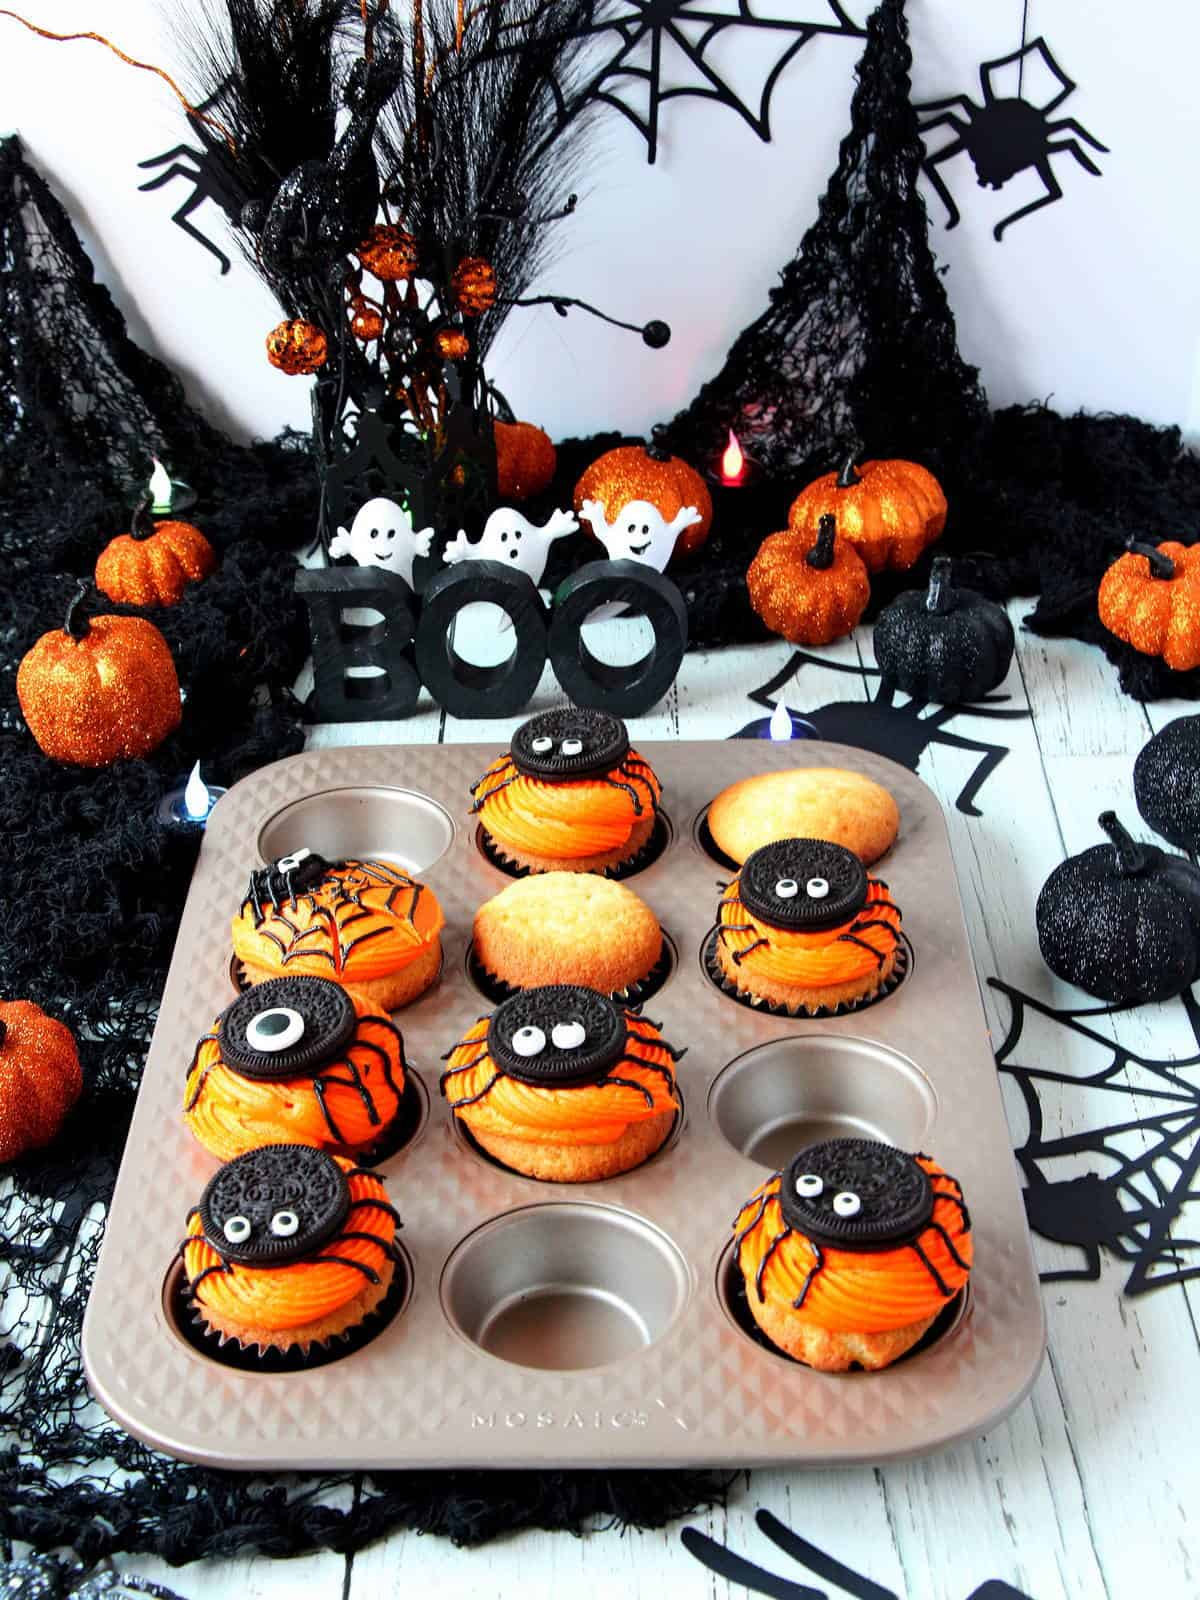
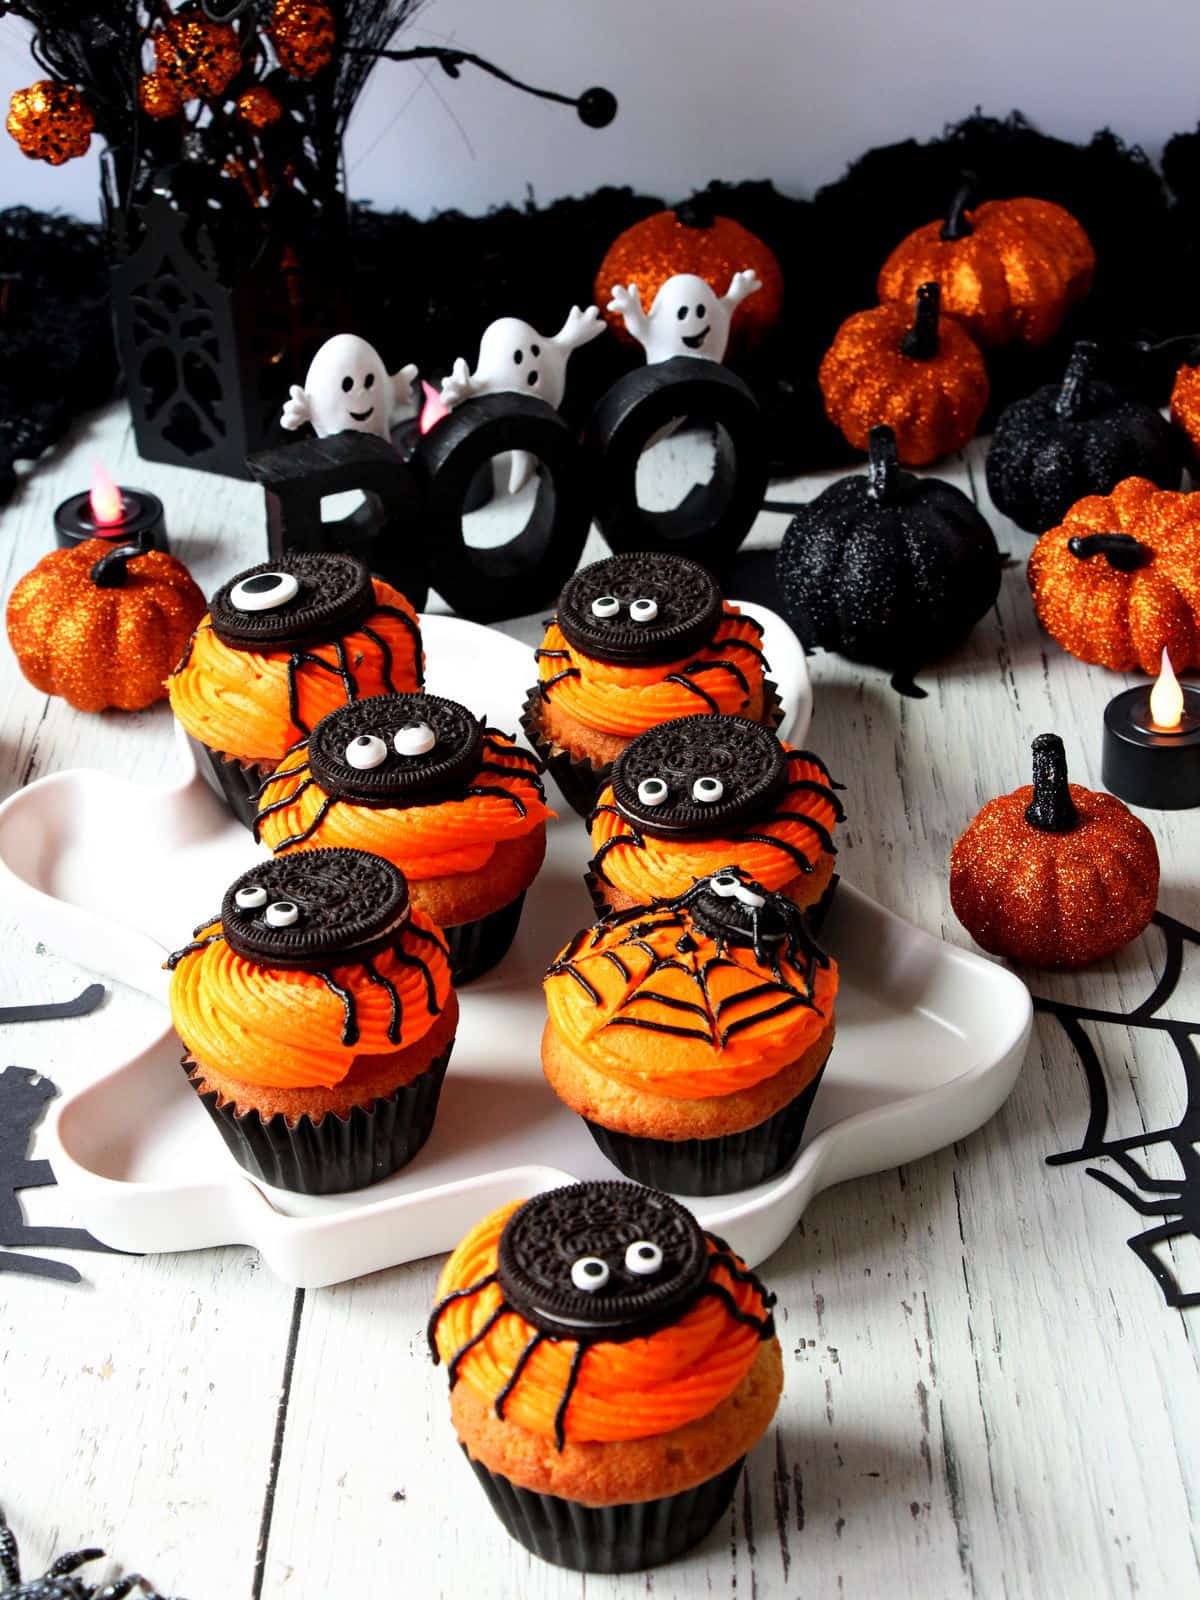
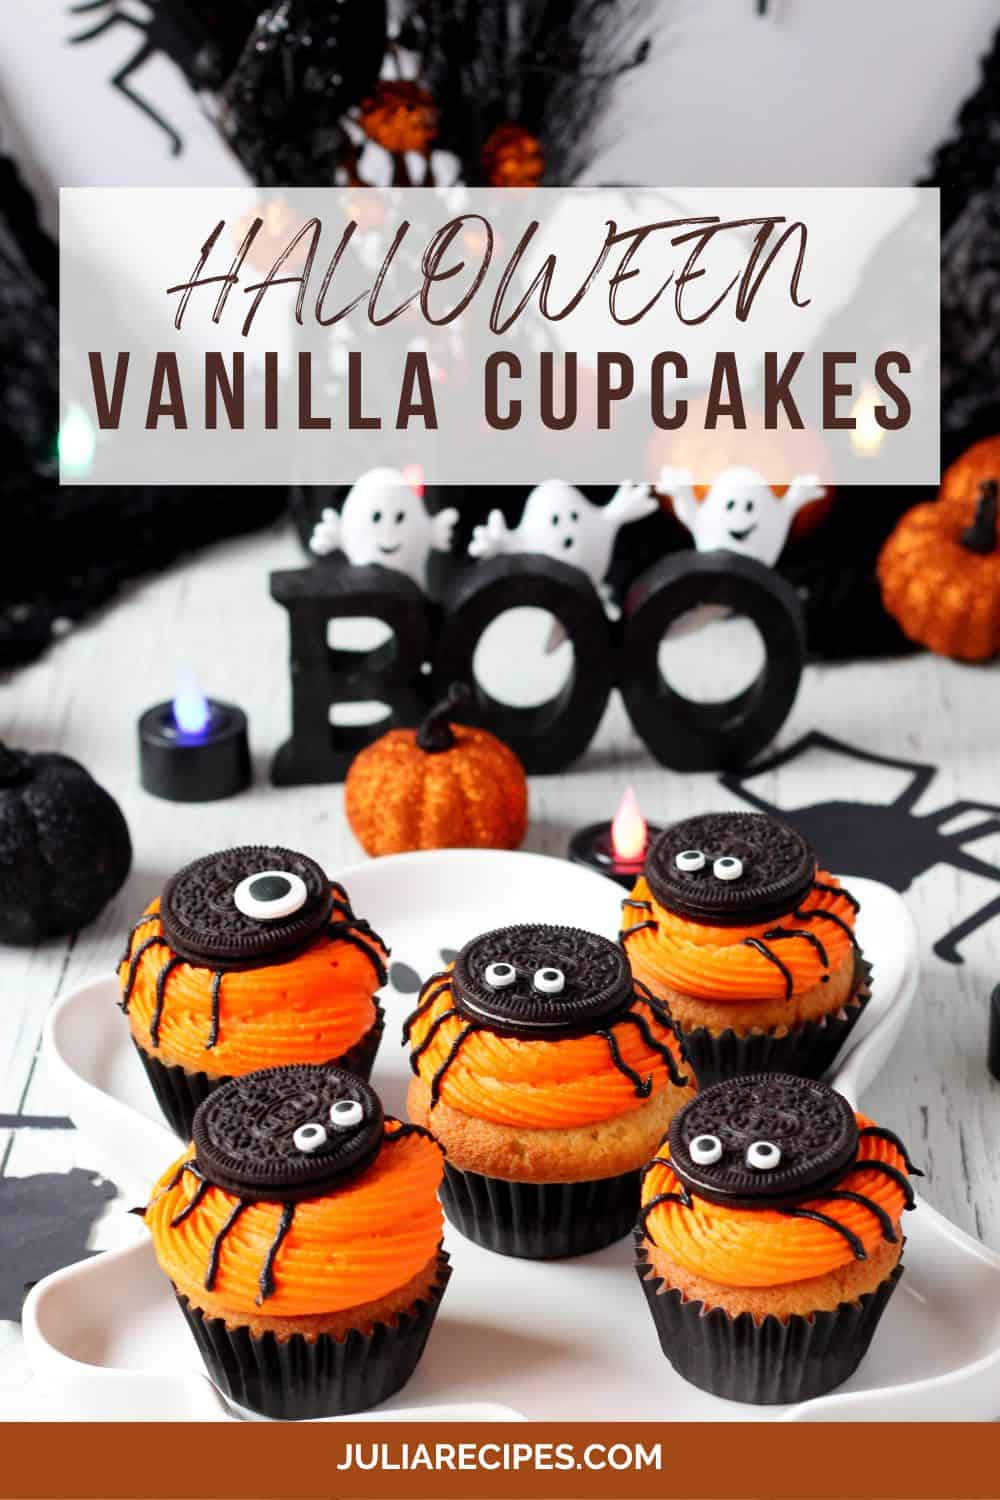
Let’s make these deliciously wicked vanilla cupcakes with creamy colourful frosting and creepy-crawly spiders. These are not only frightfully fun to make but also a devilishly delightful treat for all ages. With a web of sugary intrigue, these cupcakes are sure to spin a web of enchantment at your next Halloween gathering. So, grab your cauldron and broomstick because it’s time to brew up some sweet and sinister magic!
This post is part of the Home Hardware sponsored program. I received compensation as a thank you for my participation. All thoughts and opinions expressed in this post reflects my personal opinion about the information provided by the sponsors.
Why you will love these spider cupcakes
These cupcakes are the perfect canvas for your creative instincts. The rich, moist vanilla cupcakes provide a blank slate for your Halloween-themed designs, allowing you to let your imagination run wild. The creamy orange frosting adds a burst of vibrant colour, reminiscent of a glowing Jack-o’-lantern’s grin, and its velvety texture complements the soft cupcakes beautifully.
Decorating them with Oreo spiders adds a playful and spooky touch that will delight everybody. Crafting these eerie, yet adorable arachnids from Oreos is a fun and engaging activity that brings out your artistic side. Plus, they add a delightful crunch and elevating the taste and presentation of the cupcakes.
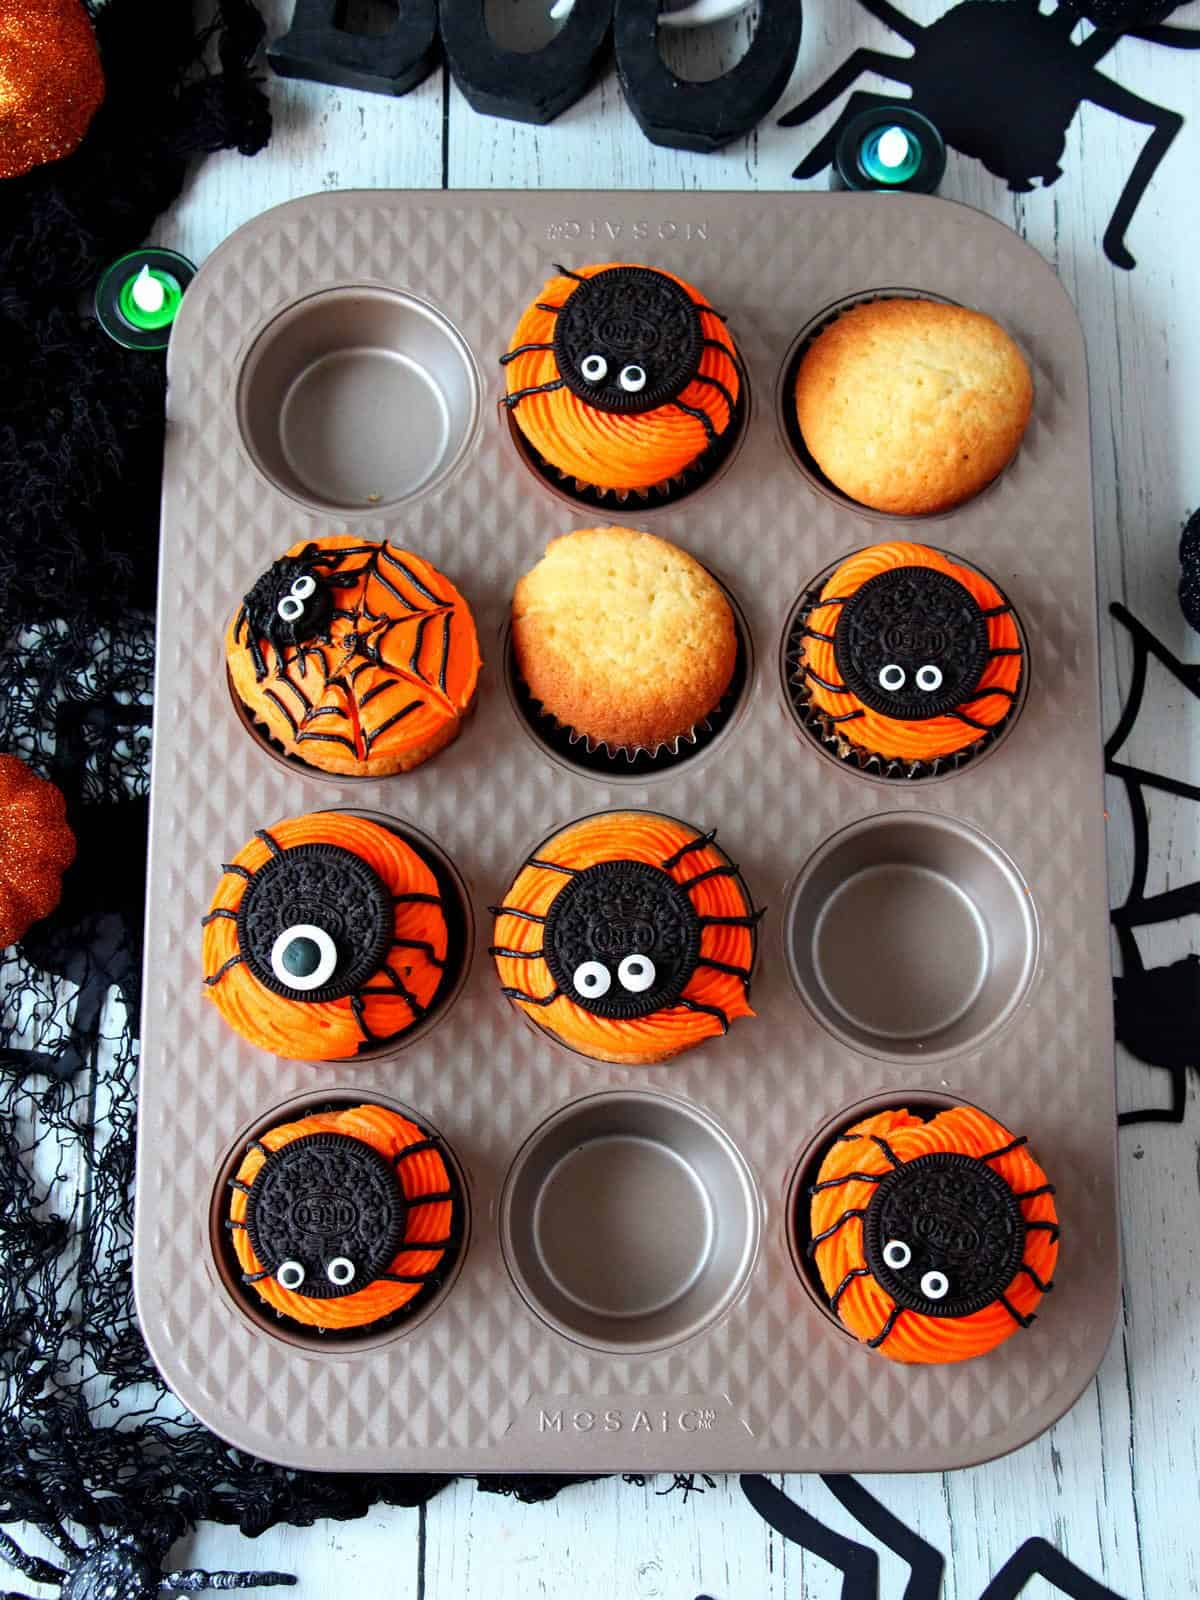
Mosaic Muffin Pan from Home Hardware is a great choice for this recipe
Let’s introduce the Non-Stick Muffin Pan from Home Hardware into the mix. This essential tool is a game-changer for any baker. Its non-stick surface ensures that your cupcakes release effortlessly, leaving no mess behind and preserving their perfect form. With this high-quality muffin pan, you’ll achieve uniform cupcakes that are baked to perfection.
The ease of use and cleaning that comes with this pan will save you precious time in the kitchen, allowing you to focus on the fun part – decorating these Halloween treats. So, whether you’re a seasoned baker or a novice, making these cupcakes with the help of this Non-Stick Muffin Pan from Home Hardware is an enticing and delightful experience that will leave you eager to share your spooky creations with friends and family.
Ingredients
Vanilla Cupcakes:
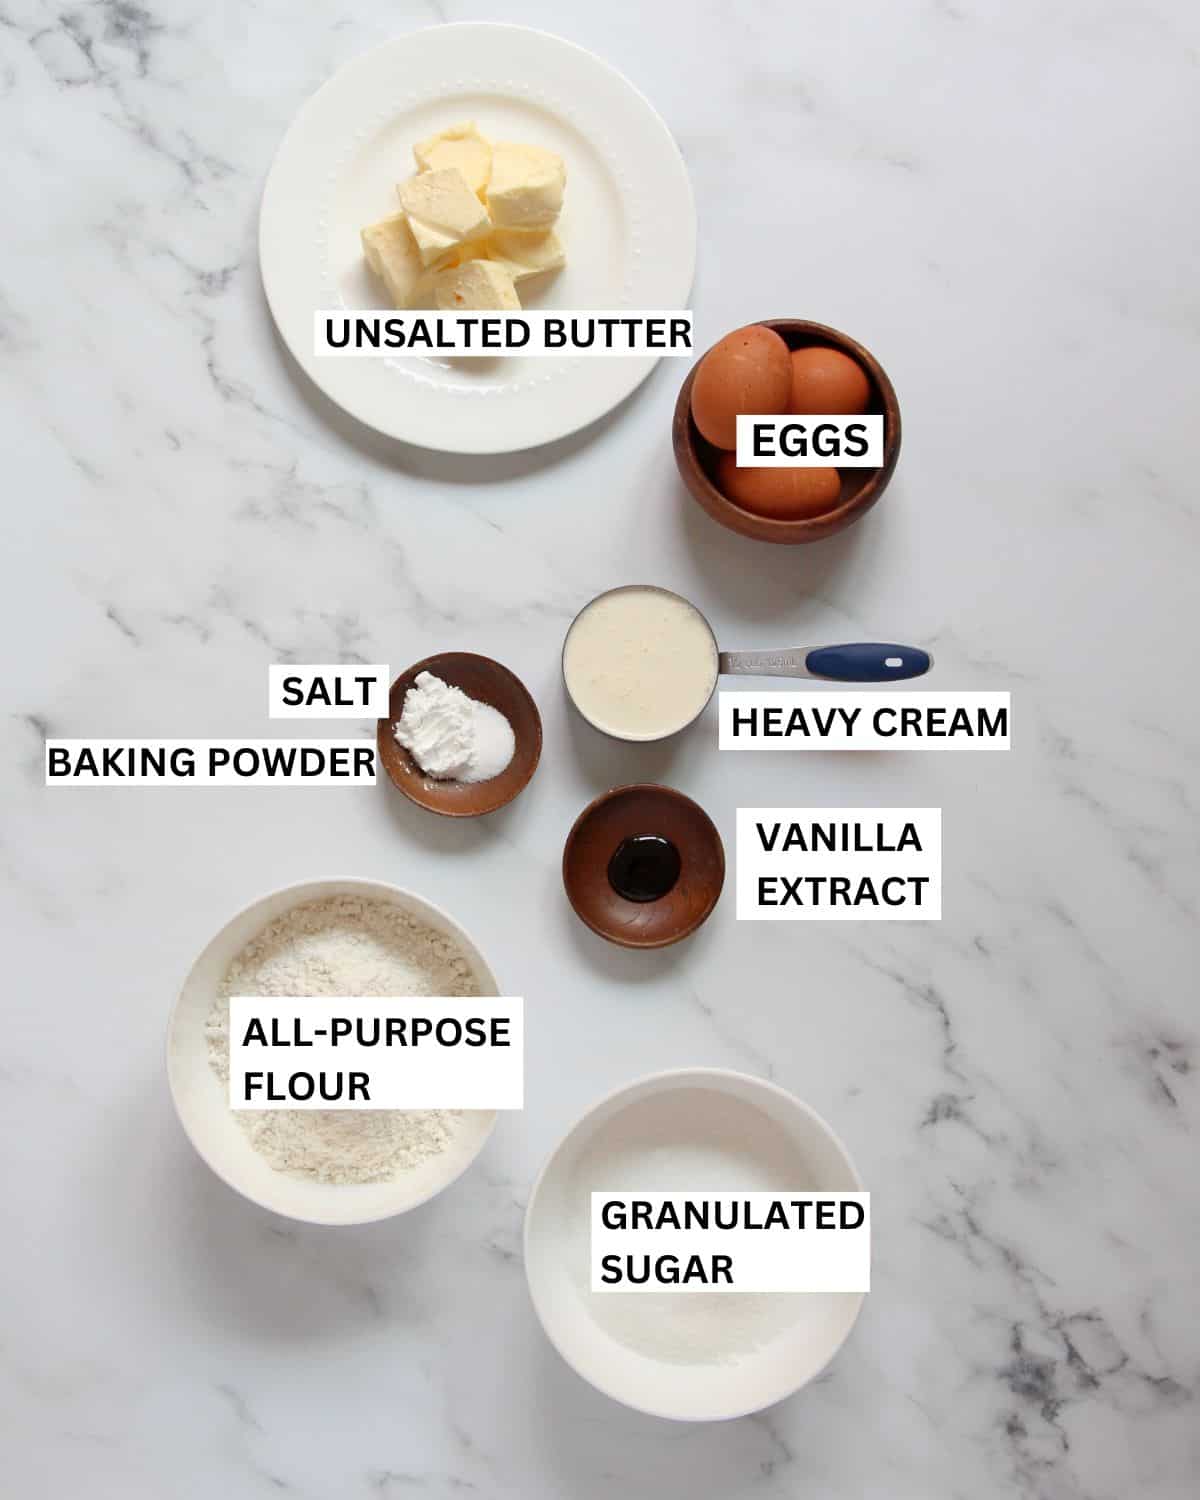
- All-Purpose flour: This forms the base of the cupcake and provides structure. It contains the necessary gluten to give the cupcakes their shape and texture.
- Baking powder: Acts as the leavening agent, helping the cupcakes rise and become light and fluffy.
- Salt: Enhances the flavour of the cupcakes by balancing the sweetness and other flavours. It also helps strengthen the structure of the cupcakes.
- Butter (unsalted): Provides moisture and richness to the cupcakes. The fat content contributes to the cupcakes’ tenderness and flavour.
- Granulated sugar: Sweetens the cupcakes, making them enjoyable to eat. It also contributes to the cupcakes’ moisture and helps with browning during baking.
- Eggs: Bind the ingredients together, adding structure and richness to the cupcakes. They also contribute to the cupcakes’ moisture.
- Vanilla extract: Infuses the cupcakes with a delightful vanilla flavour, enhancing their overall taste.
- Heavy cream (35% fat): Adds moisture and richness to the cupcake batter, contributing to a soft and tender texture.
White Chocolate Buttercream:
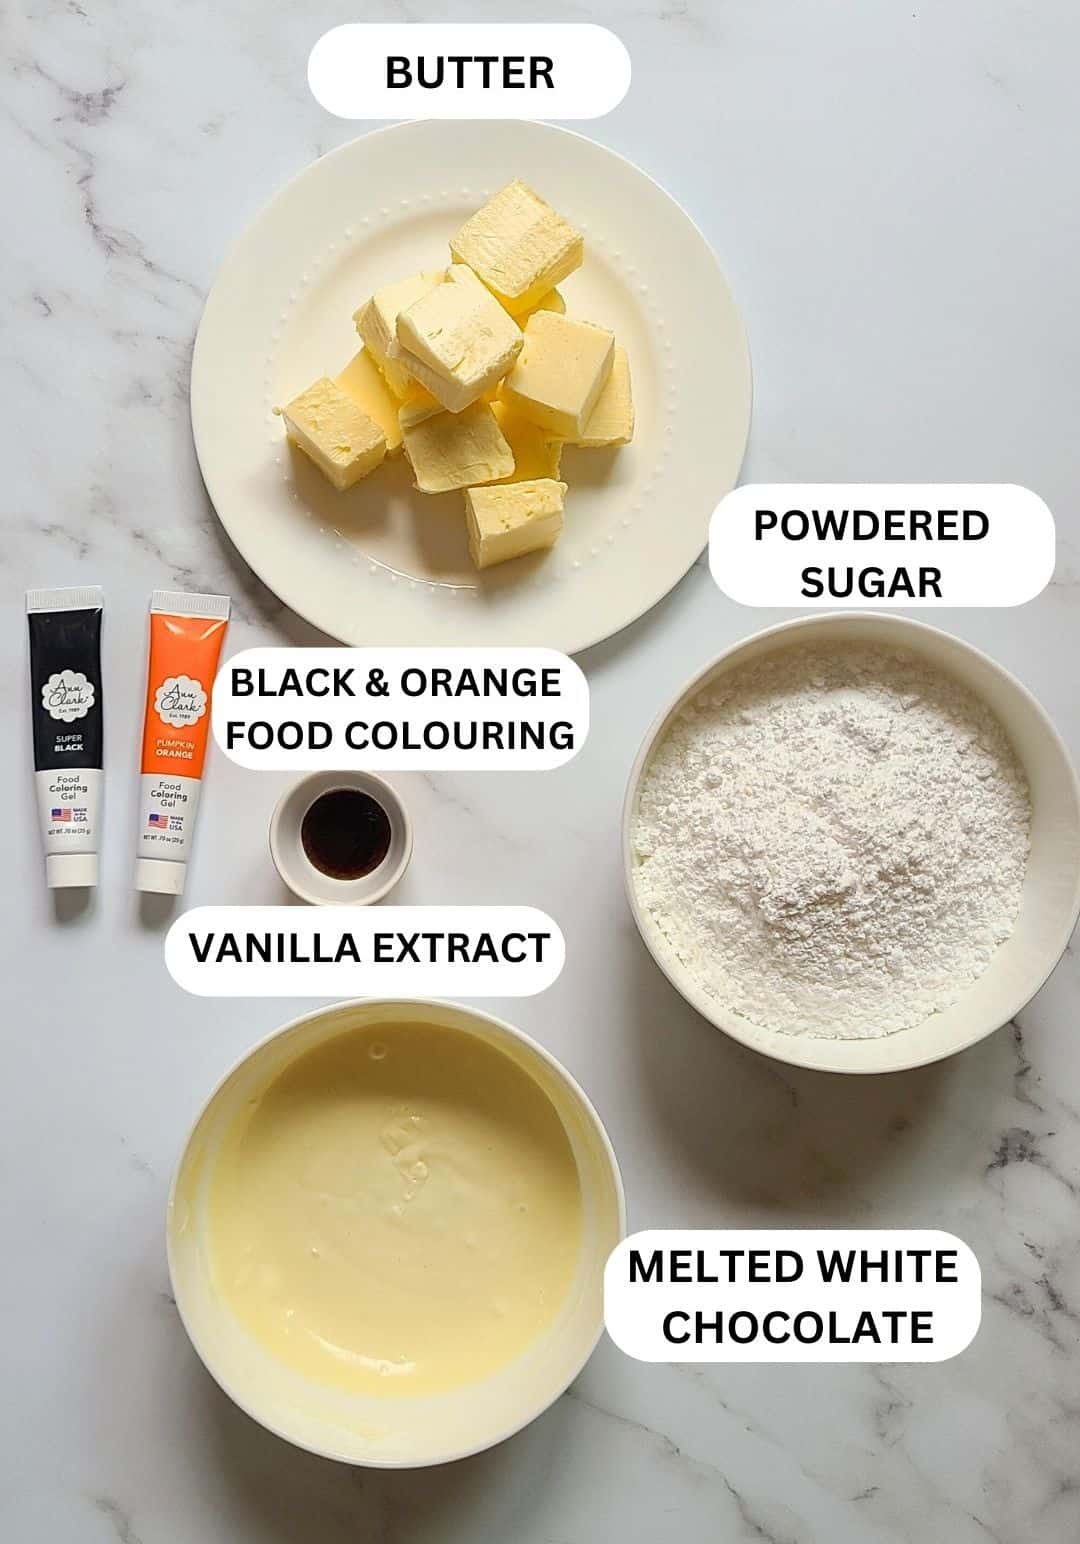
- White chocolate: Provides the distinct white chocolate flavour and creaminess to the buttercream.
- Butter (Unsalted): Along with the white chocolate, it forms the base of the buttercream, giving it a rich and creamy texture.
- Powdered sugar: Sweetens and thickens the buttercream, allowing it to hold its shape when piped onto the cupcakes.
- Vanilla extract: to enhance the flavour.
- Orange gel food colouring: Adds vibrant orange colour to the buttercream, giving it the perfect Halloween look.
- Black gel food colouring: Used for decorating the cupcakes, especially when creating spooky spiderweb patterns and features.
Decoration:
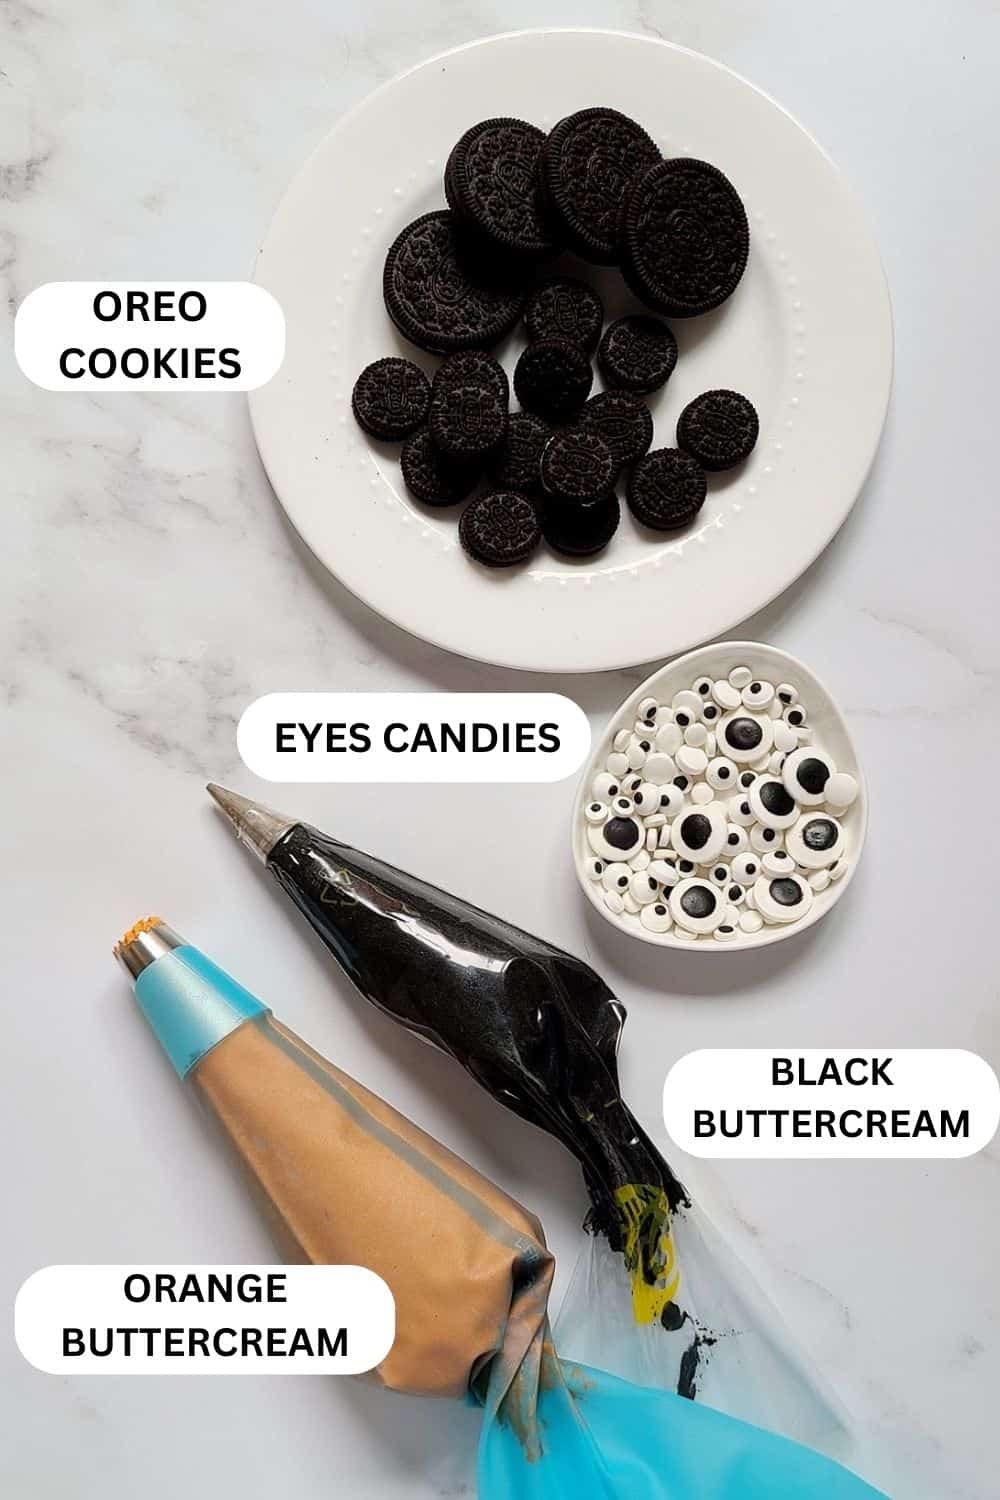
- Oreo cookies: These are creatively transformed into spider decorations, adding a crunchy texture and chocolate flavour to the cupcakes.
- Eyes candies: Used for the eyes of the Oreo-made spiders, adding a fun and eerie element to the cupcakes’ decoration.
How to make recipe Step by Step
Vanilla cupcakes
- Preheat the Oven: Preheat your oven to 350°F (177°C). Line a muffin tin with cupcake liners to prepare for baking.
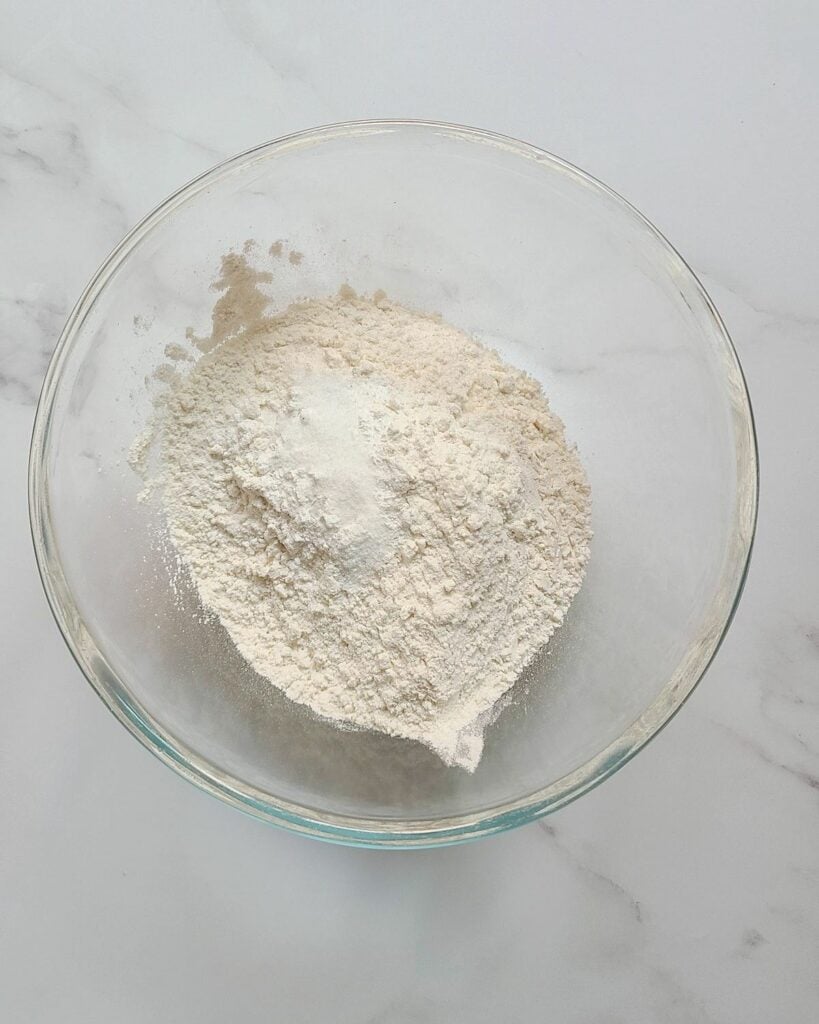
- Sift Dry Ingredients: In a medium-sized bowl, sift together the all-purpose flour, baking powder, and salt. Sifting helps remove any lumps and ensures even mixing.
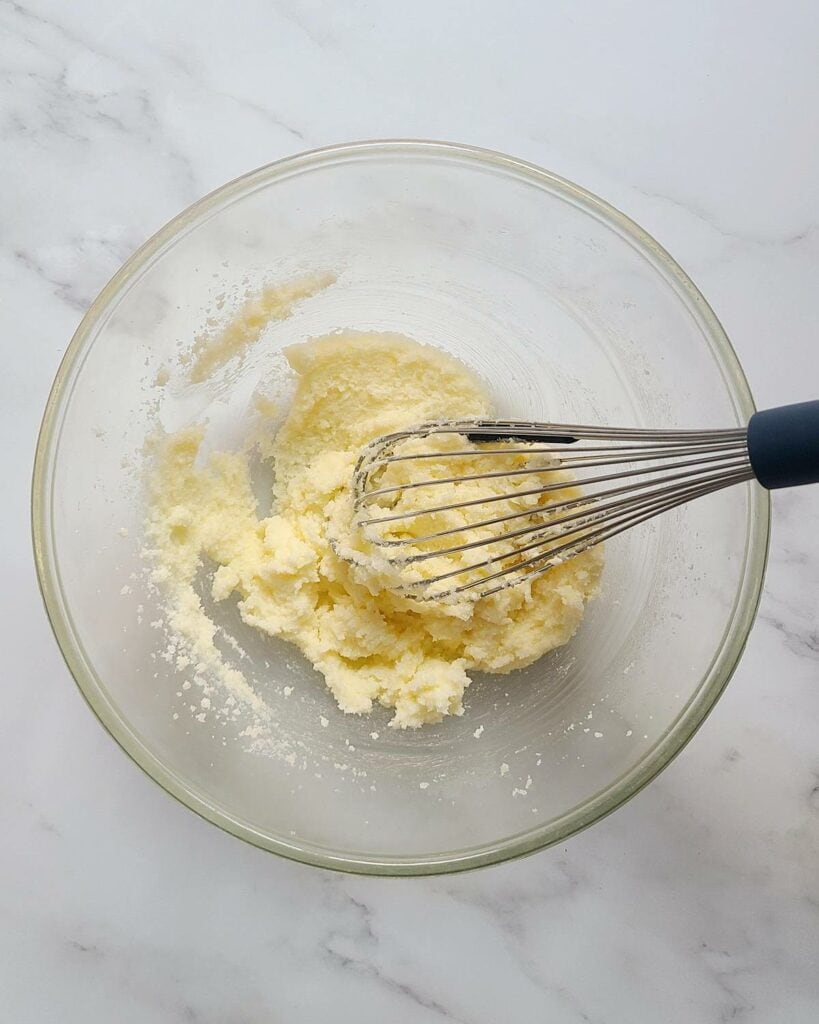
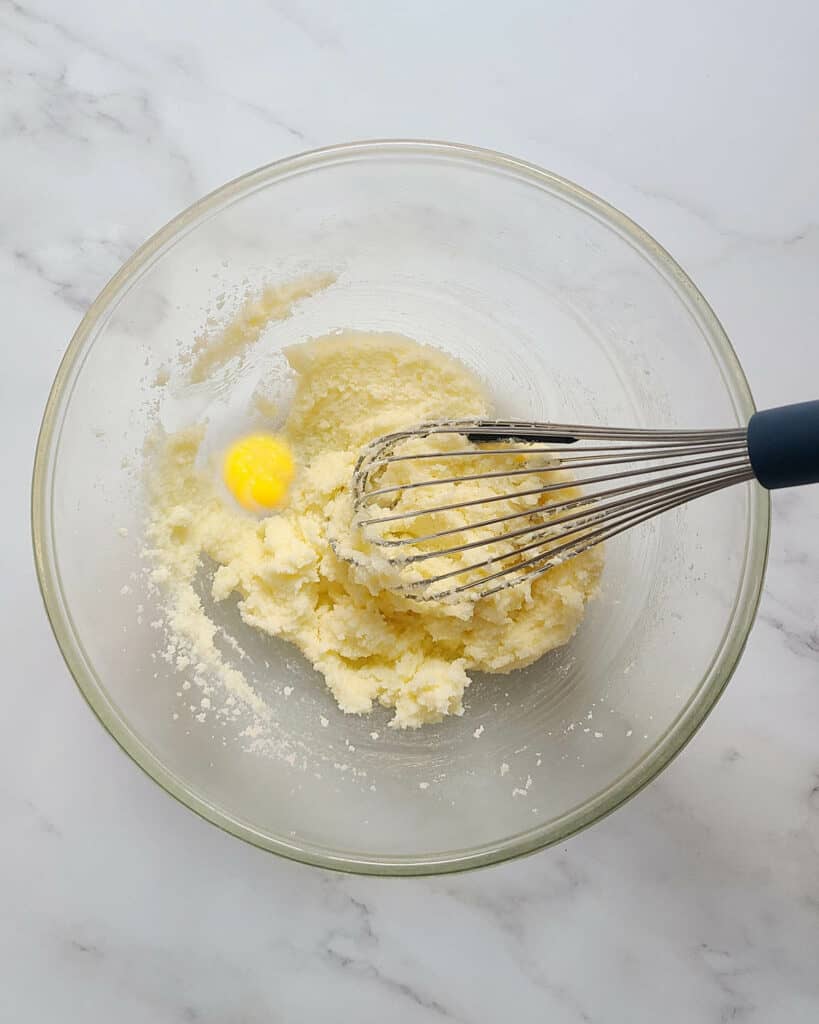
- Cream Butter and Sugar: In a separate large mixing bowl, using an electric mixer or a stand mixer, cream together the softened unsalted butter and granulated sugar until the mixture becomes light and fluffy. This typically takes about 2–3 minutes.
- Add Eggs and Vanilla: Add the room temperature eggs one at a time, mixing well after each addition. Then, stir in the vanilla extract. Scrape down the sides of the bowl to make sure all ingredients are fully combined. This is where Mosaic silicon whisk scraper from Home Hardware comes handy.
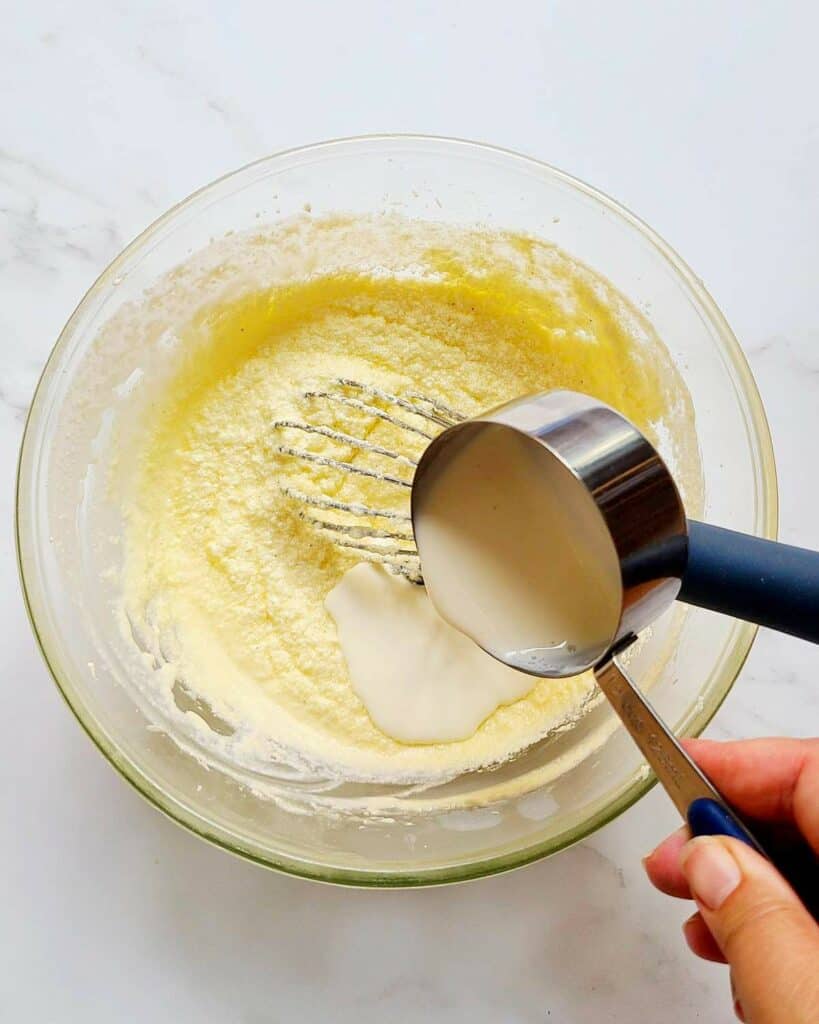
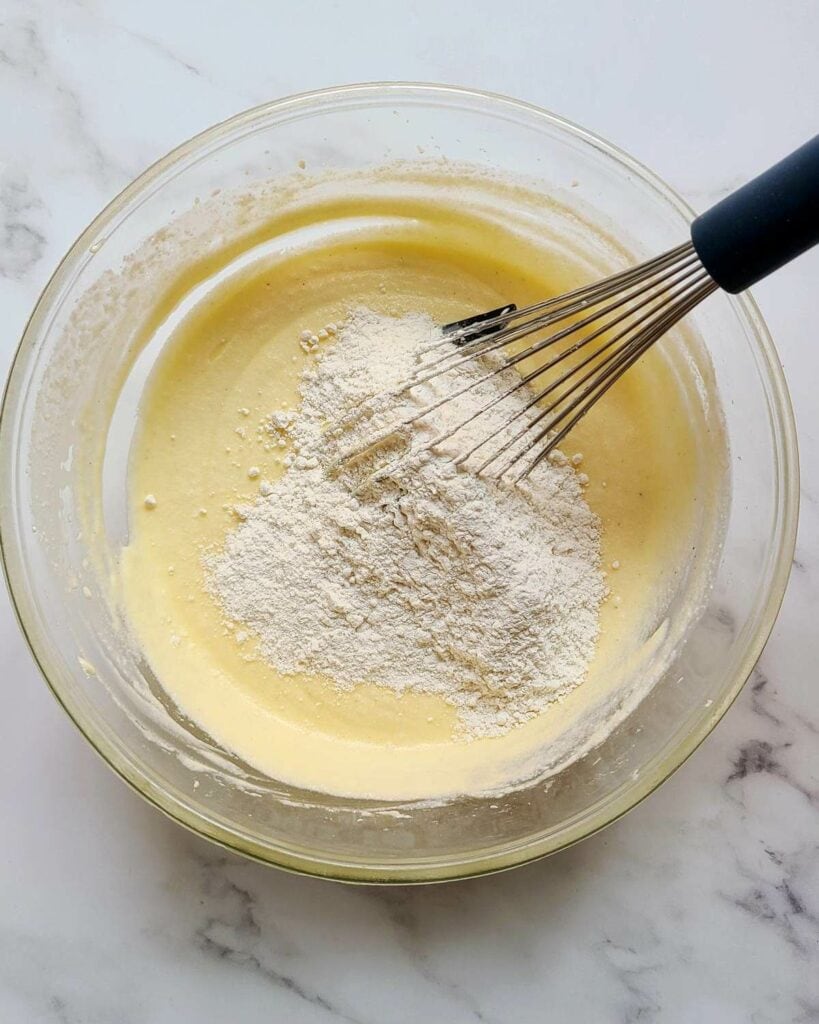
- Alternate Dry Ingredients and Cream: With the mixer on low speed, gradually add the sifted dry ingredients to the wet mixture in three parts, alternating with the heavy cream (or milk) in two parts. Start and end with the dry ingredients. Mix until just combined; be careful not to over mix, as this can lead to dense cupcakes.
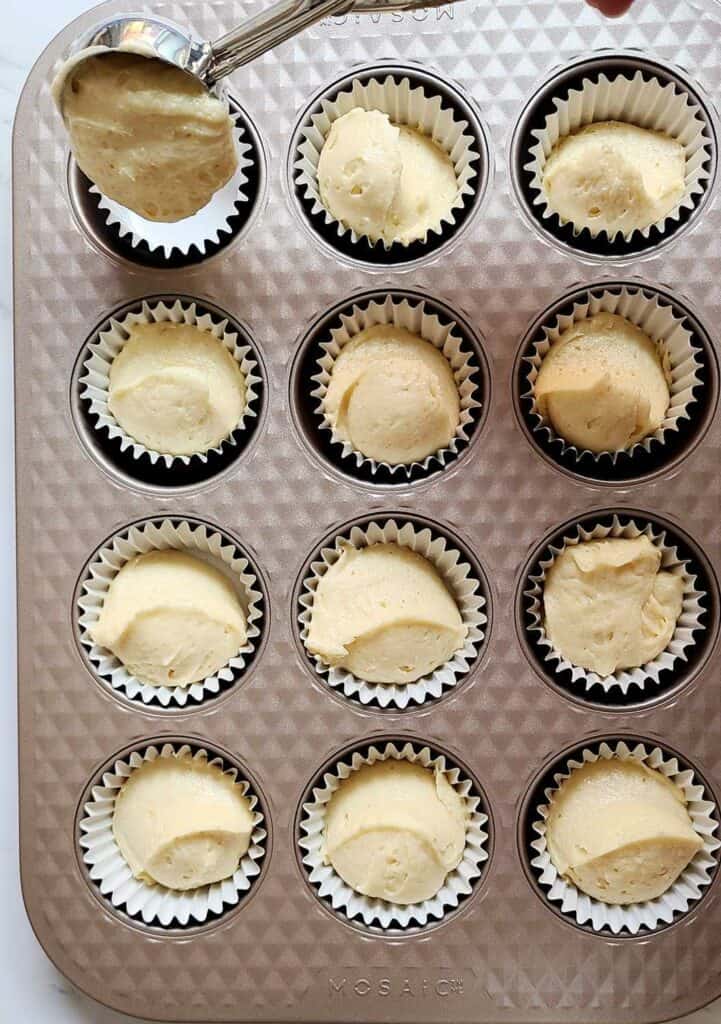
- Fill Cupcake Liners: Using a scoop or spoon, evenly distribute the cupcake batter into the prepared cupcake liners, filling each about two-thirds full. This will allow room for the cupcakes to rise as they bake.
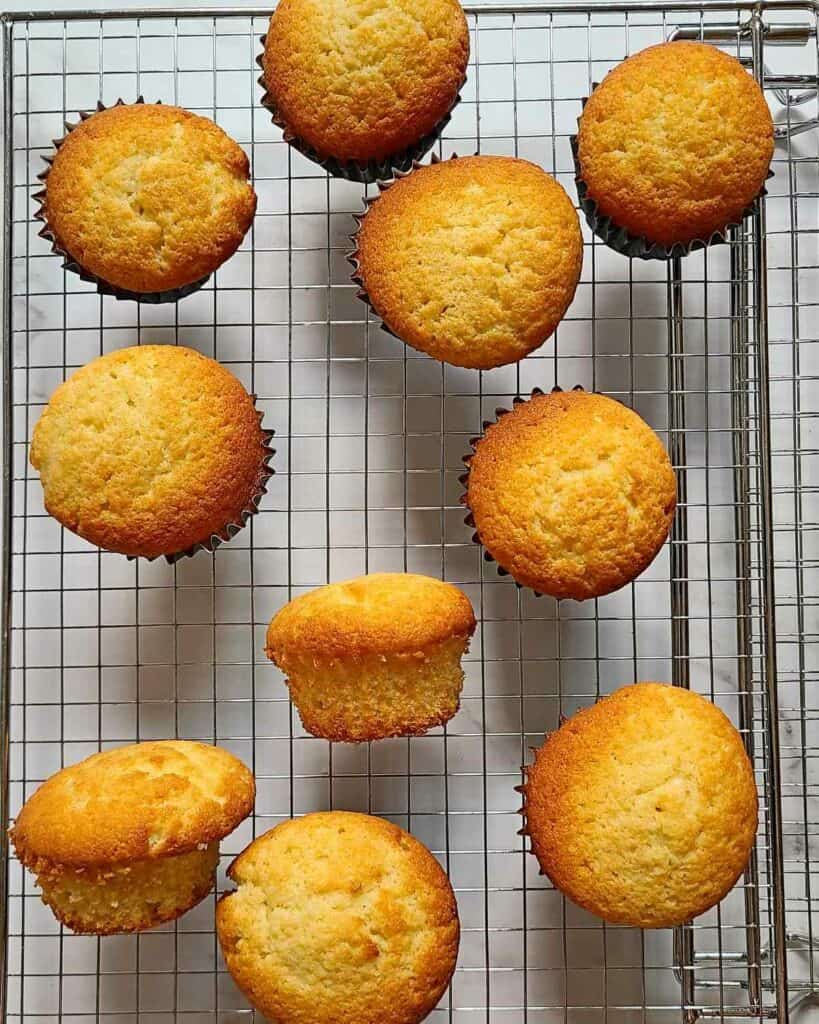
- Bake: Place the muffin tin in the preheated oven and bake for approximately 18–20 minutes, or until a toothpick inserted into the centre of a cupcake comes out clean or with a few moist crumbs. Keep a close eye on them to prevent over-baking, as this can result in dry cupcakes.
- Cool: Remove the cupcakes from the oven and let them cool in the muffin tin for a few minutes before transferring them to a wire rack to cool completely.
White Chocolate Buttercream:
- Melt the white chocolate: Place the chopped white chocolate in a microwave-safe bowl. Microwave it in 20-30 second increments, stirring well between each interval, until the chocolate is completely melted and smooth. Be careful not to overheat and burn the chocolate.
- Cool the chocolate: Allow the melted white chocolate to cool to room temperature. It should be smooth and free of lumps, but not warm to the touch.
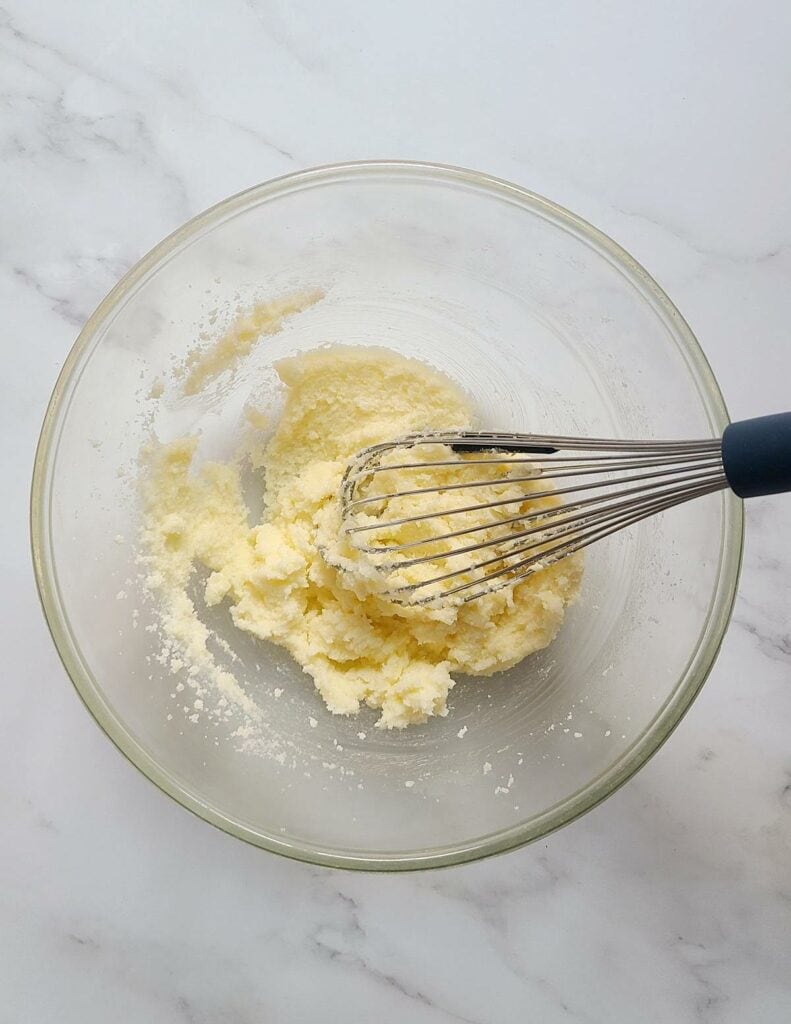
- Cream the butter with sugar: Cream the butter, until it’s soft and creamy. Gradually add the powdered sugar to the creamed butter. Continue to mix until the sugar is fully incorporated, and the mixture is light and fluffy.
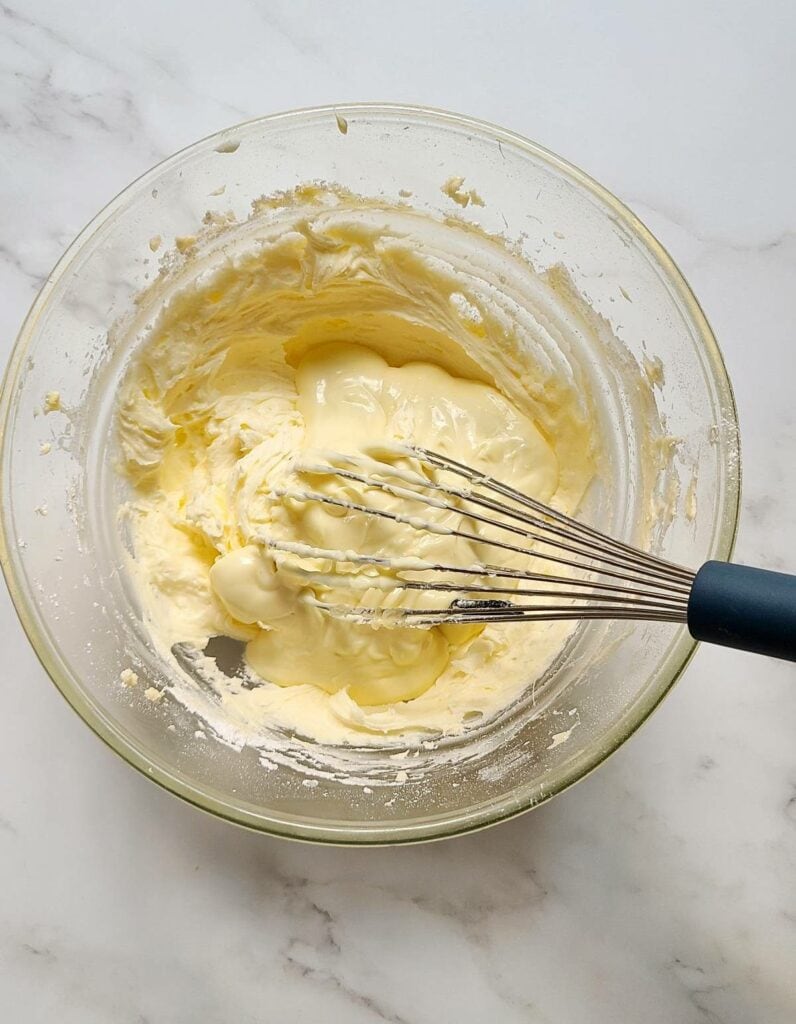
- Mix in cooled white chocolate: With the mixer on low speed or with a balloon whisk, pour in the cooled melted white chocolate. Mix until the chocolate is fully combined with the butter and sugar, and the frosting becomes smooth and creamy.
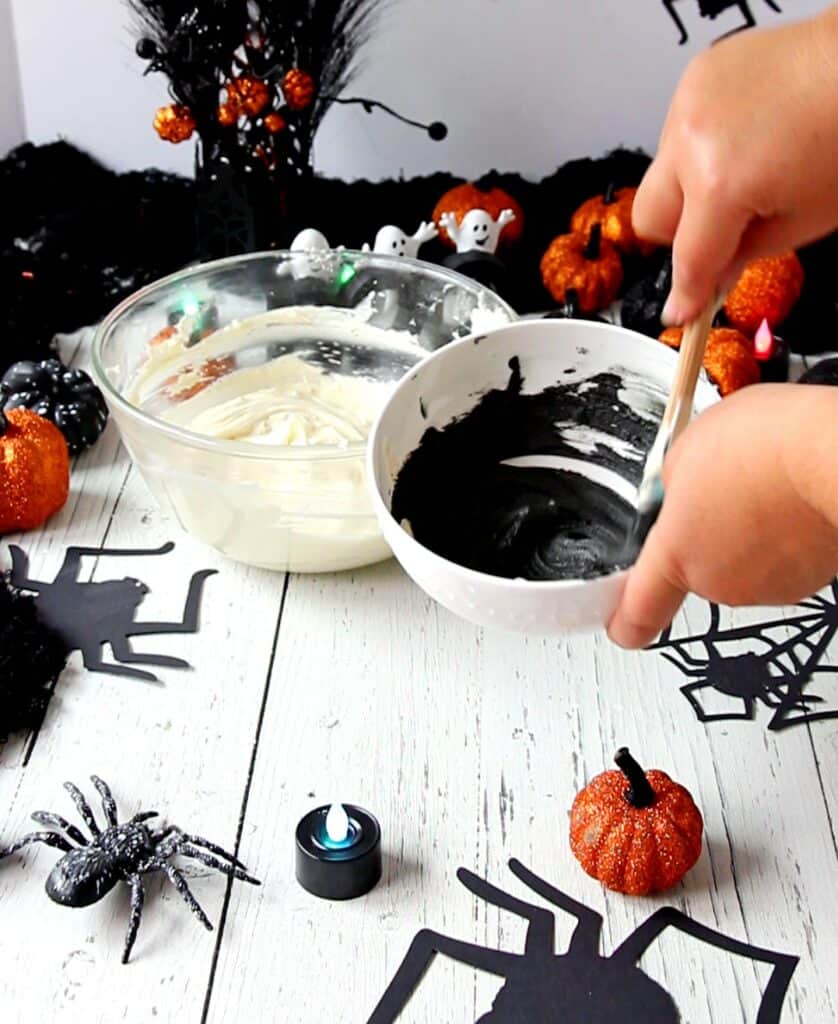
- Colour the buttercream: Reserve two tablespoons of buttercream in a small bowl & add a few drops of black gel food colouring. Stir in well with spatula, until the buttercream is black and smooth. If needed, add more drops of black food colouring. Take the rest of the buttercream and add an orange gel food colouring. Mix it in well, until the buttercream is orange, and the food colouring is well incorporated. Add more orange gel food colouring if needed.
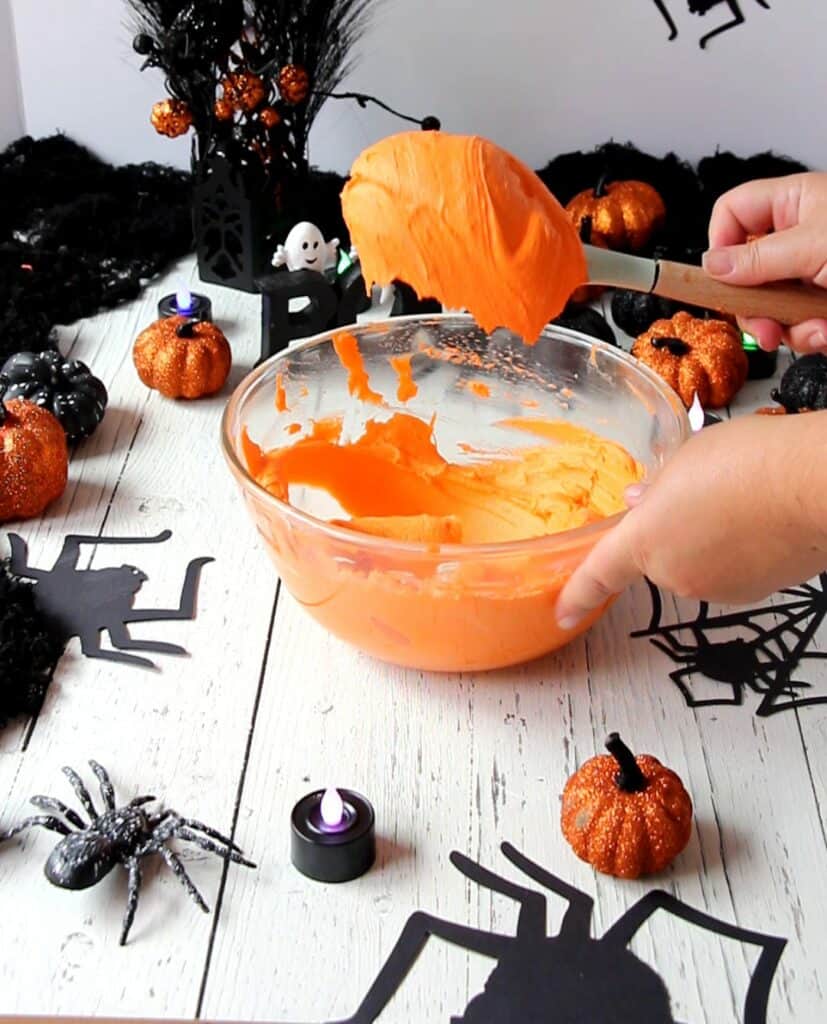
Assembly and decoration:
- Prepare piping bags and tips: Take a large piping bag with a large open star tip (Wilton 8B) and fill it with orange coloured buttercream, secure the bag with an elastic if needed. Prepare the same way the black buttercream. This one will be with a small round tip (Wilton no. 2), secure the bag and set aside.
- Oreo cookies: Prepare the Oreo cookies and eye candies for easy access. Set aside.
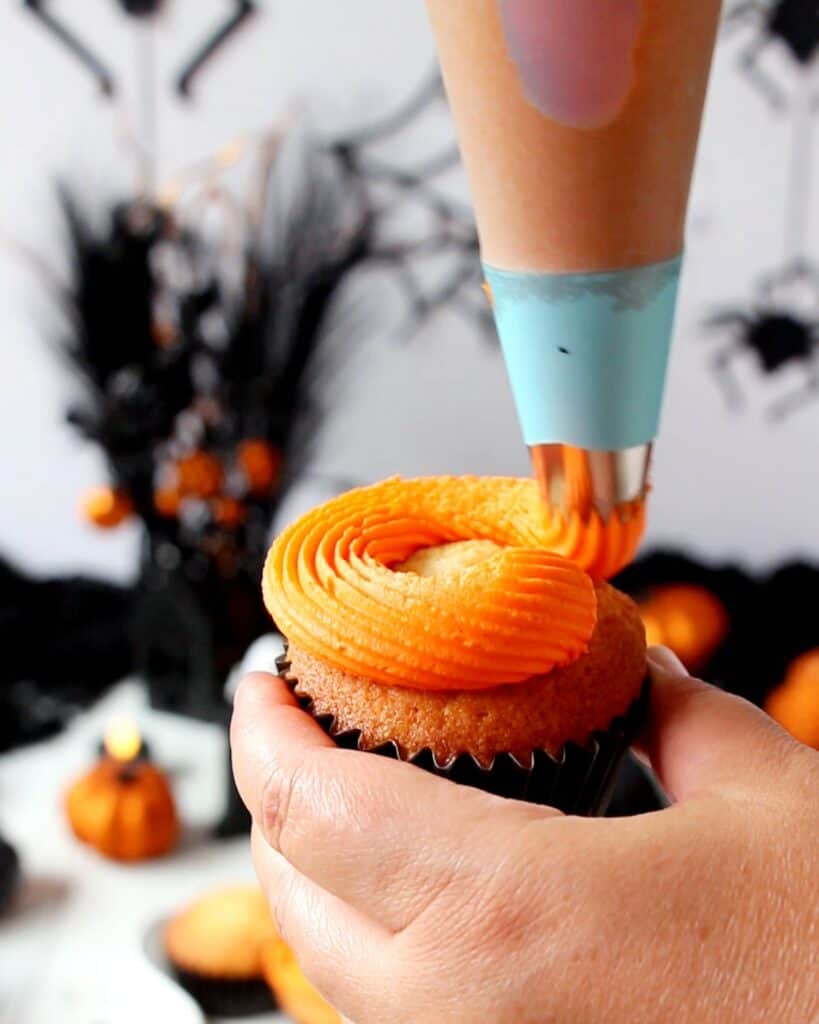
- Pipe the vanilla cupcakes: Take the cooled vanilla cupcake and start piping, with a round motion, the orange coloured buttercream. Two layers of buttercream are needed to fill well the surface of the cupcake.
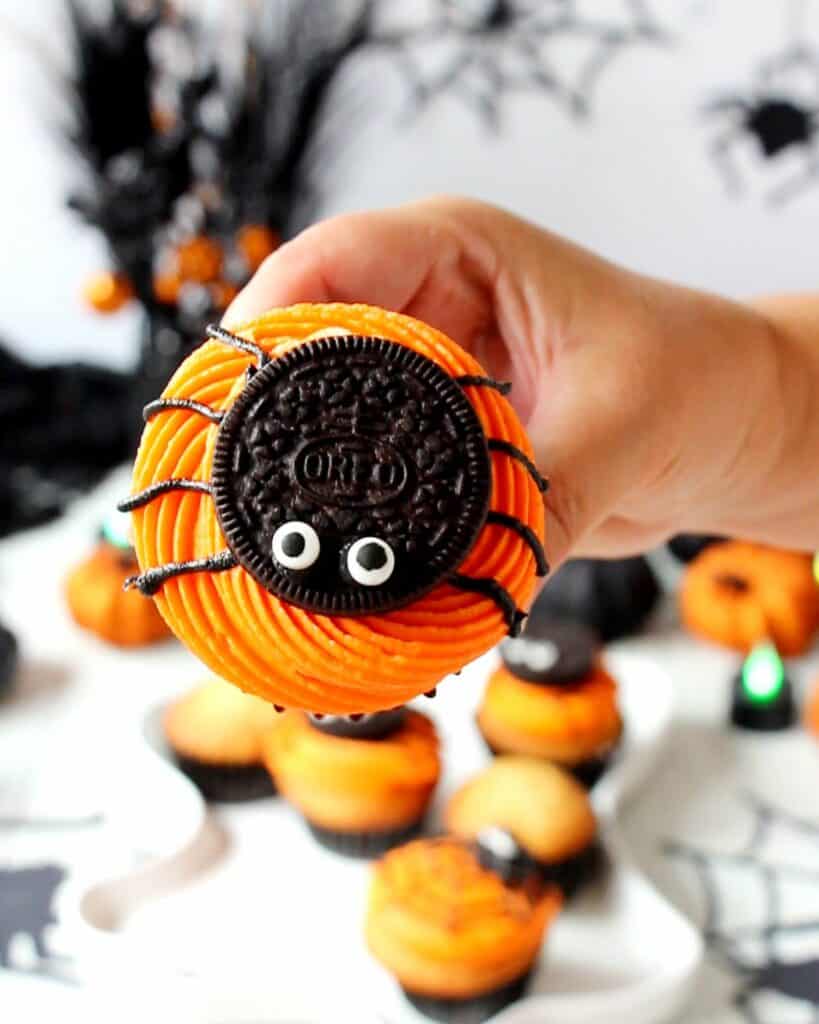
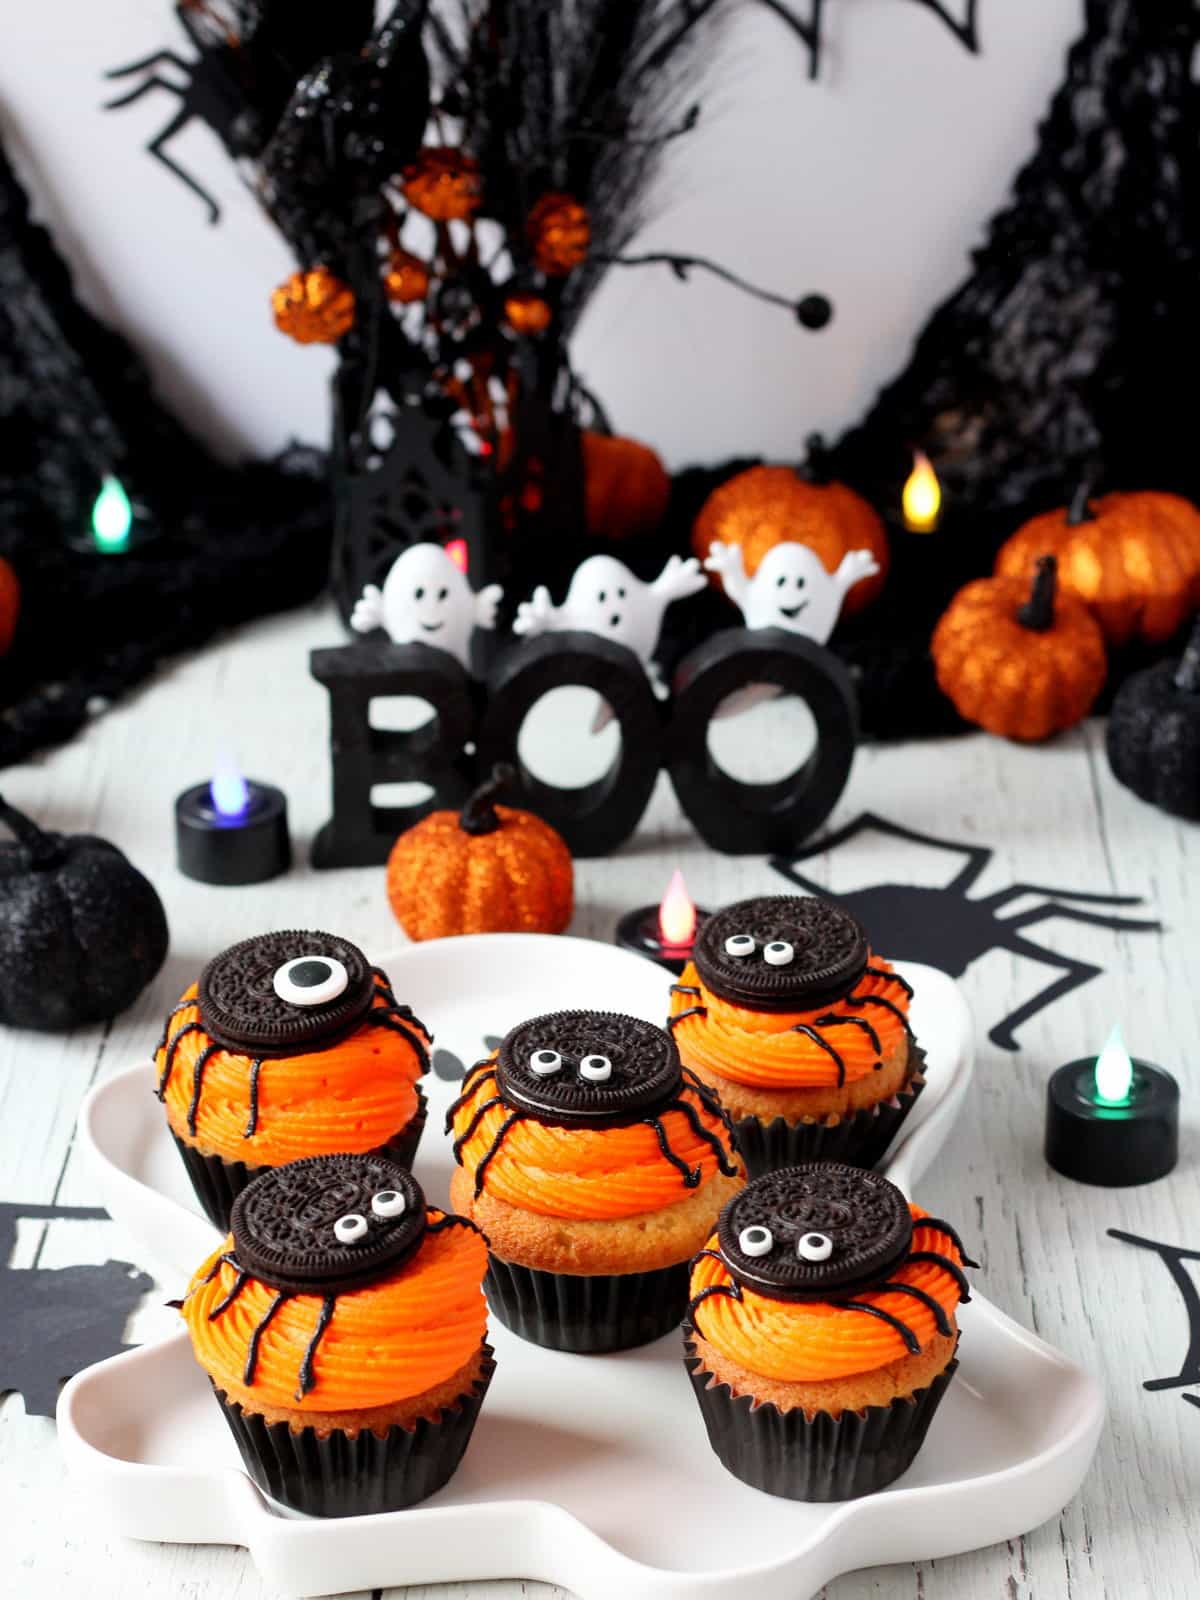
- Decorate with Oreo cookie: Take the Oreo cookie and place it in the middle of the piped buttercream.
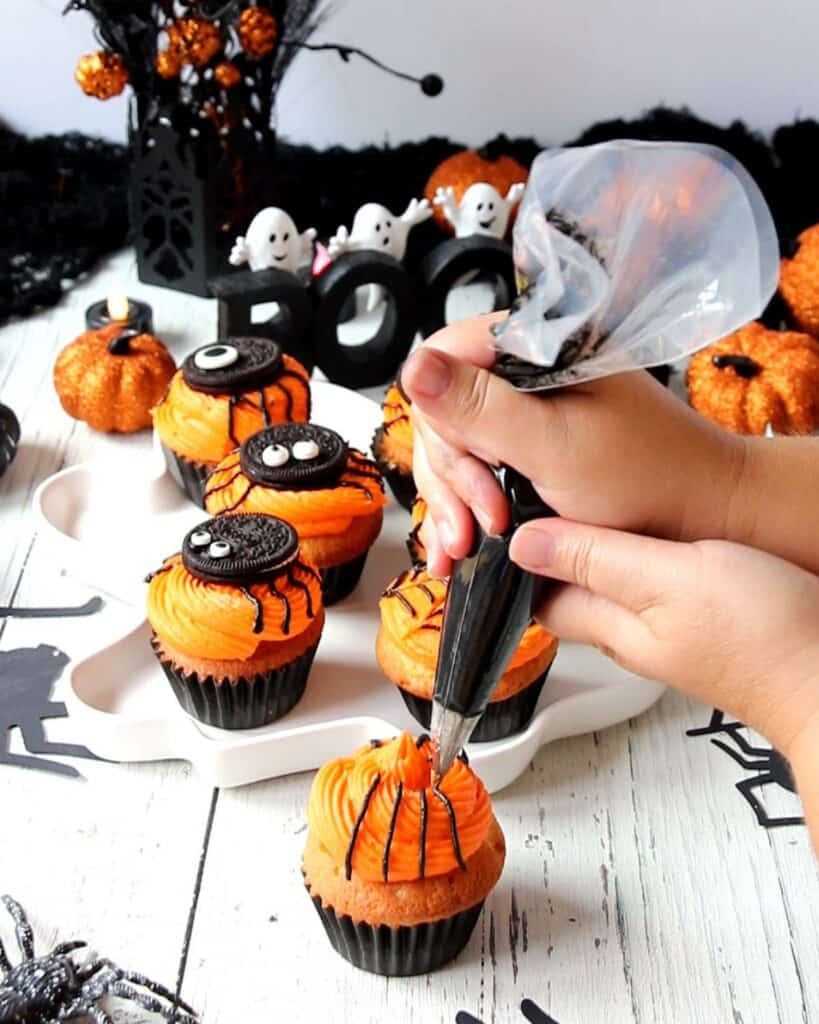
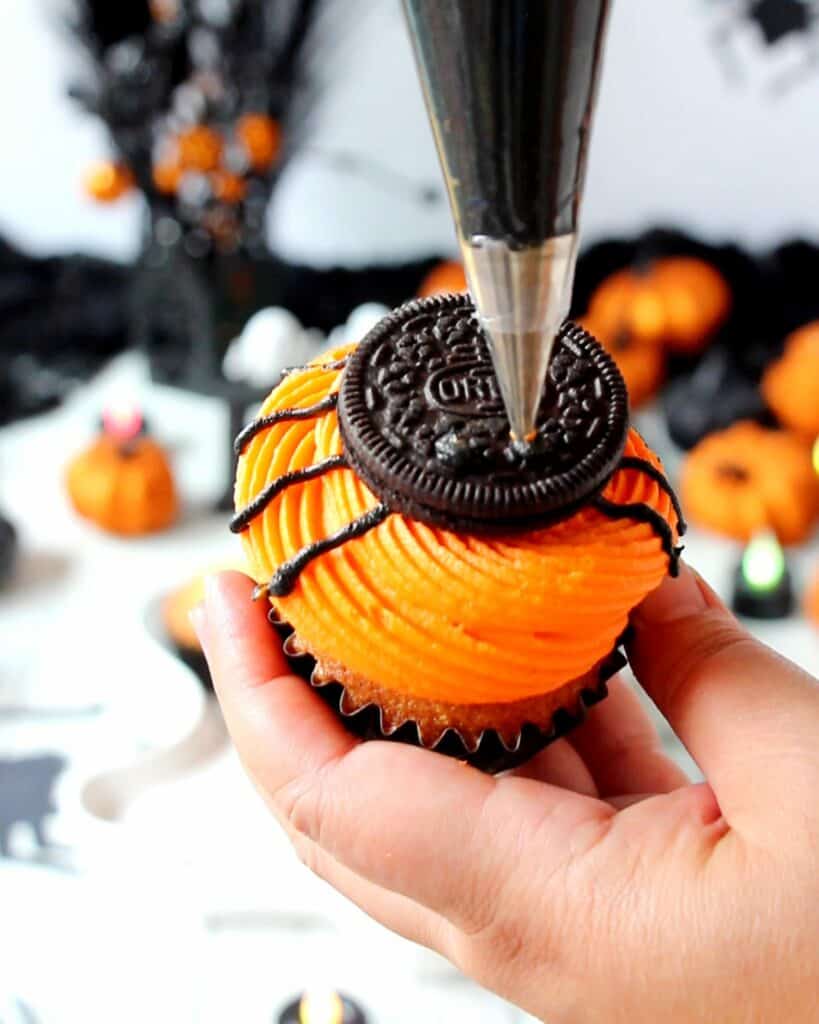
- Decorate with spider legs and eyes candies: Pipe spider legs with the black buttercream, and pipe two small dots of buttercream on the Oreo cookie to glue the eyes candies.
Variations for Halloween cupcakes
Red Velvet Spider Cupcakes: Transform your classic vanilla cupcakes into eerie red velvet cupcakes by adding red food colouring to the batter. Top them with black or dark chocolate spider decorations to create a striking contrast.
Pumpkin Spice Spider Cupcakes: Add a seasonal twist by incorporating pumpkin spice into your vanilla cupcake batter. Decorate them with orange-tinted cream cheese frosting and black licorice legs to create adorable pumpkin-inspired spider cupcakes.
Chocolate Spiderweb Cupcakes: Replace the vanilla cupcakes with rich chocolate cupcakes and top them with white or cream-coloured buttercream. Use black gel food colouring to create intricate spiderweb designs on the frosting for a spooky effect.
Glow-in-the-Dark Spider Cupcakes: Add a fun and eerie twist by using glow-in-the-dark food colouring for the cupcake batter and frosting. When the lights go out, these cupcakes will emit an otherworldly glow, making them the centre of attention at your Halloween party.
Double Chocolate Spider Cupcakes: Make ultra-chocolatey cupcakes by adding cocoa powder to the vanilla cupcake batter. Top them with a dark chocolate ganache, and create spiders using chocolate-covered pretzels as the legs and M&M candies for the bodies.
Other suggestions on decorating Halloween cupcakes
Chocolate Spiders: Melt dark chocolate and pipe spider shapes onto a parchment paper-lined tray. Once the chocolate hardens, carefully peel them off and place them on your cupcakes. You can add candy eyes to make them look even more realistic.
Candy Spiderwebs: Pipe a spiral of white or black icing on top of your cupcakes. Then, use a toothpick or a thin skewer to drag lines from the centre to the edges of the cupcake to create a spiderweb effect. Place small candy spiders or plastic spider rings on top.
Spider Rings: Purchase plastic spider rings from a Halloween supply store and place them on top of your cupcakes. These are easy and instantly create a spooky look.
Edible Glitter: Dust your frosted cupcakes with black or silver edible glitter to give them a mysterious and shimmery appearance. Add a plastic spider or two for extra flair.
Storage tips for vanilla cupcakes with white chocolate buttercream frosting
- Cool Completely: Allow your cupcakes to cool completely at room temperature before attempting to store them. If you store them while they are still warm, the trapped moisture can lead to soggy cupcakes.
- Seal in an Airtight Container: Place the cupcakes in an airtight container or a cupcake carrier. This helps prevent exposure to air, which can dry out the cupcakes and cause the frosting to crust over.
- Room Temperature: If you plan to consume the cupcakes within 1-2 days, it’s perfectly fine to store them at room temperature. Keep the container in a cool, dry place away from direct sunlight and heat sources.
- Refrigeration: If you need to store the cupcakes for more than 2 days but less than a week, refrigeration is a good option.
Expert tips for tasty cupcakes
- Use High-Quality Ingredients: Use fresh, high-quality ingredients, especially pure vanilla extract and real butter, for the best flavour.
- Room Temperature Ingredients: Ensure that ingredients like eggs, butter, and heavy cream are at room temperature. This promotes even mixing and better texture.
- Measure Accurately: Use proper measuring cups and spoons to measure ingredients accurately. Over or under-measuring can affect the texture of your cupcakes.
- Don’t Over mix: Once you add the dry ingredients to the wet, mix until just combined. Over mixing can lead to tough cupcakes.
- Even Cupcake Batter: Use an ice cream scoop or measuring cup to ensure each cupcake liner is filled with the same amount of batter for uniform cupcakes.
- Preheat Oven: Always preheat your oven to the specified temperature in the recipe before placing cupcakes inside. A consistent temperature is crucial for even baking.
- Rotate Halfway: If your oven has hot spots, rotate the cupcake pan halfway through baking to ensure even cooking.
- Toothpick Test: Use a toothpick to check for doneness. Insert it into the centre of a cupcake; if it comes out clean or with a few moist crumbs, the cupcakes are ready.
- Cool Thoroughly: Allow cupcakes to cool in the pan for a few minutes before transferring them to a wire rack to cool completely. This prevents moisture loss and maintains texture.
Expert tips for creamy white chocolate buttercream
- Butter Temperature: Ensure your butter is softened but not melted. Softened butter should be pliable but still hold its shape.
- Cream the Butter: Cream the butter first until it’s pale and fluffy. This can take several minutes, but it’s essential for a smooth texture.
- Add Sugar Gradually: Add the powdered sugar a little at a time, mixing on low speed. Gradual incorporation prevents sugar clouds and ensures a well-mixed frosting.
- Flavouring: Enhance your buttercream with flavour extracts or zests. For vanilla cupcakes, pure vanilla extract complements the flavor beautifully.
- Adjust Consistency: To achieve the right consistency, add small amounts of milk or heavy cream as needed. For stiffer frosting, add more sugar; for softer frosting, add more liquid.
FAQ for vanilla cupcakes
Yes, you can freeze cupcakes with orange buttercream frosting. Place them in an airtight container or wrap them individually in plastic wrap, then store in the freezer for up to 2–3 months. Thaw at room temperature before serving.
To achieve the right frosting consistency, add powdered sugar gradually and adjust with a small amount of orange juice or milk if it’s too thick, or add more powdered sugar if it’s too runny. Consistency can vary based on factors like humidity, so adjust as needed.
Yes, you can adapt the recipe to be gluten-free or dairy-free by using suitable substitutes like gluten-free flour or dairy-free butter and milk. Be sure to check ingredient labels for allergen information.
Yes, you can make mini cupcakes by adjusting the baking time. Mini cupcakes will typically bake faster than regular-sized ones, so keep a close eye on them to prevent over baking.
More recipes
Halloween Spider Cupcakes
Equipment
- 1 Mosaic Non-stick muffin pan
- 1 Large open star tip 8B
- 1 Small round tip no 2
- 2 Decorating piping bags
Ingredients
Vanilla cupcakes
- 1 & ½ cup all-purpose flour
- 1 & ¼ teaspoon baking powder
- ⅓ teaspoon salt
- ½ cup butter unsalted – softened
- 1 cup sugar granulated
- 3 large eggs room temperature
- 1 teaspoon vanilla extract
- ½ cup heavy cream 35 % or milk
White chocolate buttercream
- 2 bars white chocolate chopped
- ¾ cup + 2 tablespoons butter unsalted
- 2 cups sugar powdered
- ½ teaspoon vanilla extract
- 1 teaspoon orange gel food colouring
- 5 drops black gel food colouring
Decoration
- 12 pieces Oreo cookies
- 24 pieces eyes candies
Instructions
For vanilla cupcakes
- Preheat the oven to 350°F (177°C) & line Mosaic muffin pan with cupcake liners to prepare for baking.
- In a medium-sized bowl, sift together the all-purpose flour, baking powder, and salt. Set aside.
- In a separate large mixing bowl, using an electric mixer or a balloon whisk, cream together the softened unsalted butter and granulated sugar, until the mixture becomes light and fluffy. This typically takes about 2–3 minutes.
- Add the room temperature eggs one at a time, mixing well after each addition. Then, stir in the vanilla extract. Scrape down the sides of the bowl to make sure all ingredients are fully combined.
- With the mixer on low speed or a balloon whisk, gradually add the sifted dry ingredients to the wet mixture in two parts, alternating with the heavy cream. Mix until just combined; be careful not to over mix, as this can lead to dense cupcakes.
- Using a scoop or spoon, evenly distribute the cupcake batter into the prepared cupcake liners, filling each about two-thirds full. This will allow room for the cupcakes to rise as they bake.
- Place the muffin pan in the preheated oven and bake for approximately 18–20 minutes, or until a toothpick inserted into the centre of a cupcake comes out clean or with a few moist crumbs.
- Remove the cupcakes from the oven and let them cool in the muffin tin for a few minutes before transferring them to a wire rack to cool completely.
For white chocolate buttercream
- Place the chopped white chocolate in a microwave-safe bowl. Microwave it in 20-30 second increments, stirring well between each interval, until the chocolate is completely melted and smooth. Be careful not to overheat and burn the chocolate.
- Allow the melted white chocolate to cool to room temperature. It should be smooth and free of lumps, but not warm to the touch.
- Cream the butter for 2–3 minutes until smooth and fluffy. Gradually add the powdered sugar to the creamed butter. Start the mixer on low speed to avoid sugar clouds, then increase the speed to medium or use a balloon whisk. Continue to mix until the sugar is fully incorporated, and the mixture is light and fluffy. Add vanilla extract and mix it in.
- With the mixer on low speed or with a balloon whisk, pour in the cooled melted white chocolate. Mix until the chocolate is fully combined with the butter and sugar, and the frosting becomes smooth and creamy.
- Reserve two tablespoons of buttercream in a small bowl, add a few drops of black gel food colouring and mix until all buttercream is well combined with black food colouring. Add more drops of black food colouring if needed.
- Take the rest of the buttercream and add a few drops of orange gel food colouring. Mix well until the food colouring is well combined. Add more orange gel food colouring if needed.
To assemble and decorate
- Prepare a piping bag with a large open star tip (Wilton 8B) and fill it with orange coloured buttercream, secure the bag. Prepare the same way the black coloured buttercream, but with a small round tip (Wilton no. 2), secure the bag and set it aside.
- Place the Oreo cookies and eye candies on a small plates. Set aside.
- Take the cooled vanilla cupcakes and start piping, with a round motion, the orange coloured buttercream. Two layers of buttercream are needed to fill well the surface of the cupcake.
- With the black buttercream, pipe the spider's legs on the side of the orange buttercream. Place the Oreo cookie right in the middle of the orange buttercream.
- Take more of the black buttercream and pipe two small dots of buttercream on the Oreo cookie to glue the eye candies.
Pin for later!
Disclosure: Bear in mind that some of the links in this post are affiliate links and if you go through them to make a purchase I will earn a commission. Keep in mind that I link these companies and their products because of their quality and not because of the commission I receive from your purchases. The decision is yours, and whether or not you decide to buy something is completely up to you.”

Leave a Reply