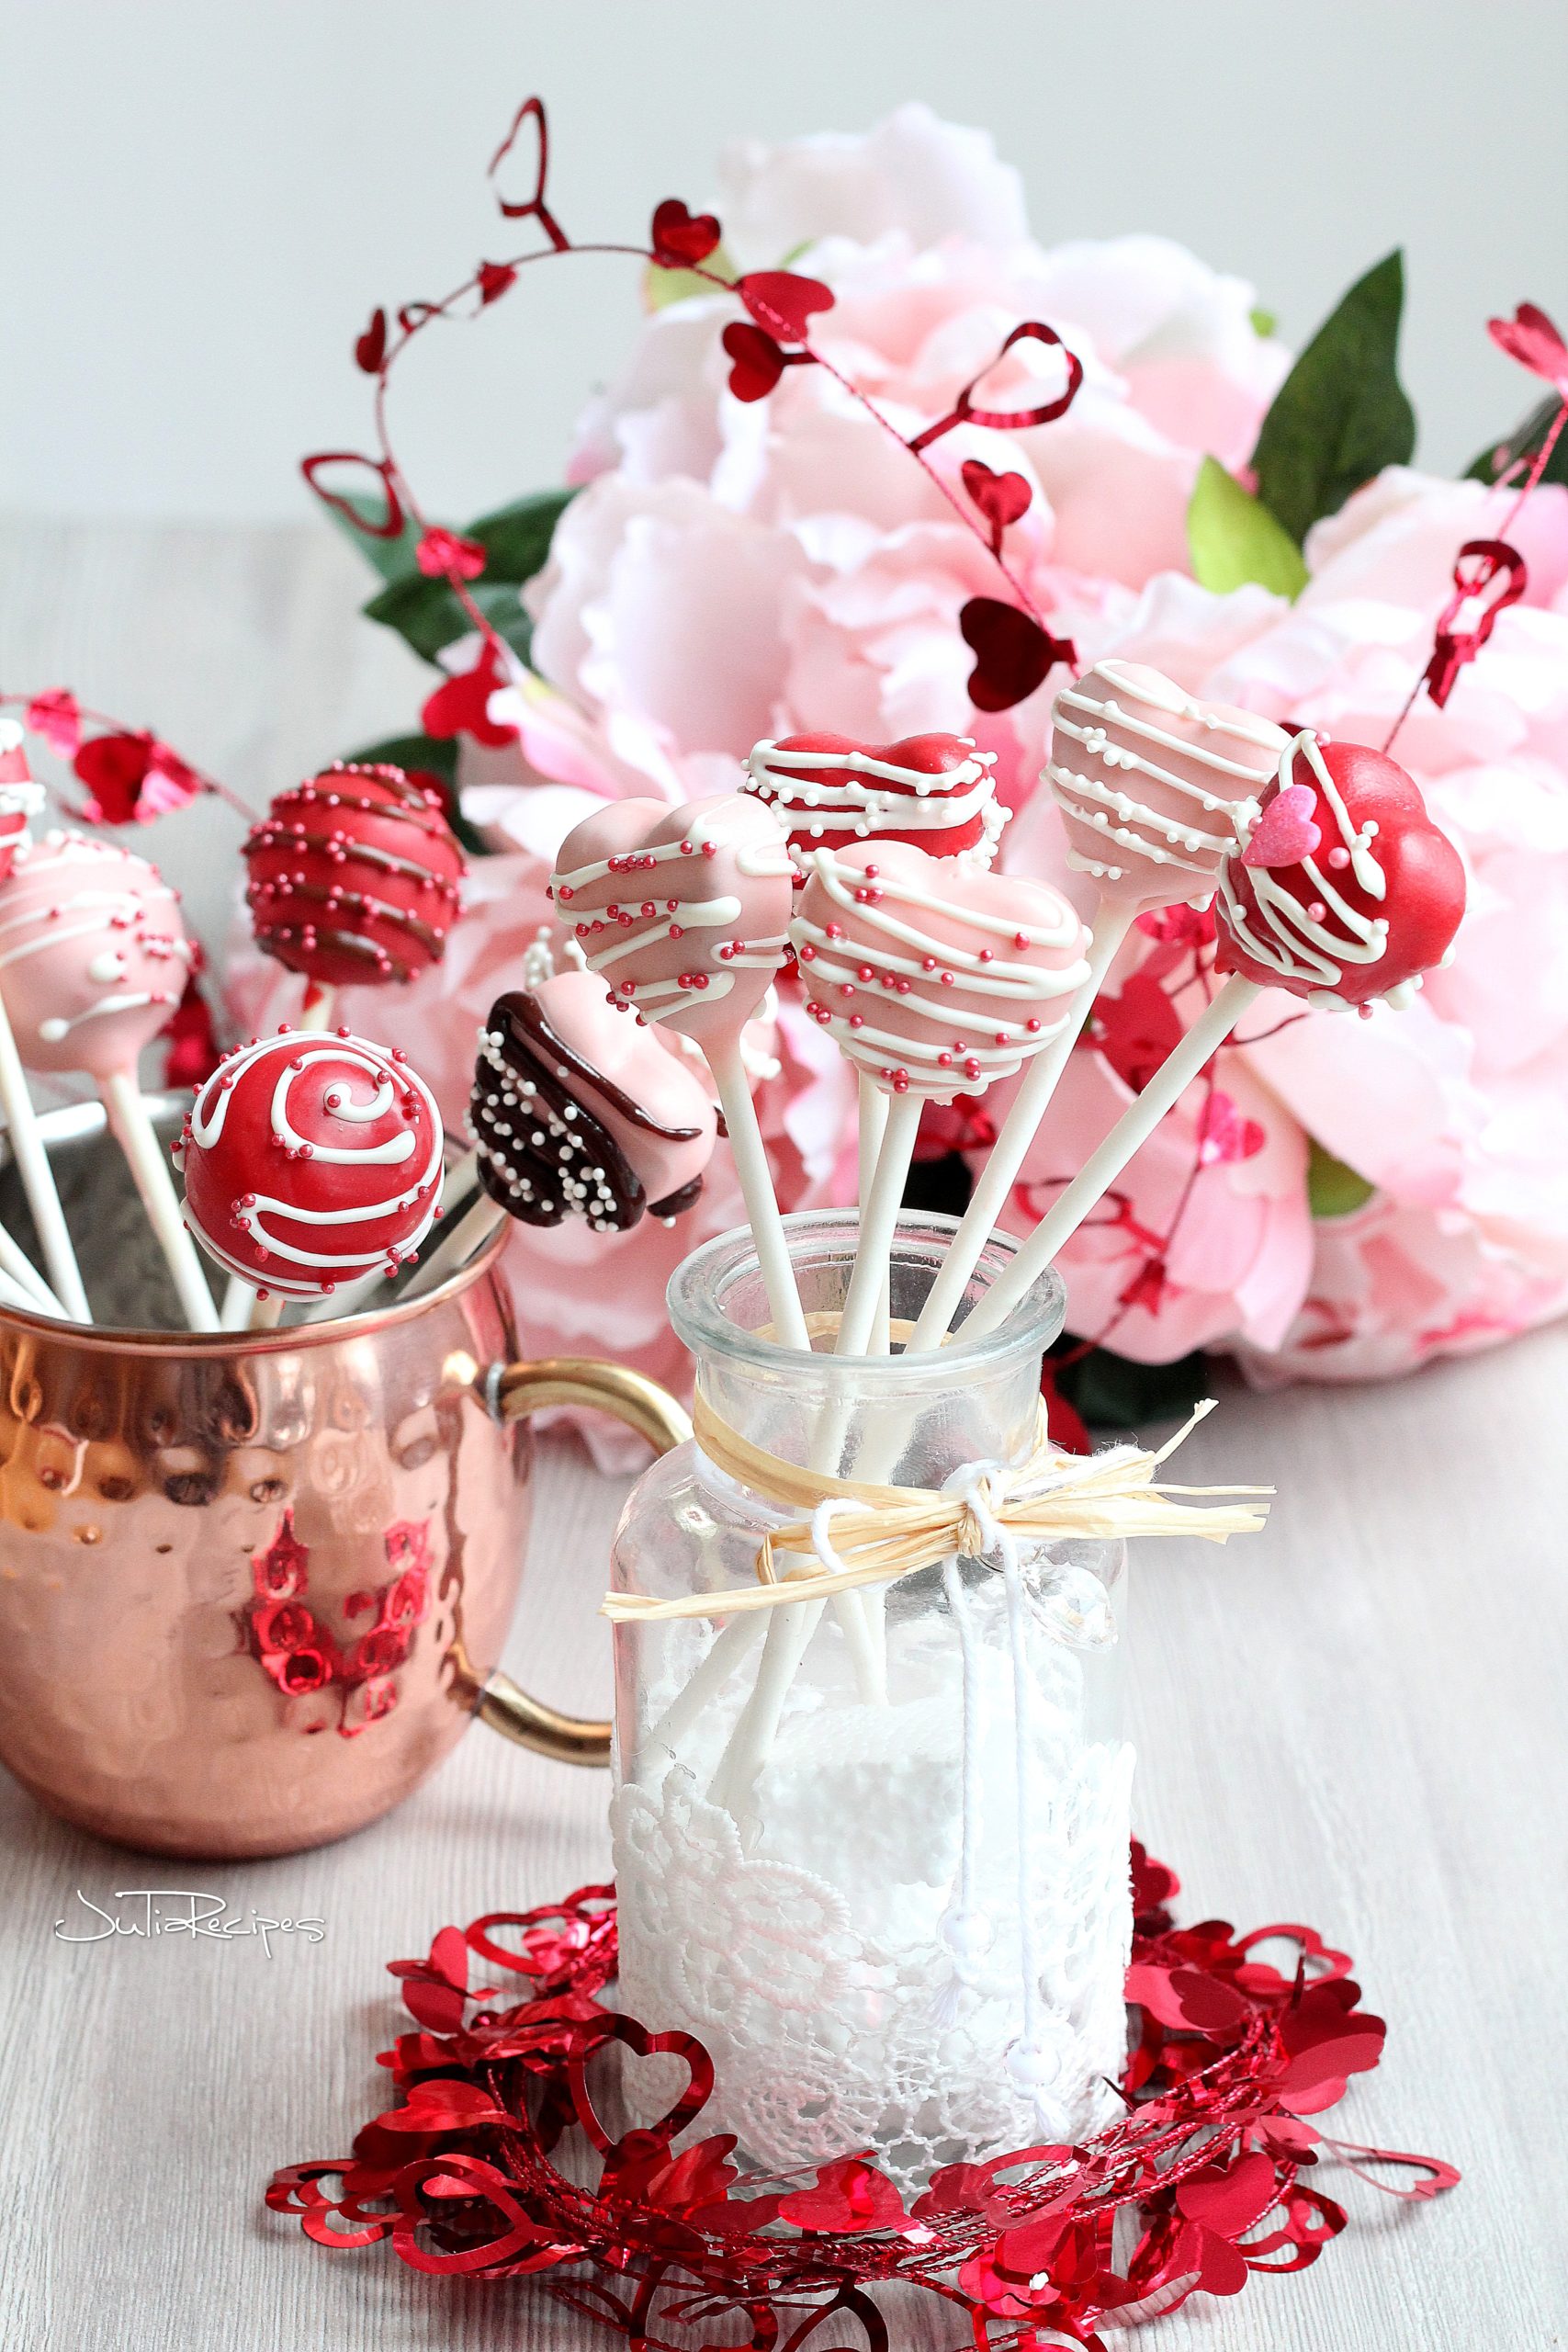
Valentine cake pops are the best way to say your loved ones, how much you care about them! These simple cake pops are made of chocolate baking mix, filled with Oreo buttercream and dipped in candy melts.
“Love is when the other person’s happiness is more important than your own”
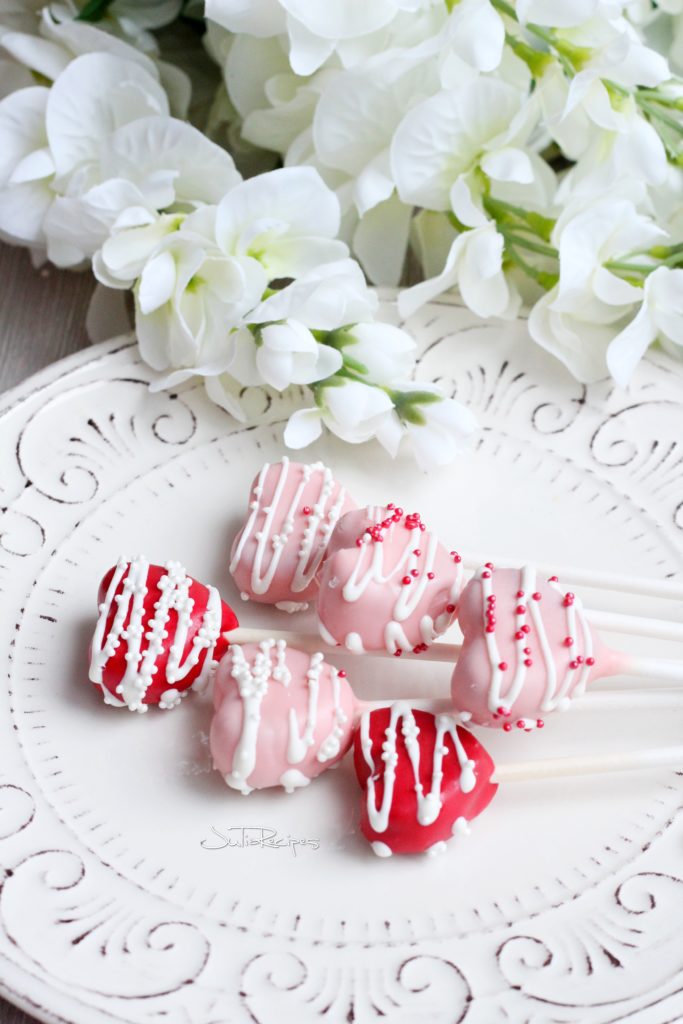
Romantic colours like red and pink will make these cake pops perfect for Valentine’s Day. Delicious, simple to make and so creative. Suitable for your partner, spouse, your kids, mom or a friend. Delicious chocolate bake mix with Oreo buttercream formed in heart or ball and covered in sweet candy melts. Edible gifts have been one of my favourite.
You can make heart shaped cake pops with heart mold, or you can make round cake pops. For the perfect shape, get this cake pop mold pan. If you will be offering these cake pops to your friends you can add nice touch with this minimalist transparent simple bags.

Ingredients for cake pops
- Chocolate bake mix
- Oreo or chocolate buttercream/frosting
- Candy melts red and white
- Pop sticks
- Heart molds
- styrofoam block
- sprinkles white and red
How to make Chocolate Valentine’s cake pops
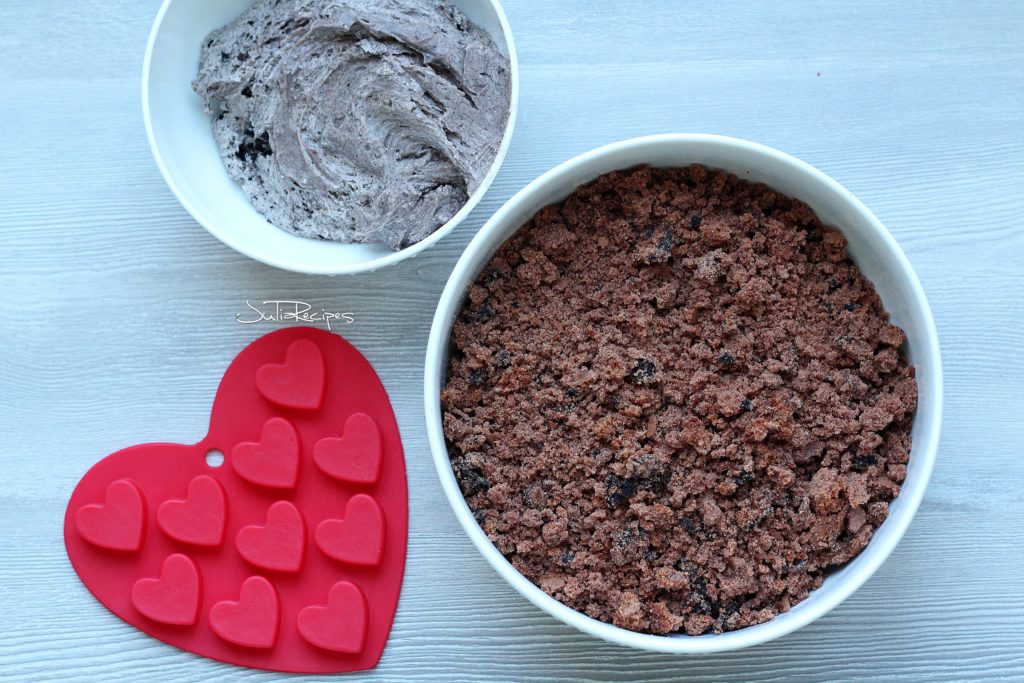
Chocolate bake mix. You can use chocolate bake mix or use a leftover from a previously baked cake. I bake quite often, so I always keep the leftovers from cakes. I freeze them in a big Ziploc bag. You can freeze leftover cake for up to 3 months. When you need to use them, simple defrost them at room temperature for about 3-4 hours. So you either bake the chocolate bake mix or use already baked cake leftovers and crumble them in a large kitchen bowl.
Oreo buttercream or any store bought frosting will work. If you want to keep it very simple, just buy store bought chocolate frosting. If you do have enough time, then make this delicious Oreo buttercream. Take a room temperature butter and place it with sugar in standing mixer with paddle attachment. Mix for 10 minutes, it’s worth, the buttercream will be fluffy.
Add little of milk and crushed Oreo cookies. Mix until all is combined. For about 1-2 minutes. And the Oreo buttercream is done. I love this Oreo buttercream, because it has this yummy crunch of Oreo cookies.
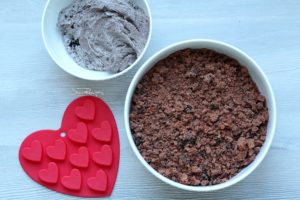
Combine the crumbled baked cake with Oreo buttercream and either mix it together in standing mixer or with your hands, until you will have a pliable dough. If the cake pop dough is dry and is still crumbly, add more frosting. Once you are able to roll a ball of dough in between your palms of hands, then the dough is ready.
Mix crumbled cake with frosting 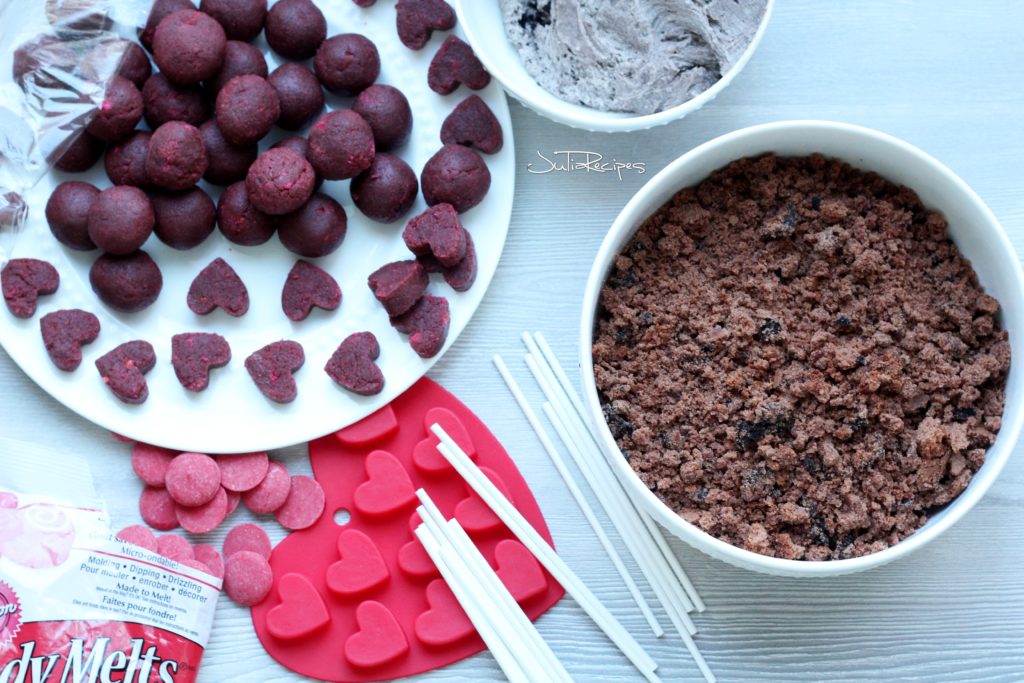
Shape heart and round cake pops 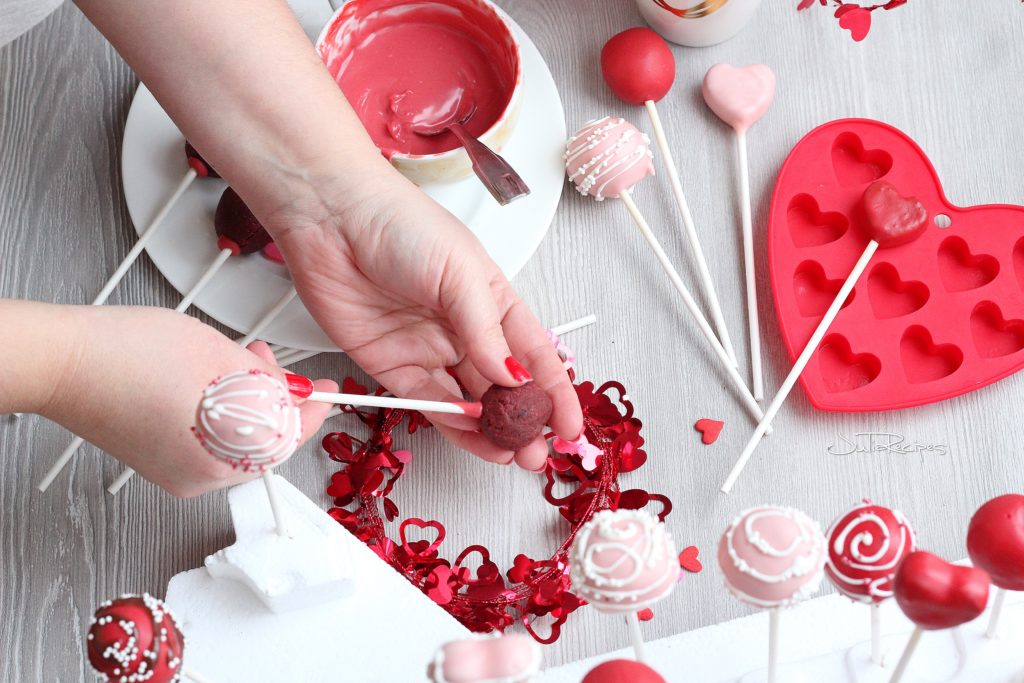
Insert cake pop stick inside the cake pop
Shape the Valentine’s cake pops
Shape the cake pop balls. Use a measurement spoon to determine the right amount of dough. I used the size of a tablespoon. You can go with teaspoon as well, if you want your pops to be smaller. Place the dough in between your palms of your hands and shape a ball. If you want your pops to be perfect, I would recommend using cake pop mold.
Heart shaped cake pops. If you decide going with heart shaped cake pops, use this Wilton mold. Take a piece of the dough and push it in the mold. Remove excess dough by scraping it with a knife. To get the dough out of the mold, gently push with your fingers from the other side of the mold.
Freeze the shaped cake pops. Once all your dough is used and your cake pop balls or heart are done, place them in a plastic container and freezer them for 15 minutes. It helps the cake pop to keep its form when coating them with candy melts.
Melt the candy melts. Candy melts are very easy to use. I love using them because of their ability to get smoother cover of cake pops than with regular chocolate. But if you wish to cover your cake pops in regular chocolate, then you can do so. Check lower special tips & tricks how to melt a Wilton candy melts.
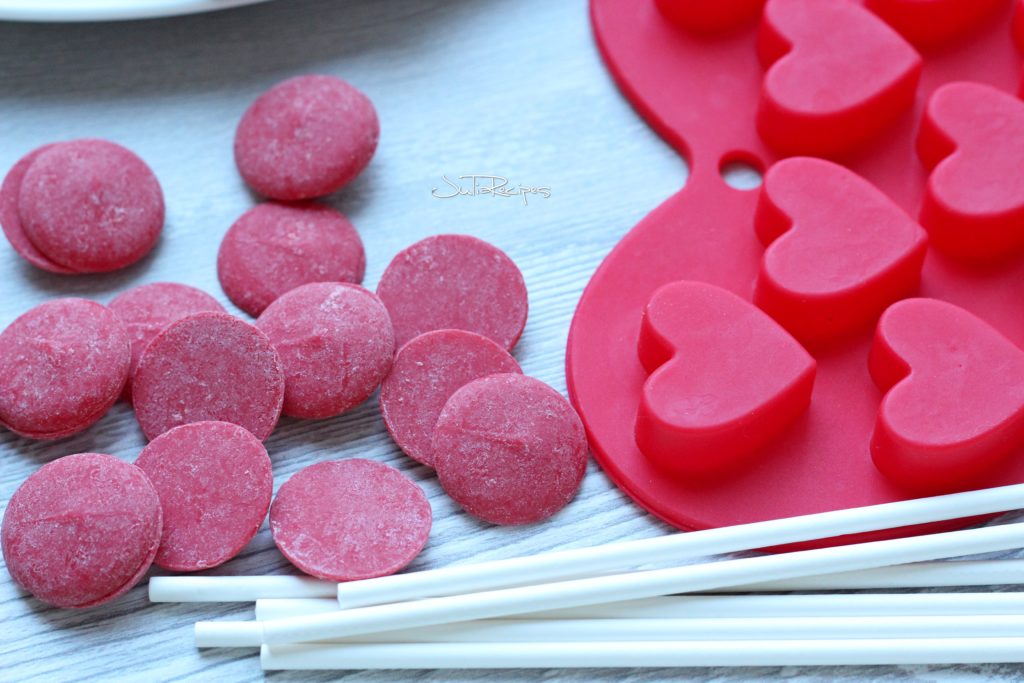
Candy melts 
Inserting stick in cake pop 
Coating cake pop with dark chocolate 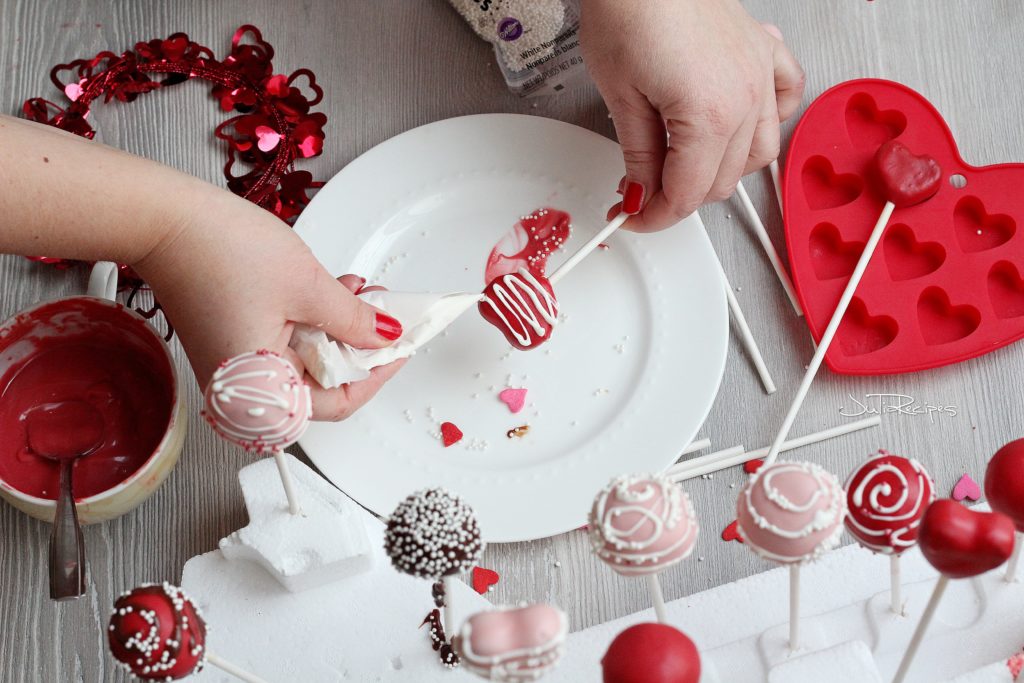
Drizzling white candy melt
First place the pop stick in the cake pop. Working with one cake pop stick at a time. Dip one end of the pop stick in the melted candy (about ½” inch) and push the pop stick into a cake pop ball about halfway of the cake pop. Repeat with all of your cake pops and place them back into the freezer for another 15 minutes.
Coat the cake pops with candy melts. Once your cake pops has chilled in the freezer for 15 minutes, you are ready to coat them with candy melts. If your candy melts hardened while you were freezing the cake pops, melt them again. But this time only for a few seconds. Working with one ball at a time, submerge the cake ball into the melts, making sure to cover the candy all over. Work quickly, as leaving the cake ball in the melts too long is a recipe for disaster; you can lose the cake pop from the stick.
Lift the cake ball out of the melts and slowly twirl the stick to allow the excess to drip off. I also tap with my finger on the stick to help some coating drip off. While the coating is still wet, you may decorate the cake pop with sprinkles. Or let them dry on a large styrofoam block and continue with drizzle decoration (as on the picture), once all cake pops will be dried.
For the drizzle prepare paper cone. Once your paper cone is ready, melt white candy melts and place them in the paper cone. With simple movements forward and back you will create a nice pattern on the heart shaped cake pop. For the round cake pop, roll the cake pop stick in between your fingers and at the same time pipe the candy melts over it. It should create a nice tiny pattern on your cake pop. Now sprinkle with desired sprinkles and let dry on styrofoam block.
How to make the paper cone, see this video from Julia Usher.

Tricks & tips
How to melt Wilton candy melts
How to melt the Wilon candy melts? Easy, you can melt them in the microwave. Always use a safe glass bowl or ceramic coffee cup, which is intended to use in the microwave.
Thin the candy melts with vegetable oil. Some candy melts, while melted still might be very thick. So it might give you difficulty to coat your cake pops. In this case, use vegetable oil to thin your candy melts. If you will be using Wilton candy melt, they will definitely need to thin a bit. So from the beginning, when you will melt the candy melts, use 1 tsp of vegetable oil for 1 cup of candy melts.
Microwave on power 70% , 45 seconds. Remove carefully from microwave and stir well with the spoon to distribute the heat all over the candy melts, after each session. It might take up to 3-4 sessions to get the right consistency. If your texture of candy melts is still very thick, add another teaspoon of vegetable oil and stir to combine.
If you diluted way too much and candy melt doesn’t stick (slides) from the cake pop, then add more candy melts and mix or melt again in the microwave. Now you should be ready to assemble the cake pops.

You might like these recipes
- VALENTINE’S CHOCOLATE CUPCAKES WITH CHERRY FILLING
- VALENTINE’S STRAWBERRY PUFF HEARTS
- NUTELLA PUFF PASTRY TWIST
- TRIPLE CHOCOLATE NO-BAKE CHEESECAKE
- OREO CHEESECAKE CUPCAKES
“THIS POST MAY CONTAIN AFFILIATE LINKS. PLEASE SEE DISCLOSURE PAGE FOR MORE INFORMATION.”
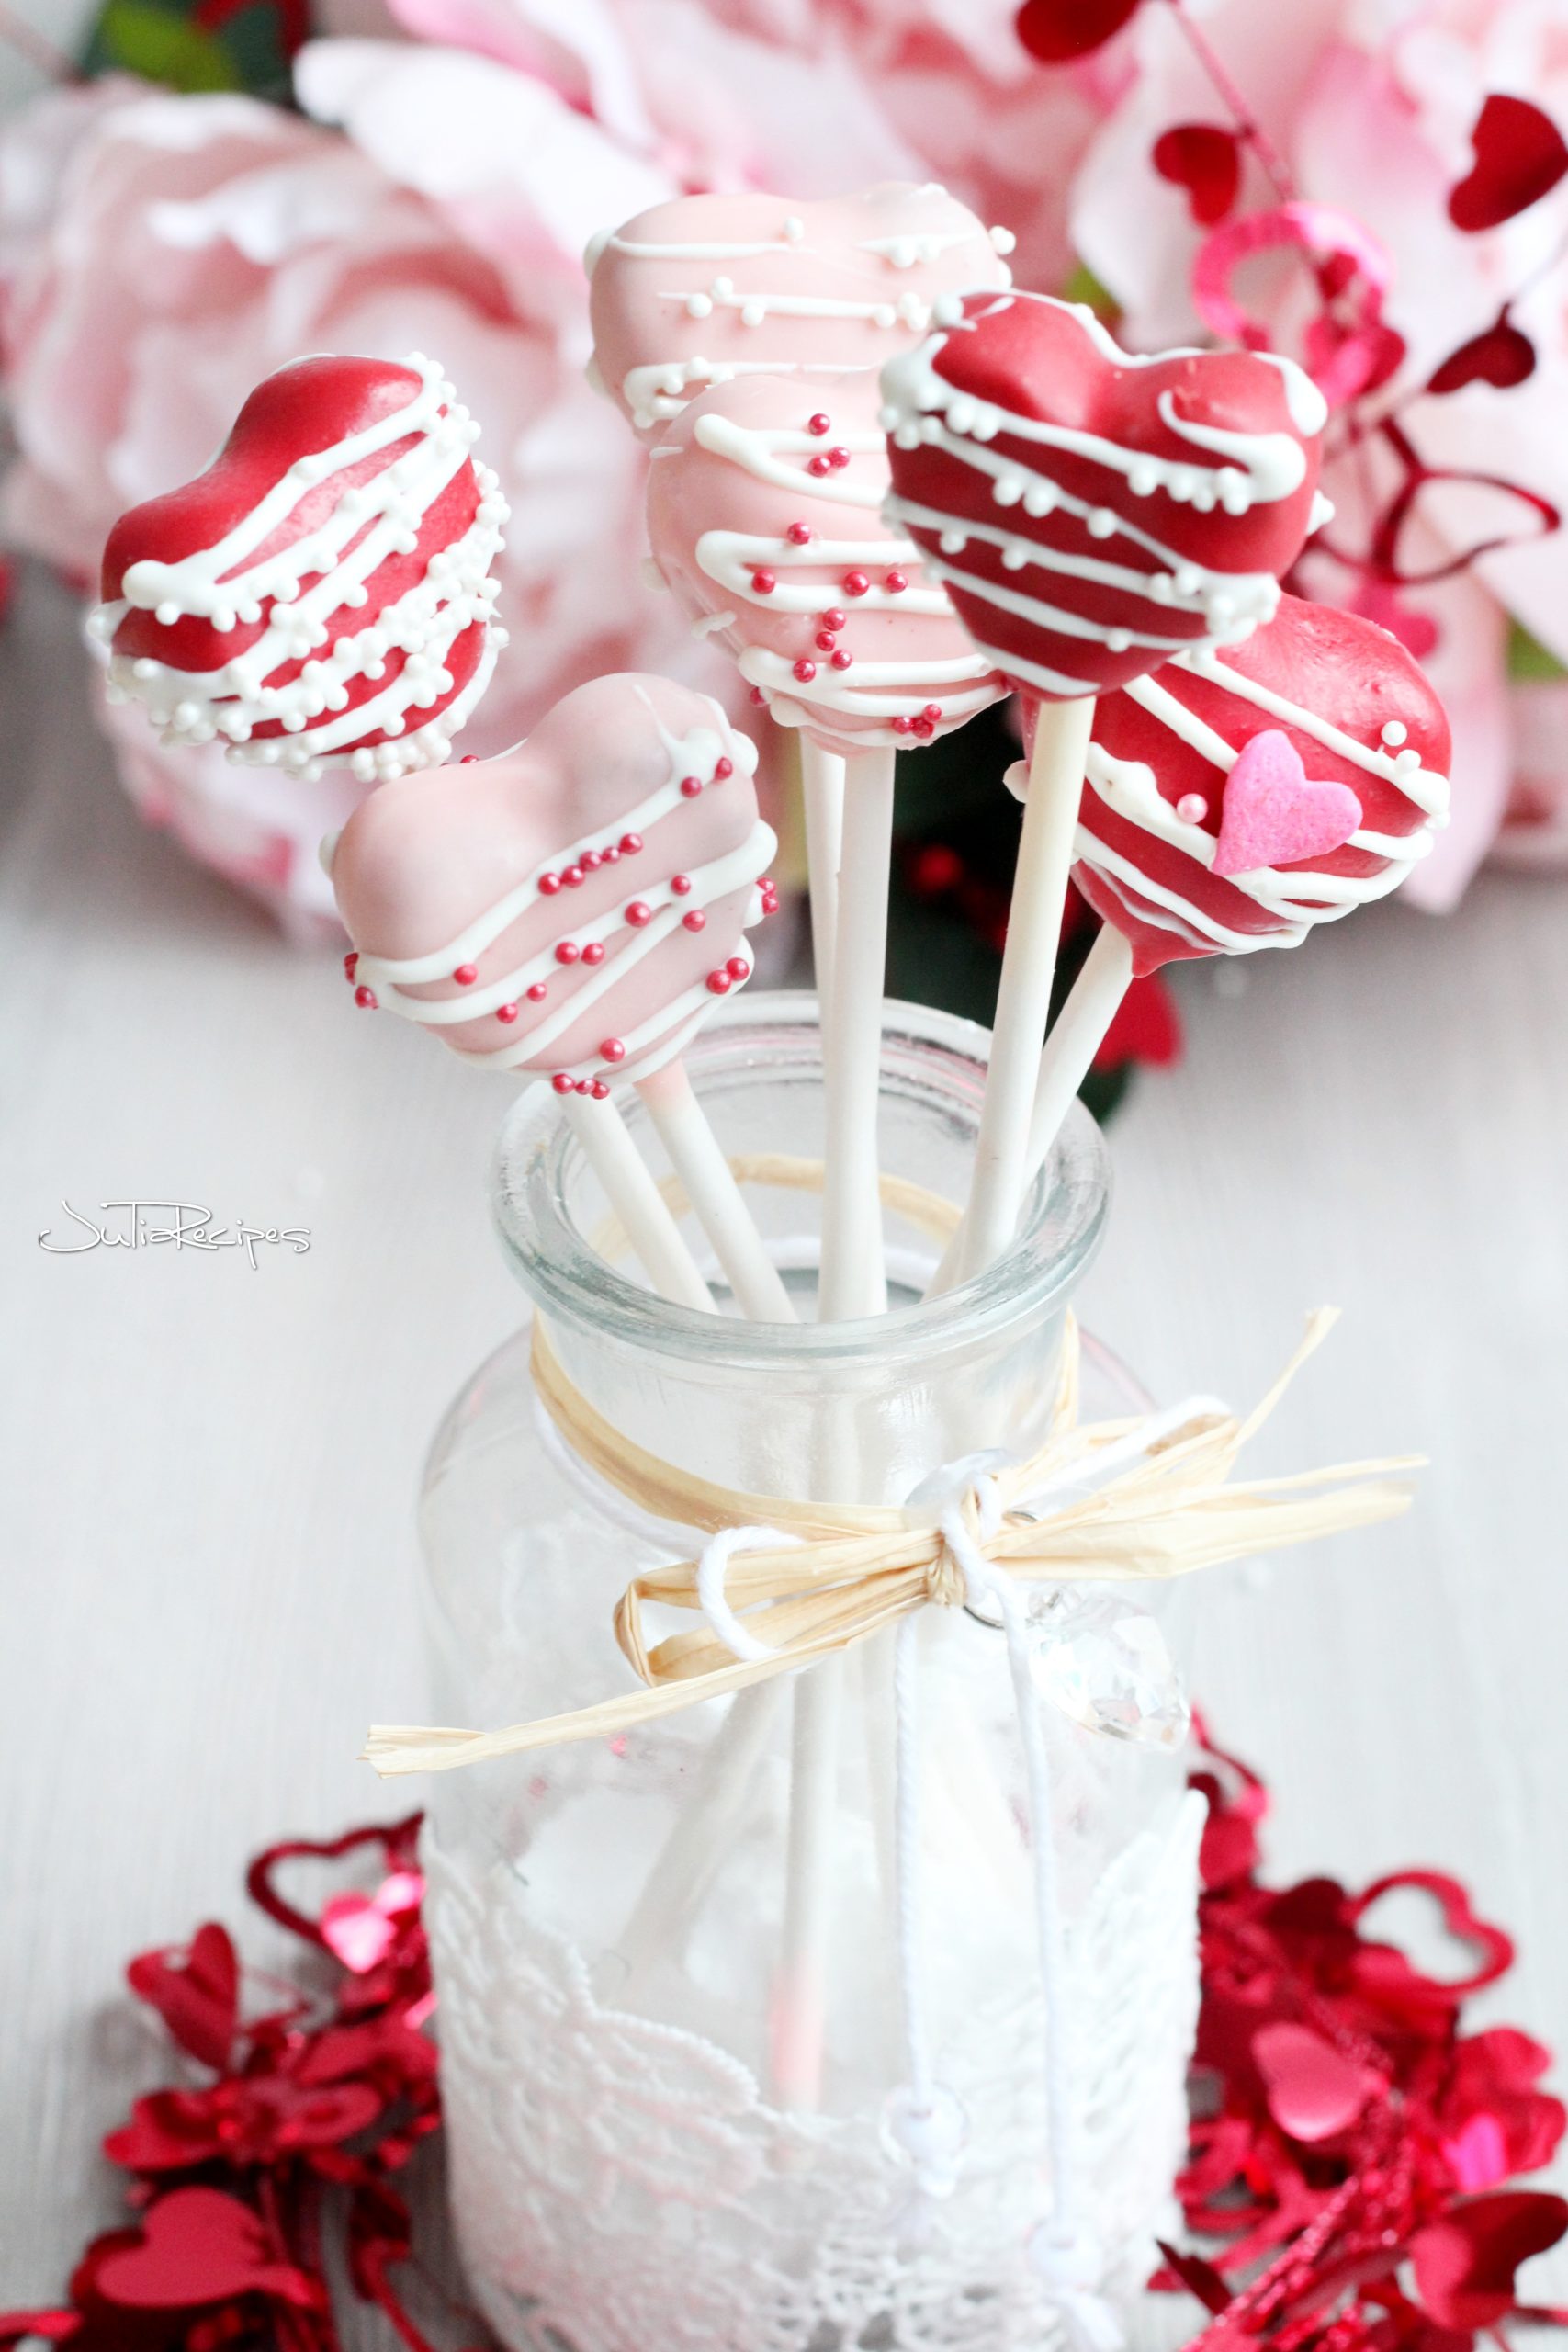
VALENTINE’S CAKE POPS RECIPE
Equipment
- styrofoam block
Ingredients
- 3 cups chocolate cake use leftover cake or bake cake mix
Oreo Frosting
- ⅓ cup unsalted butter at room temperature
- 1/2 cup confectioner's sugar
- 1 tbsp milk
- 1/2 tsp vanilla extract
- 4 oreo cookies crushed
Coating
- 2.5 tsps vegetable oil
- 1 cup red candy melts for coating
- 1 cup pink candy melts for coating
- 1/2 cup white candy melts for the drizzle
- sprinkles (white, red)
- 20 cake pop stick
Instructions
- In a large bowl, crumble chocolate cake into tiny pieces with your hands. You can also use stand mixer to crumble the cake
Frosting
- In the bowl of stand mixer, combine softened butter with sugar and mix for 10 minutes. Add milk and vanilla extract and mix for another 1 minute. Add crushed Oreo cookies and mix until well combined. Do not over mix.
- Add frosting to the crumbled cake and work it with your hands, until it's uniform and sticky.
Make the cake pops
- Use a measurement tablespoon & measure the exact amount of the dough. Roll the dough in between your palms of hands and make balls.
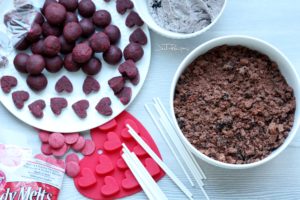
- If you decide going with heart shaped cake pops, use this Wilton mold. Take a piece of the dough and push it in the mold. Remove excess dough by scraping it with a knife. To get the dough out of the mold, gently push with your fingers from the other side of the mold.
- Place the cake pops balls in a plastic container and chill them in the freezer for 15 minutes.
Coating
- Place the red candy melts in a glass or ceramic bowl and add 1 teaspoon of vegetable oil. Microwave on power 70% and time for 45 seconds. Stir well with the spoon to distribute the heat all over the candy melts, after each session.
- Remove the cake pops from the freezer and working with one cake pop stick at a time, dip one end of the cake pop stick into the melted candy (about ½ an inch). Insert the cake pop stick into a cake ball, about halfway through the cake ball. Repeat with all cake pops and place them back into the freezer for another 15 minutes.

- Reheat the previous red candy melt and melt the pink candy melt according to the previous instructions. Remove the cake pops from the freezer.
- Working with one ball at a time, submerge the cake ball into the melts, making sure to cover all candy. Lift the cake pop to allow excess melts to drip off.

- Let the cake pops dry on a large styrofoam block. After one hour coating should be set.
White candy melt drizzle
- Melt the white candy melts with vegetable oil and fill it in the paper cone. With an easy movement forward and back, create nice patters on the heart cake pop. Sprinkle immediately with white or red sprinkles and let dry on styrofoam block. To decorate the round cake pops, roll the cake pop stick in between your fingers and at the same time pipe the candy melts over it. It should create a nice tiny pattern.

Notes



winiade
I love this!!!
juliarecipes
Thank you Winiade, happy you enjoy my Valentine’s cake pops💖😄
foodzesty
Absolutely gorgeous!!!!
juliarecipes
Thank you so much😍
foodzesty
Your welcome 🙂
foodzesty
Happy Valentine’s Day Julia I hope you had a great one 🙂
juliarecipes
Yes dear, absolutely dreamy Valentine’s day😍 & you?
foodzesty
Very very quiet 🙂
commememucho
Simply lovely!
juliarecipes
Thank you 😍
commememucho
😘
Beth
These are so pretty! I can’t wait to give this a try! My family is going to love these! So excited!
Julia
Thank you Beth 🙂 Enjoy these Valentine’s Day cake pops! They are super yum!
Helen
So cute! Just perfect for Valentine’s Day ❤️
Julia
Thank you so much Helen 🙂 We love this edible craft for Valentine’s Day!
Kacie Morgan
These look so adorable. I’ve only just realised Valentines Day is just around the corner. Time to get my recipe thinking cap on! 😀
Julia
Thank you so much Kacie 🙂 I know, the time flies! Enjoy these cake pop!
Krissy Allori
These are absolutely adorable! The step by step photos were so helpful too.
Julia
So happy you like them. These are our favourite edible craft for Valentine’s Day:)